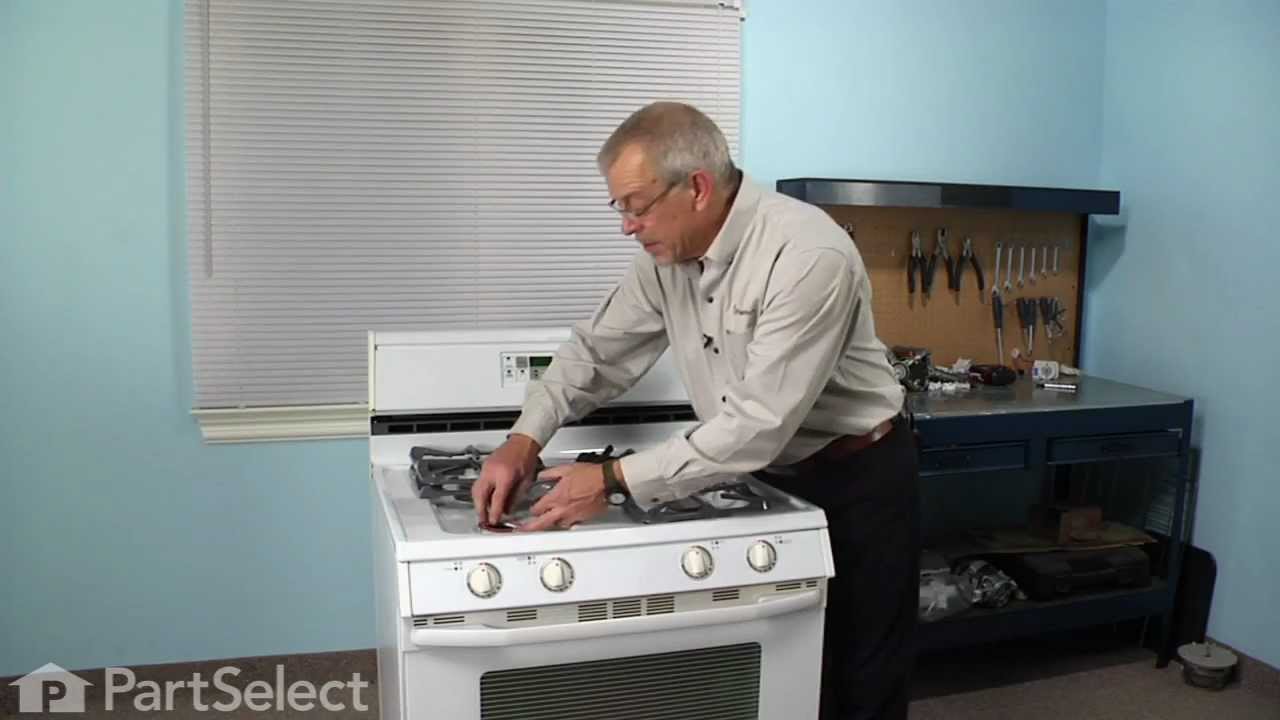
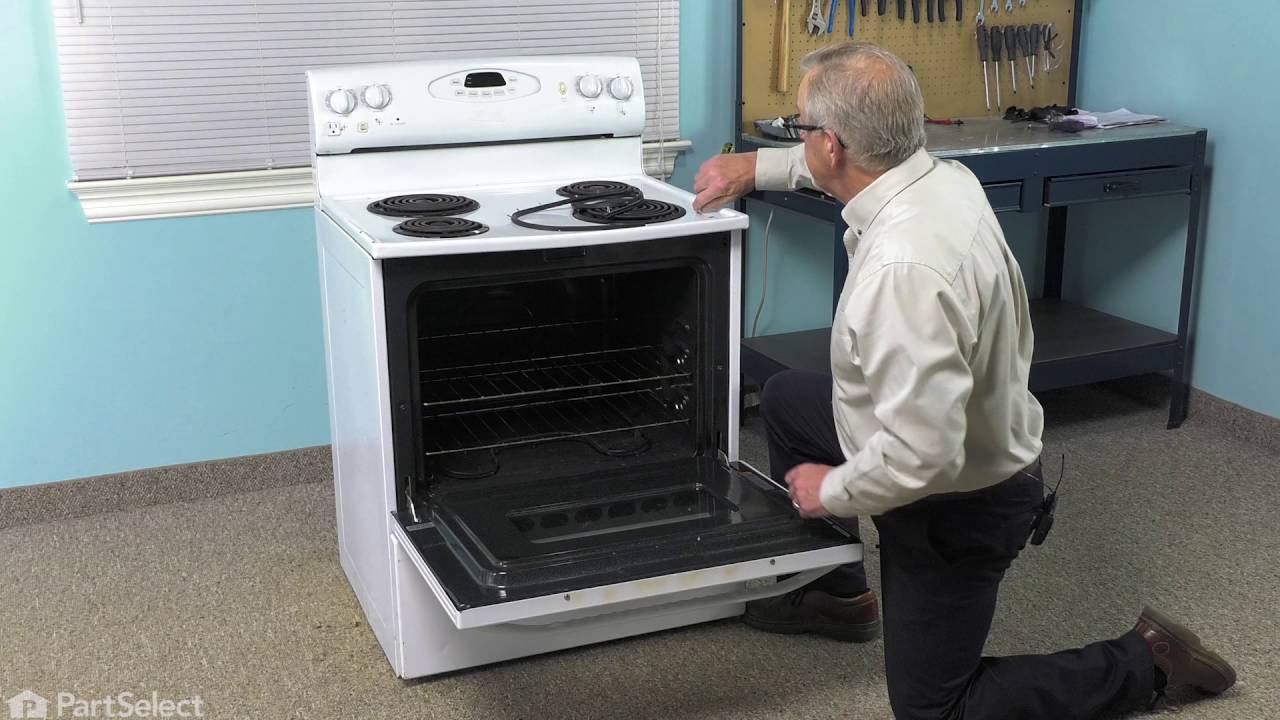
This is a multi-use and multi-appliance screw. It can be used on a microwave, refrigerator, range/oven, air conditioner, dehumidifier, washer, or dryer. The measurements of this screw are 8 x 1/2 inch...
$30.40
In Stock
Order within the next 1 hr and 28 mins and your part ships today!
This is a replacement screw and washer for your oven/range. It is a Phillips-head screw approximately half an inch long, and the washer is approximately 1 inch in diameter. The screw attaches the oven...
$11.54
In Stock
Order within the next 1 hr and 28 mins and your part ships today!
This door seal is fifty-three inches long. It is all black in color and is made of rubber. There are metallic clips sticking out of this seal at various points. These clips help to secure the seal to range doors.
$64.85
In Stock
Order within the next 1 hr and 28 mins and your part ships today!
Order within the next 1 hr and 28 mins and your part ships today!
Questions And Answers for CGR1415ADH
Ask our experts a question about this model and we'll get back to you as soon as possible!
2 questions answered by our experts.
< Prev
1
Next >
Sort by:
Search filter:
Clear Filter
Your search term must have 3 or more characters.
Keep searches simple. Use keywords, e.g. "leaking", "pump", "broken" or "fit".
Sorry, we couldn't find any existing answers that matched.Try using some different or simpler keywords, or submit your new question by using the "Ask a Question" button above!
Rich
September 21, 2025
How do I remove the door.having difficulty figuring out the hinge
For model number CGR1415ADH
Hello Rich, thank you for reaching out. We have attached a video link to help you out. It might not be the exact same model, but the instructions are almost the same. We hope this information helps!
1 personfound this helpful.
Was this helpful?
Thank you for voting!
DONALD
February 7, 2025
I HAVE TO CHANGE FROM POPANE TO NATURAL GAS
For model number CGR1415ADH
Hello Donald, thank you for your inquiry. To convert your range to natural gas from LP, you may need to install the natural gas orifices. The natural gas orifices for your model do not come separately and they come as a part of the surface burner orifice holders. The right side cooktop surface burner orifice holder is part number PS11742986, and the left side cooktop surface burner orifice holder is part number PS11742985. We hope this helps!
My oven has two igniters so I needed to determine which one was the problem.
Using the amp/multi meter I tested the connection between the igniters and the valve, with the oven turned on, to find the bad igniter. Depending on the model of stove you have, the amp reading you need for a properly functioning igniter will vary. My lower igniter read 2.7 amps with a rated amp between 3.3 and 3.6. So that was the culprit.
Replacing the igniter was easy. Two screws and a wire connected with a plug. I was able to do the diagnosis and unplug the wire without pulling the oven out. I pulled the drawer out and removed the two screws in a cover behind where the drawer was. You may not be so lucky…I have long arms.
I found removing the oven door made it easier to reach the igniter itself. To remove the door just open it slightly and pull up, it should come off easy…and replace in opposite manner.
Keep track of your screws and put it back together the way you found it except for the igniter that is.
Anyone with moderate technical skill could easily do this repair. The diagnosis is the hard part. I estimate I saved about $200 doing it myself.
Lift out sealed burner assembly rear of stove first while careully sliding to rear to disengage ignitor probes.Remove philips head screws from bottom sheet metal housing to expose bottom of burners Remove gas tube assembly screws and move tube away carefully.Unplug wires from ignitor.Remove screws for ignitor .Remove ignitor, I noticed that rust and dirt had built up around burner to pan connection.I used my oil filter wrench to turn slightly the burner to remove it from the pan to clean.Reassembled in reverse order.
I removed the oven door, unscrewed a couple of screws, replaced the ignitor, put screws back in, done! Sometimes it would take my oven up to an hour to heat up and sometimes it just wouldn't heat up, just fill the house with a gas smell. Now, it heats up in about 3 minutes!! We were considering buying a new oven, we will just keep this one. $40.00 beats $700.00














.gif "SUPPLEMENTAL INFORMATION Diagram and Parts List for Magic Chef Range")