




















CEW30IF6ISB Electrolux Range - Overview
Sections of the CEW30IF6ISB
[Viewing 6 of 6]


Manuals & Care Guides for CEW30IF6ISB
Click to downloadInstall
Installation Instructions
(0.72MB)
Install
Installation Instructions
(2.27MB)
Manual
Owner's Manuals
(4.35MB)
Manual
Owner's Manuals
(7.48MB)
Specs
Product Specifications Sheet
(0.59MB)
Wiring
Wiring Diagram
(0.78MB)
Keep searches simple, eg. "belt" or "pump".
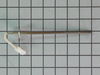
Temperature Sensor
PartSelect #: PS1528542
Manufacturer #: 316490000
The temperature sensor, also known as an oven probe, detects the temperature within the oven cavity. This temperature sensor is 9 inches in length and is a genuine OEM part. If your oven is too hot, n...
$78.07
In Stock
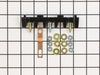
Main Terminal Block Kit
PartSelect #: PS471605
Manufacturer #: 5304409888
Terminal blocks (also called terminal boards or strips) provide a convenient means of connecting individual electrical wires.
$45.61
In Stock
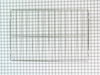
Oven Rack
PartSelect #: PS1765356
Manufacturer #: 316496201
This is a replacement rack for your oven. The oven rack fits into grooves on the side of the oven wall, and acts as a shelf that you can place food items on when you want to cook them in the oven. Thi...
$105.07
In Stock
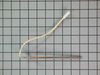
Oven Temperature Sensor
PartSelect #: PS1528543
Manufacturer #: 316490001
This oven temperature sensor is a precision component designed to measure and relay internal oven temperatures to the control board, ensuring accurate and consistent cooking performance. Commonly refe...
$81.84
In Stock
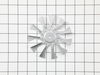
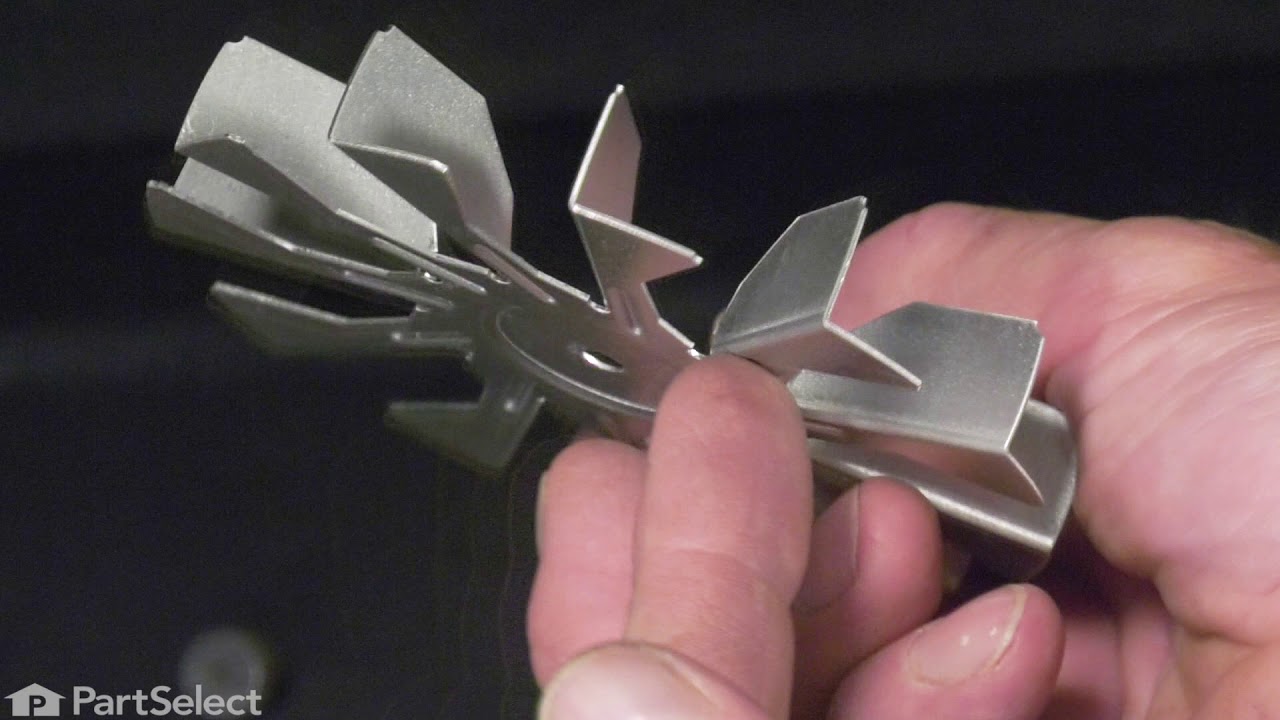
Convection Fan Blade
PartSelect #: PS3409337
Manufacturer #: 318398302
This convection fan blade is designed for use with various makes and models of range and oven and is sold as an individual part. Made of metal and measuring approximately 4.75-inches in diameter, this...
$43.07
In Stock

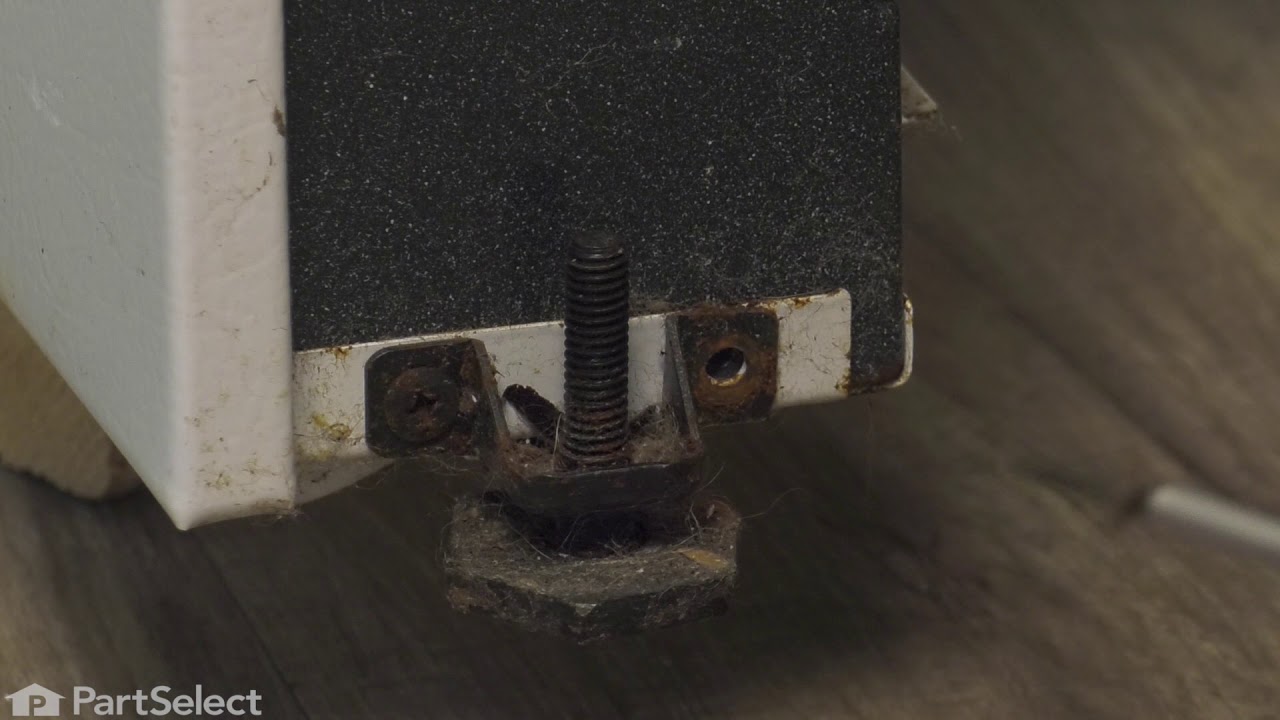
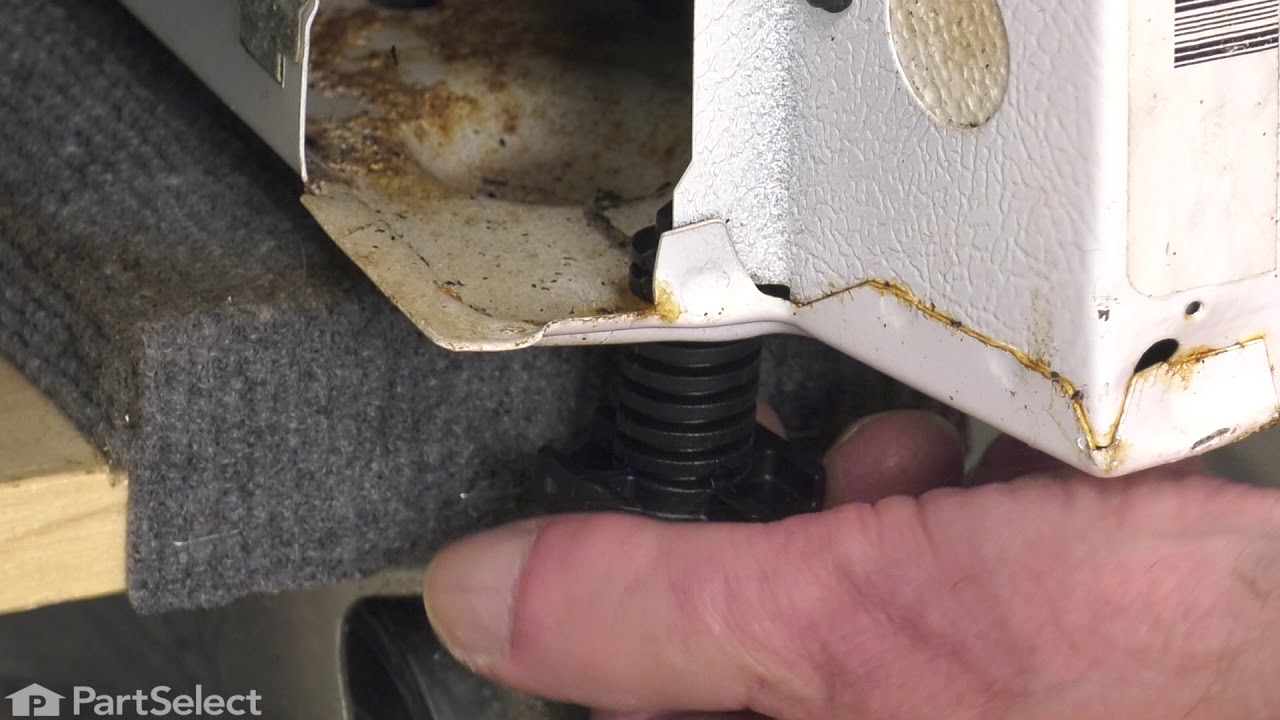
Leveling Leg Assembly
PartSelect #: PS12364627
Manufacturer #: 5304509869
Sold Individually. These legs should be adjusted to make your appliance level on uneven flooring.
$16.43
In Stock
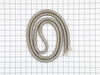
Door Seal
PartSelect #: PS977704
Manufacturer #: 316405000
This oven door gasket creates a secure seal around the door to keep heat inside the oven for consistent cooking and energy efficiency. Made from high-quality, heat-resistant fiberglass with a tempered...
$168.62
In Stock
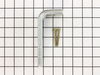
Anti-Tip Kit
PartSelect #: PS3655242
Manufacturer #: 316112005
This kit comes with two installation screws.
$33.95
In Stock
Fan Blade Retainer Nut
PartSelect #: PS439475
Manufacturer #: 316136600
Sold individually.
$39.95
In Stock
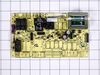
BOARD
PartSelect #: PS2332413
Manufacturer #: 316443920
Restore your oven’s performance with this genuine electronic control board. Acting as the brain of your appliance, it keeps your oven at the right temperature, controls the heating elements, and runs ...
$453.29
In Stock
Steel Washer
PartSelect #: PS436497
Manufacturer #: 316008401
Size: 3/4 inch od x 1/4 inch id
$24.95
In Stock
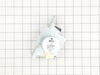
Latch Motor
PartSelect #: PS16555576
Manufacturer #: 5304528973
Meet the Latch Motor Door Lock by Frigidaire - a little component that plays a big part in keeping your range working safely and efficiently. This genuine OEM standard part is designed just for you if...
$64.00
In Stock
Common Symptoms of the CEW30IF6ISB
[Viewing 8 of 8]Little to no heat when baking
Fixed by
these parts
these parts

Show All
Oven is too hot
Fixed by
these parts
these parts
Show All
Oven not heating evenly
Fixed by
these parts
these parts
Show All
Will Not Start
Fixed by
these parts
these parts
Show All
Element will not heat
Fixed by
these parts
these parts
Show All
Little to no heat when broiling
Fixed by
these parts
these parts
Show All
Door won’t open after self cleaning cycle
Fixed by
these parts
these parts

Show All
Gas igniter glows, but will not light
Fixed by
these parts
these parts
Show All

Keep searches simple. Use keywords, e.g. "leaking", "pump", "broken" or "fit".
Cord was not tightened enough by delivery crew.
PF alarm appeared on display. Noticed clicking when cord was moved. Had arced for some time and melted original block. New part slightly different. Only has 3 lugs, old one had six. Stack using washers provided. Take note of colors before disassembly. Use caution while working through access opening. The edges are sharp. Only tools needed are phillips screwdriver, deep socket for lug nuts. Nut driver optional. Hope this is helpful.
Parts Used:
-
Timothy from Spring Valley, AL
-
Difficulty Level:Really Easy
-
Total Repair Time:15 - 30 mins
-
Tools:Screw drivers, Socket set
109 of 174 people
found this instruction helpful.
Was this instruction helpful to you?
Thank you for voting!
Above 400 beeper went off & code numbers came up on read out
Cut off power at fuse panel. pulled stove out from wall went behind stove removed back panels in area of sensor that I could see from the front side, inside oven. Located sensor from rear & unpluged senser from wiring bundle reached inside oven & removed screws from sensor. Pulled sensor out & threaded wire through hole. Took old & new sensors to bench in shop. Plug on new not the same as old. Had to change plug Cut and stripped wires. Wire is very small, need to use a good stripper. Twisted wire together & soldered connection, used shrink wrap to insulate wire. Took part inside and reinstalled in reverse order. Used 1/4 inch nutdriver on total job start to finish.
Parts Used:
-
Russell from Lake Havasu, AZ
-
Difficulty Level:Easy
-
Total Repair Time:30 - 60 mins
-
Tools:Nutdriver
78 of 89 people
found this instruction helpful.
Was this instruction helpful to you?
Thank you for voting!
Oven wouldn't operated. Error code F9
I called a repair place. They charged $54 to diagnose, (said it needed a new latch motor) then wanted $220 to complete the repair. I checked online prices and did it myself for about 15 minutes work and the latch motor itself ($44?).
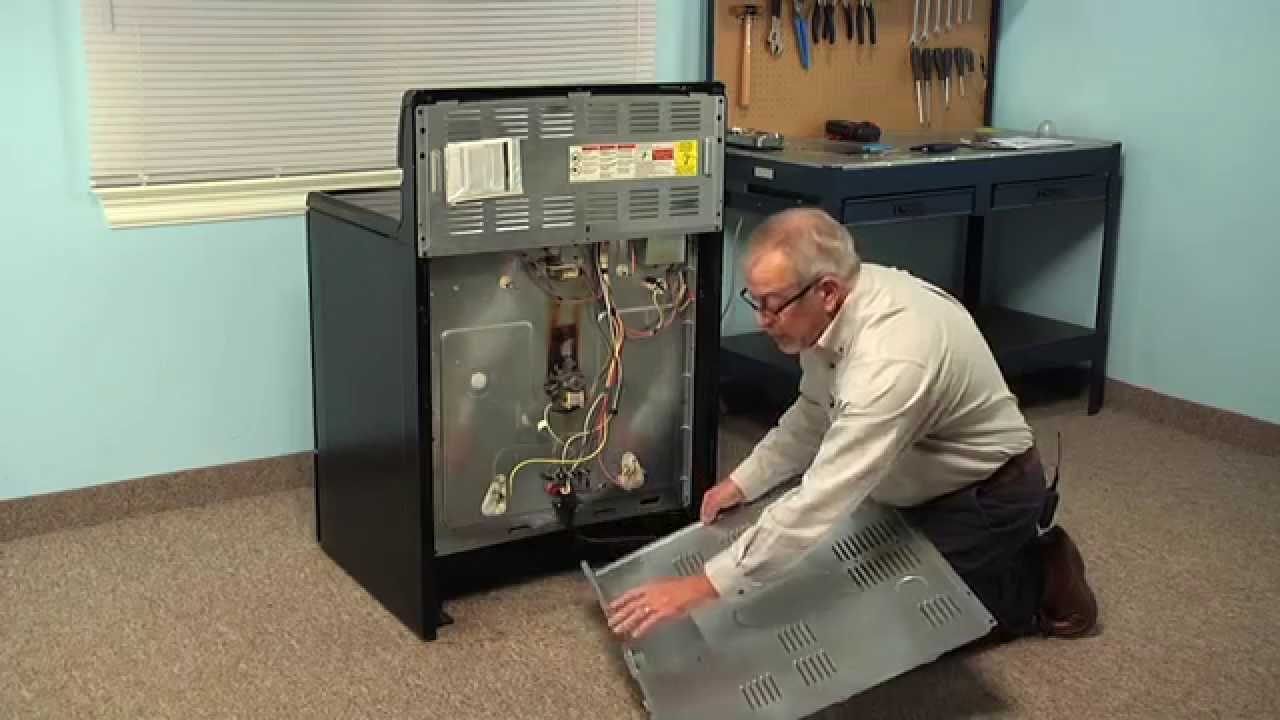
Was necessary to uplug the range, pull it away from the wall and remove the back panel sheet metal, then 3 screws that mount the motor. Replace motor, reattach sheet metal. Plug in. Done. Ready to bake cookies.
Was necessary to uplug the range, pull it away from the wall and remove the back panel sheet metal, then 3 screws that mount the motor. Replace motor, reattach sheet metal. Plug in. Done. Ready to bake cookies.
Parts Used:
-
Richard from Centennial, CO
-
Difficulty Level:Really Easy
-
Total Repair Time:Less than 15 mins
-
Tools:Nutdriver
76 of 101 people
found this instruction helpful.
Was this instruction helpful to you?
Thank you for voting!