














BGEF3032KBB Frigidaire Range - Overview
Sections of the BGEF3032KBB
[Viewing 5 of 5]


Manuals & Care Guides for BGEF3032KBB
Click to downloadInstall
Installation Instructions
(0.75MB)
Install
Installation Instructions
(10.11MB)
Manual
Owner's Manuals
(13.25MB)
Wiring
Wiring Diagram
(0.79MB)
Wiring
Wiring Diagram
(0.79MB)
Keep searches simple, eg. "belt" or "pump".

Temperature Sensor
PartSelect #: PS1528542
Manufacturer #: 316490000
The temperature sensor, also known as an oven probe, detects the temperature within the oven cavity. This temperature sensor is 9 inches in length and is a genuine OEM part. If your oven is too hot, n...
$83.52
In Stock
Order within the next 9 hrs and your part ships today!

Handle Mounting Screw
PartSelect #: PS978302
Manufacturer #: 316433300
This handle mounting screw works with your oven or range, and bolts the door handle to the door. It is approximately 2 inches in length and is an OEM part sourced directly from the manufacturer. If yo...
$32.01
In Stock
Order within the next 9 hrs and your part ships today!

Light Bulb
PartSelect #: PS12751166
Manufacturer #: 316538904
This 40-watt appliance light bulb is a reliable replacement for use in select ranges, refrigerators, freezers, and microwaves. It provides bright, consistent lighting to help you see clearly inside yo...
$35.95
In Stock
Order within the next 9 hrs and your part ships today!

LENS
PartSelect #: PS16218465
Manufacturer #: 5304524341
This lens covers the interior oven light bulb.
$34.95
In Stock
Order within the next 9 hrs and your part ships today!

Infinite Burner Switch - Small Element - 240V
PartSelect #: PS1145039
Manufacturer #: 316436000
This switch controls the stove top surface burner.
$96.98
In Stock
Order within the next 9 hrs and your part ships today!

ELEMENT
PartSelect #: PS16763418
Manufacturer #: 5304533520
Dual Radiant Surface Element
$116.36
In Stock
Order within the next 9 hrs and your part ships today!

Radiant Element with Limiter - 1200W
PartSelect #: PS1528719
Manufacturer #: 318178110
The 6” radiant cooking element with limiter fits under the glass cooktop and supplies heat to the cooking area. If your element is not heating, you can test the element for continuity with a multimete...
$162.93
In Stock
Order within the next 9 hrs and your part ships today!

GLASS
PartSelect #: PS11728351
Manufacturer #: 5304503232
This is also called the heat barrier glass.
$135.91
In Stock
Order within the next 9 hrs and your part ships today!

Oven Rack
PartSelect #: PS1765356
Manufacturer #: 316496201
This is a replacement rack for your oven. The oven rack fits into grooves on the side of the oven wall, and acts as a shelf that you can place food items on when you want to cook them in the oven. Thi...
$105.07
In Stock
Order within the next 9 hrs and your part ships today!

DRAWER GLIDE
PartSelect #: PS12584887
Manufacturer #: 316407402
Sold Individually.
$21.95
In Stock
Order within the next 9 hrs and your part ships today!

Oven Rack Link
PartSelect #: PS2364129
Manufacturer #: 316546300
This part is a single oven rack link arm. It is a genuine OEM replacement part for your oven. It connects the oven rack to the door bracket, to allow the rack to extend out when you open the oven door...
$39.95
In Stock
Order within the next 9 hrs and your part ships today!

Range Electronic Control Board
PartSelect #: PS12074908
Manufacturer #: 5304510064
If your oven won’t start, gets too hot, or the buttons aren’t responding, the control board might be the issue. This part runs the oven’s heating and timing functions and includes the digital display ...
$489.11
In Stock
Order within the next 9 hrs and your part ships today!
Common Symptoms of the BGEF3032KBB
[Viewing 10 of 10]Element will not heat
Fixed by
these parts
these parts


Show All
Oven is too hot
Fixed by
these parts
these parts


Show All
Little to no heat when baking
Fixed by
these parts
these parts

Show All
Oven not heating evenly
Fixed by
these parts
these parts
Show All
Door won’t close
Fixed by
these parts
these parts


Show All
Will Not Start
Fixed by
these parts
these parts

Show All
Little to no heat when broiling
Fixed by
these parts
these parts

Show All
Touchpad does not respond
Fixed by
these parts
these parts

Show All
Door won’t open after self cleaning cycle
Fixed by
these parts
these parts

Show All
Gas igniter glows, but will not light
Fixed by
these parts
these parts
Show All
Keep searches simple. Use keywords, e.g. "leaking", "pump", "broken" or "fit".
Oven wouldn't operated. Error code F9
I called a repair place. They charged $54 to diagnose, (said it needed a new latch motor) then wanted $220 to complete the repair. I checked online prices and did it myself for about 15 minutes work and the latch motor itself ($44?).
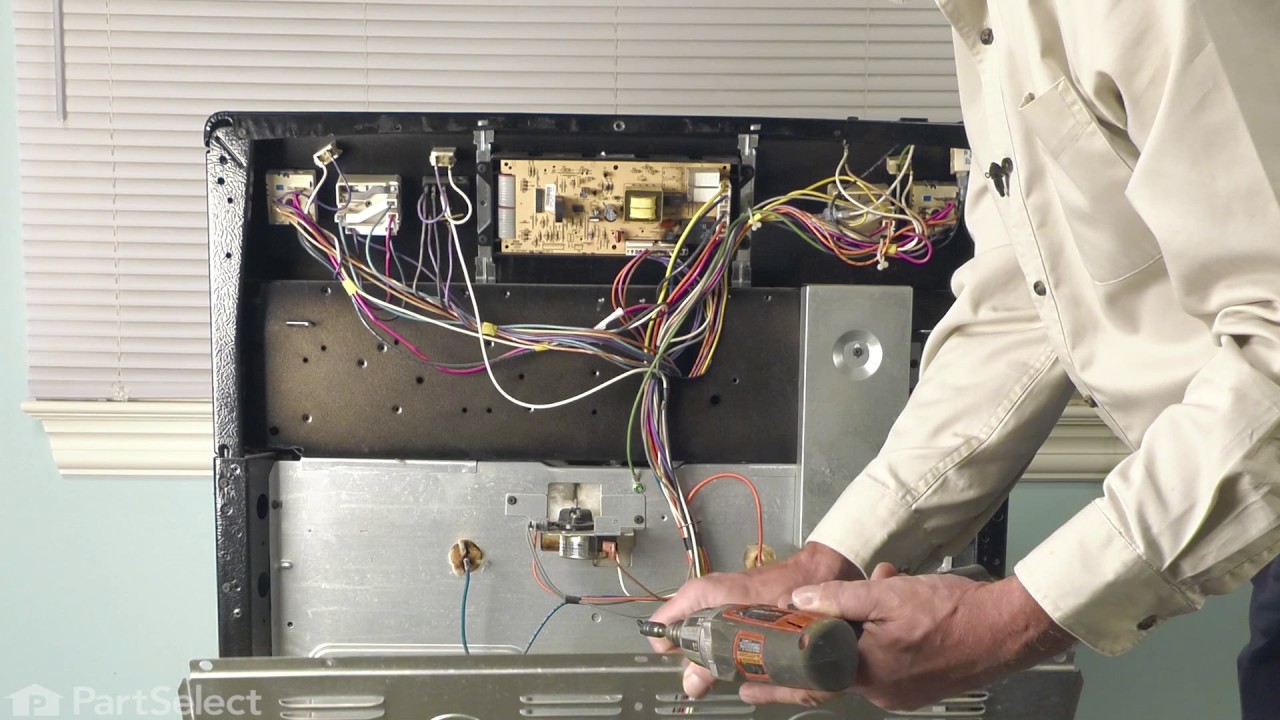
Was necessary to uplug the range, pull it away from the wall and remove the back panel sheet metal, then 3 screws that mount the motor. Replace motor, reattach sheet metal. Plug in. Done. Ready to bake cookies.
Was necessary to uplug the range, pull it away from the wall and remove the back panel sheet metal, then 3 screws that mount the motor. Replace motor, reattach sheet metal. Plug in. Done. Ready to bake cookies.
Parts Used:

-
Richard from Centennial, CO
-
Difficulty Level:Really Easy
-
Total Repair Time:Less than 15 mins
-
Tools:Nutdriver
76 of 101 people
found this instruction helpful.
Was this instruction helpful to you?
Thank you for voting!
burned out burner
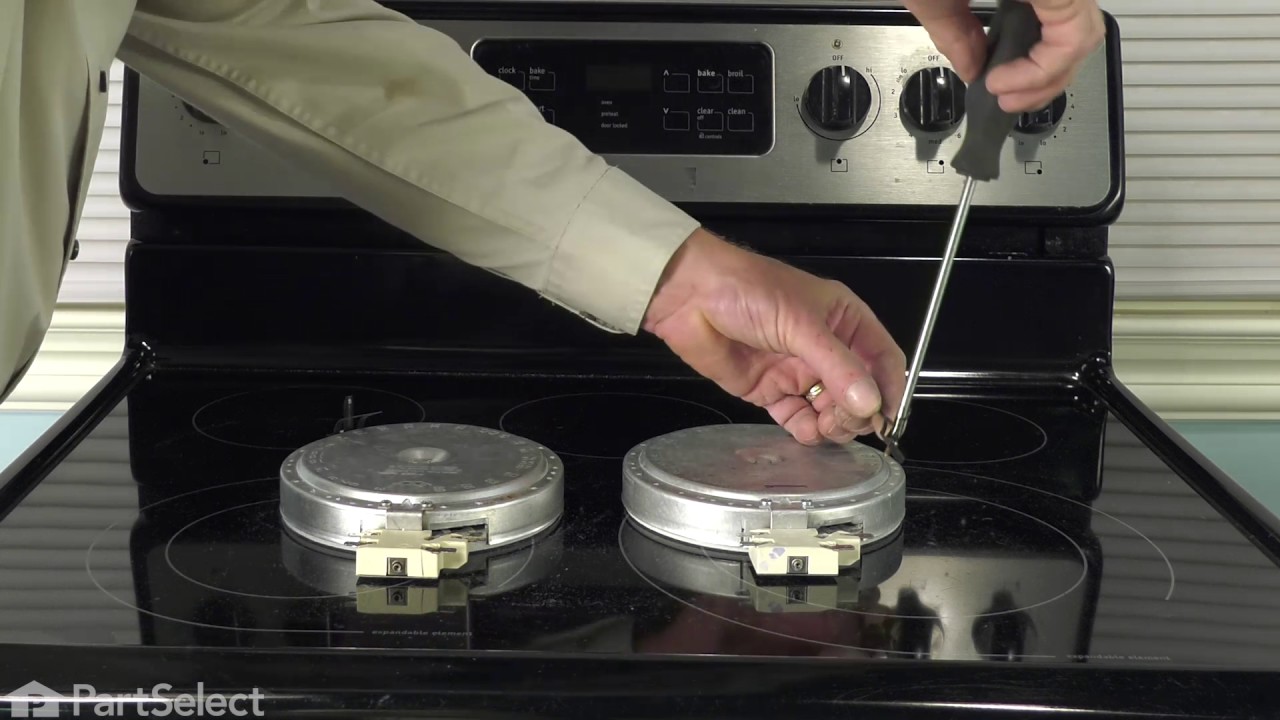
First we removed two screws under the rim of the range top to open the lid. Lifted the lid and removed the screws from the bracket that holds the elements, Be careful with the clips that hold the element in, if you break them or bend them there aren't any more! Also note which holes they were in, they are marked according to the different sizes of elements. Disconnected the wires, needed needlenose pliers to grip them...connected new element, popped it back in place, replaced bracket, closed top ...Easy peasy!!!
Parts Used:
-
Lori from Winter Haven, FL
-
Difficulty Level:Easy
-
Total Repair Time:Less than 15 mins
-
Tools:Pliers, Screw drivers
70 of 99 people
found this instruction helpful.
Was this instruction helpful to you?
Thank you for voting!
Switch Was Making A Arcing Sound When Burner Was On
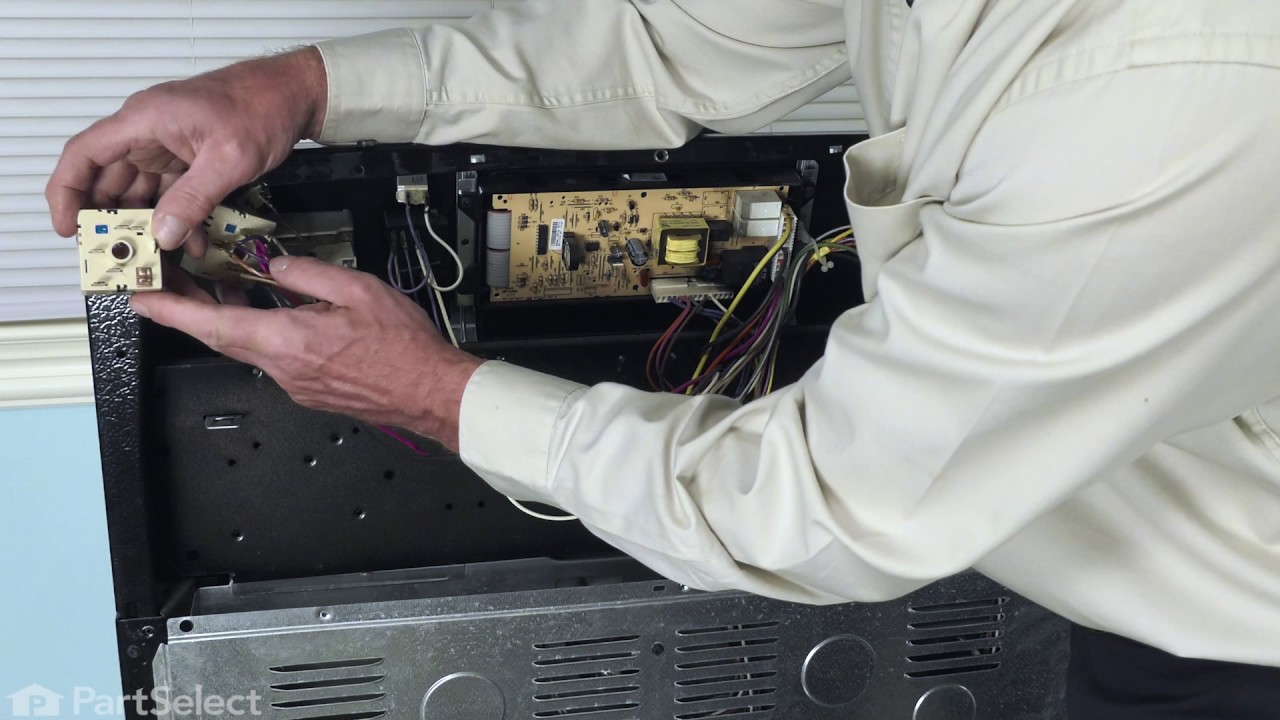
Removed the back cover of the range. Removed the knob from the front of the switch. Removed 2 screws holding switch to range. Removed wires one at a time and connected to proper poles on replacement switch and reinstalled new switch on range
Parts Used:
-
Gerald from Paris, TN
-
Difficulty Level:Easy
-
Total Repair Time:15 - 30 mins
-
Tools:Screw drivers
59 of 83 people
found this instruction helpful.
Was this instruction helpful to you?
Thank you for voting!