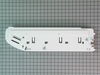
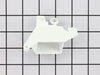
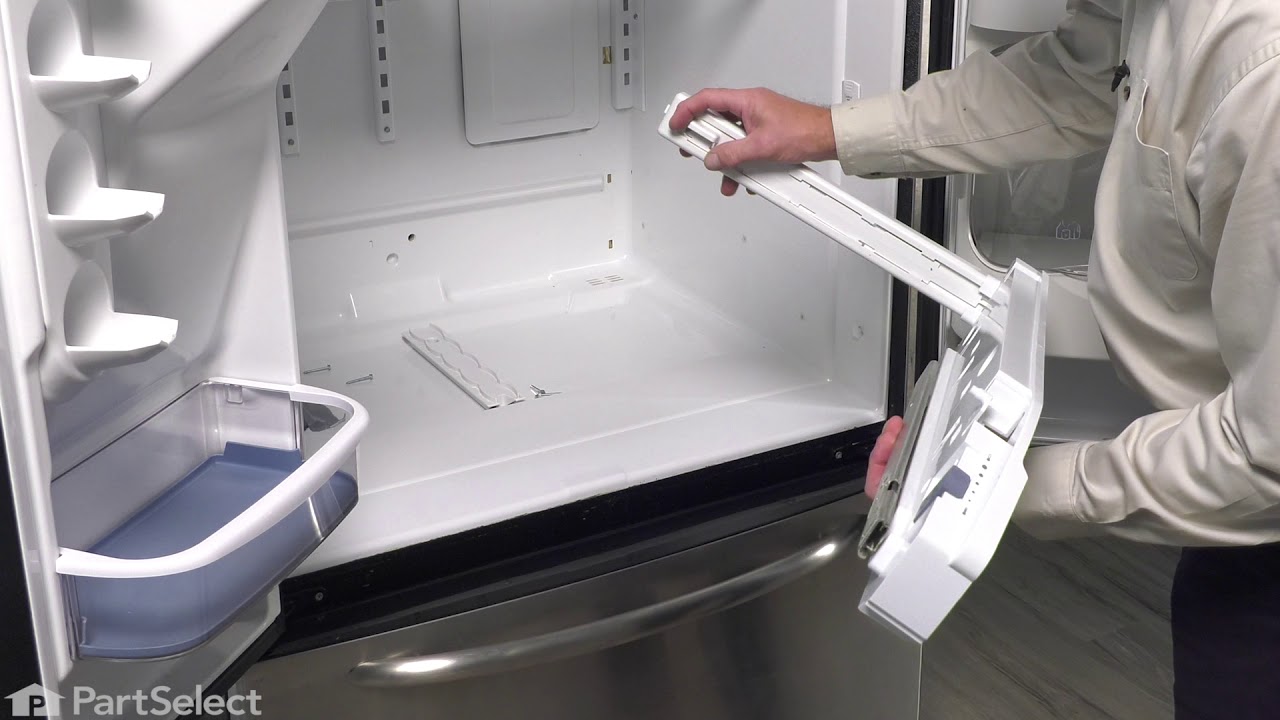
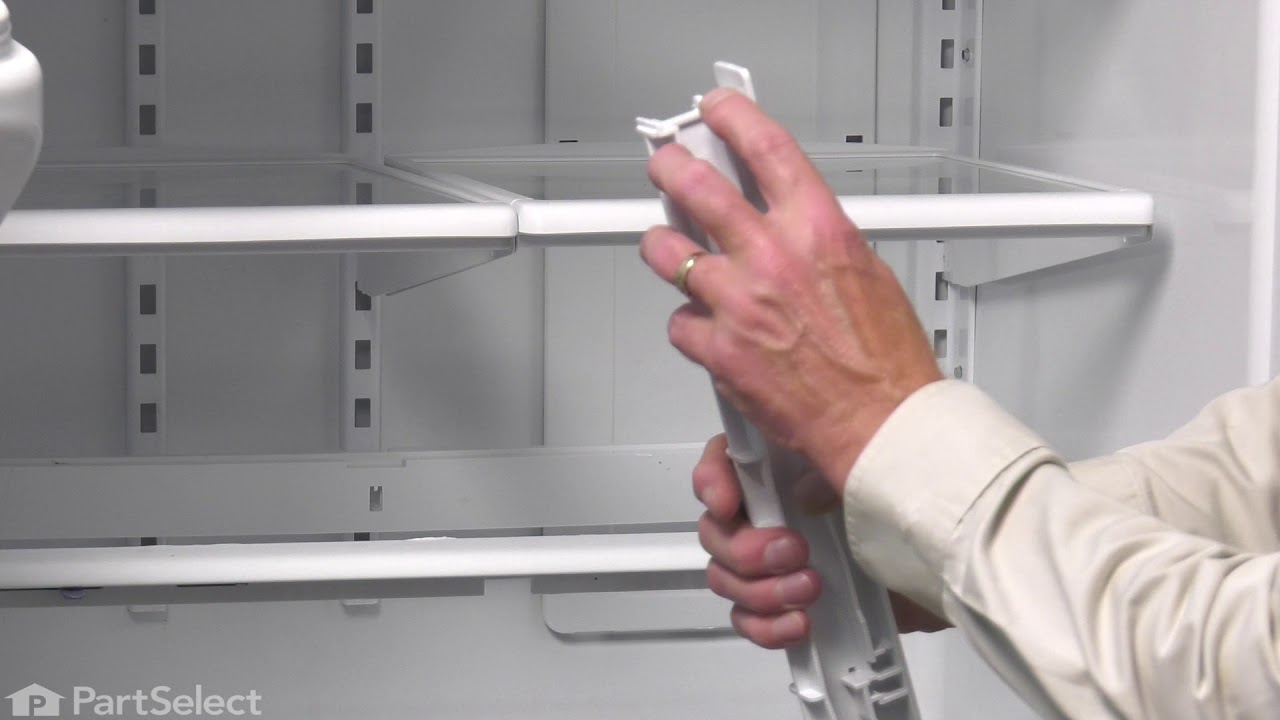
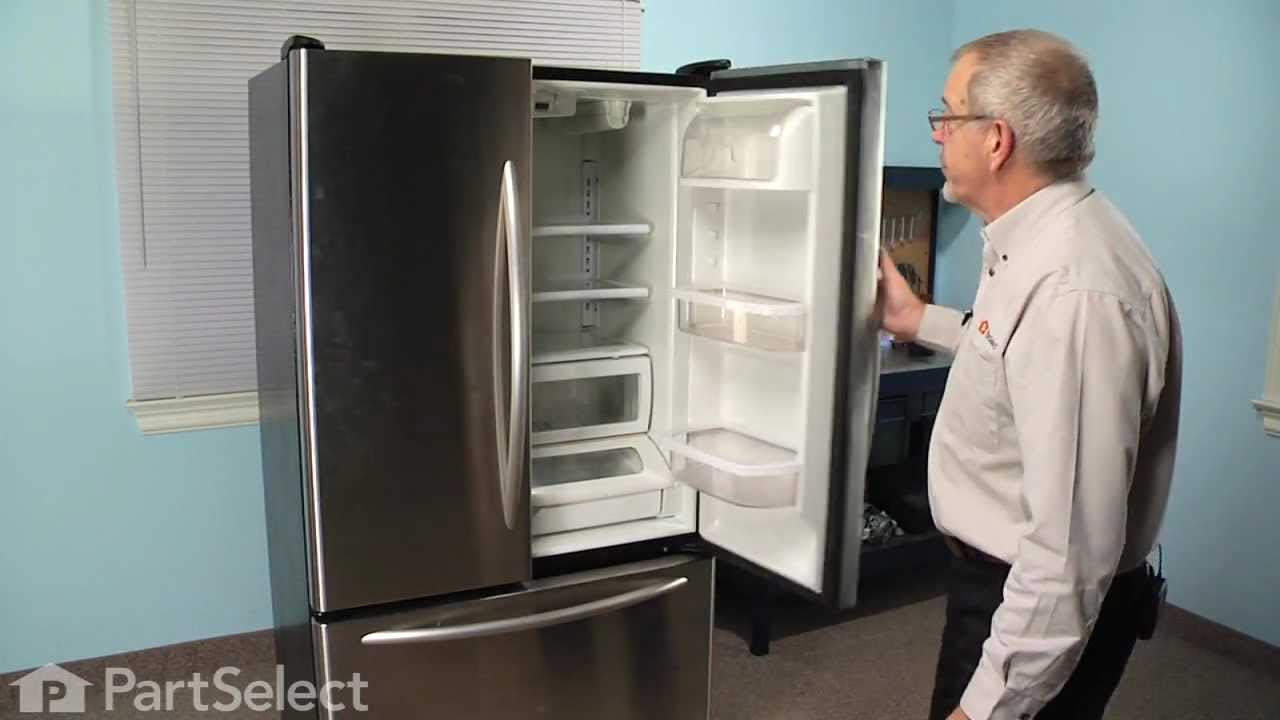
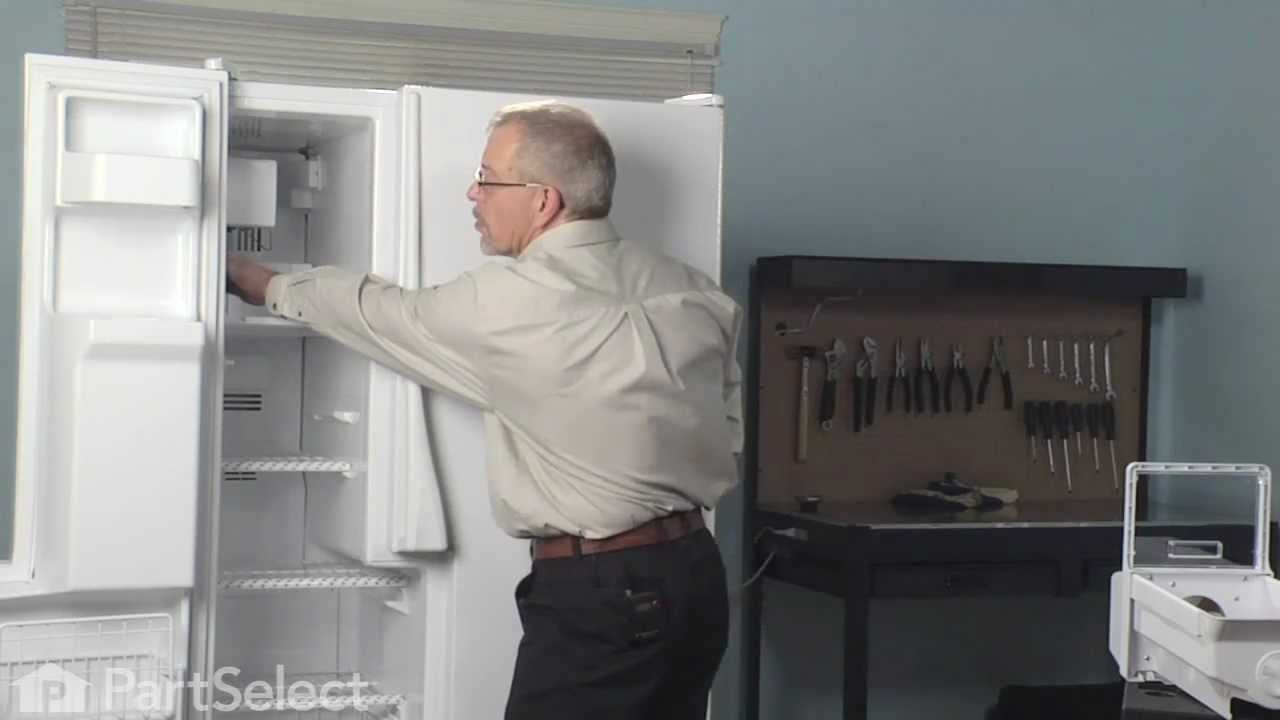
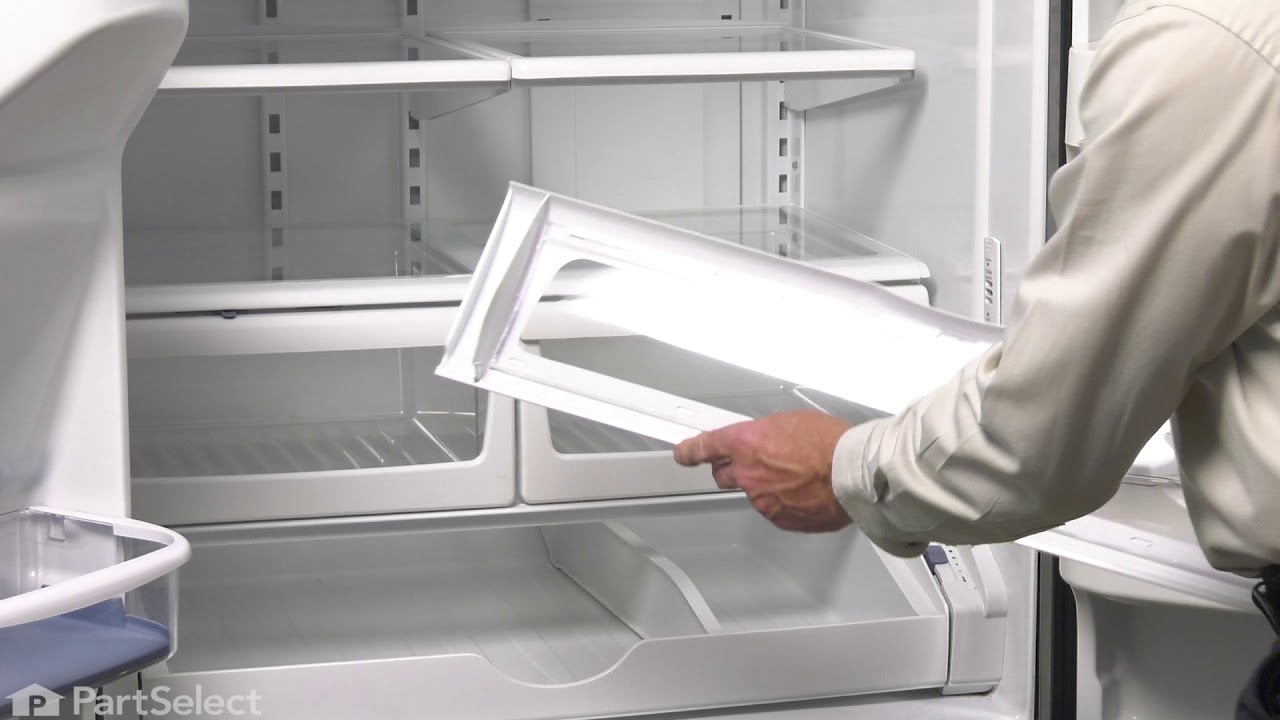
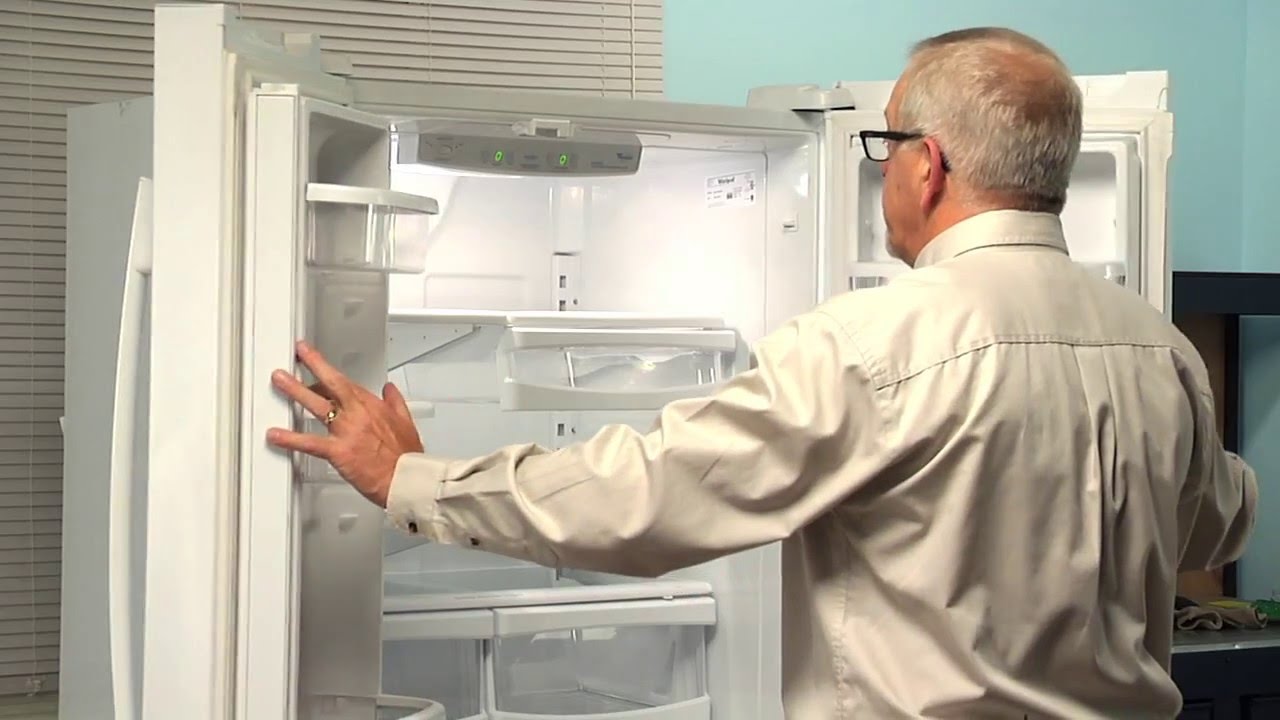
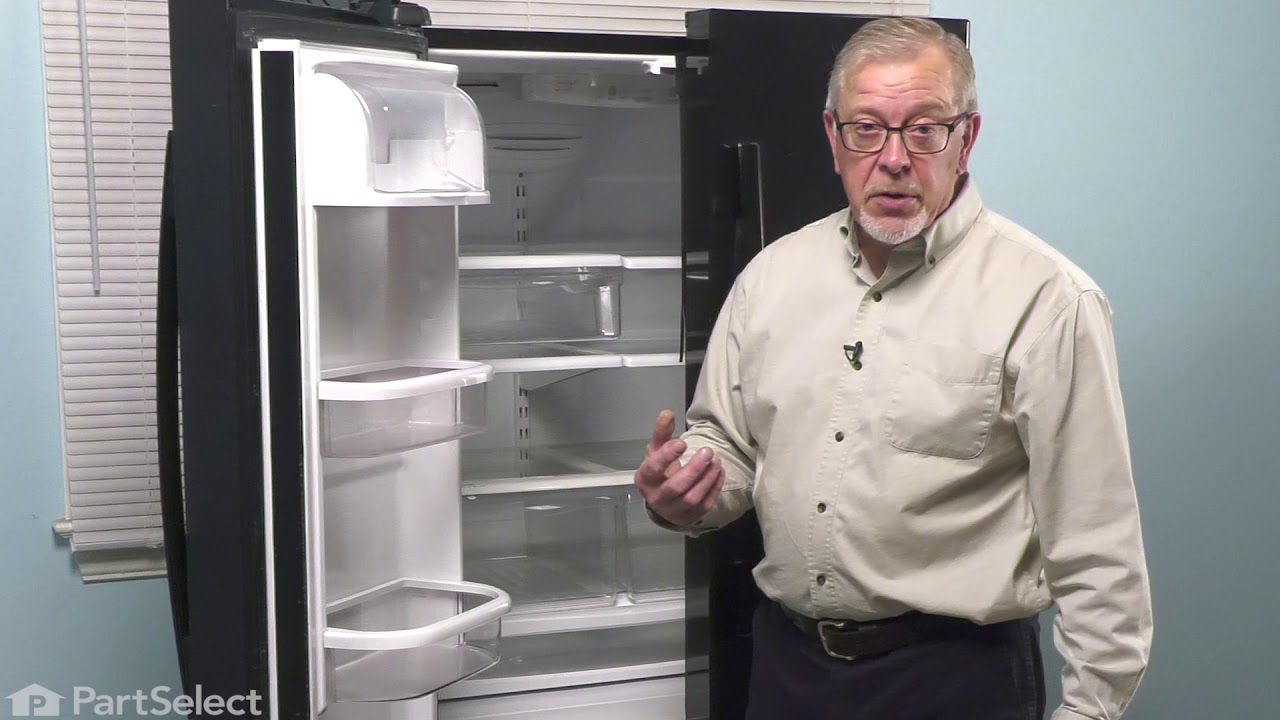
This manufacturer-approved Refrigerator Pantry End Cap Kit, also known as the Refrigerator Drawer Support, is a kit containing all parts of the Pantry End Cap. It snaps into place on the appliance’s ...
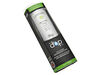
This water filter purifies water going to the water dispenser and sometimes the icemaker as well. This part should be replaced if it is causing reduced water flow or just replaced periodically per the...
This OEM Center Rail is a white plastic part which supports the crisper frame, which holds the crisper. Fifteen inches long and white in colour, if broken, the support may no longer hold properly. Re...
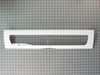
The pantry drawer lid helps keep everything inside the drawer, it acts as a cover and keeps your drawer at the proper temperature by creating a seal. If the door will not open or close, or if the draw...
This modular ice maker assembly replaces worn-out units to restore ice production in refrigerators. It includes the ice mold and control device but excludes the cover, ice level arm, wire harness, and...
This electronic control board is a critical component in refrigerator systems, responsible for regulating temperature settings and managing cooling and defrost cycles. If your appliance is experiencin...
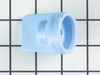
This water filter bypass cap is a genuine OEM component designed for select Whirlpool, Maytag, KitchenAid, and affiliated refrigerator models. Installed in place of the water filter, it allows uninter...
This includes both the run capacitor and the start relay. The capacitor helps the compressor kick on and off while maintaining a constant temperature to keep things frozen in your freezer.
The start ...
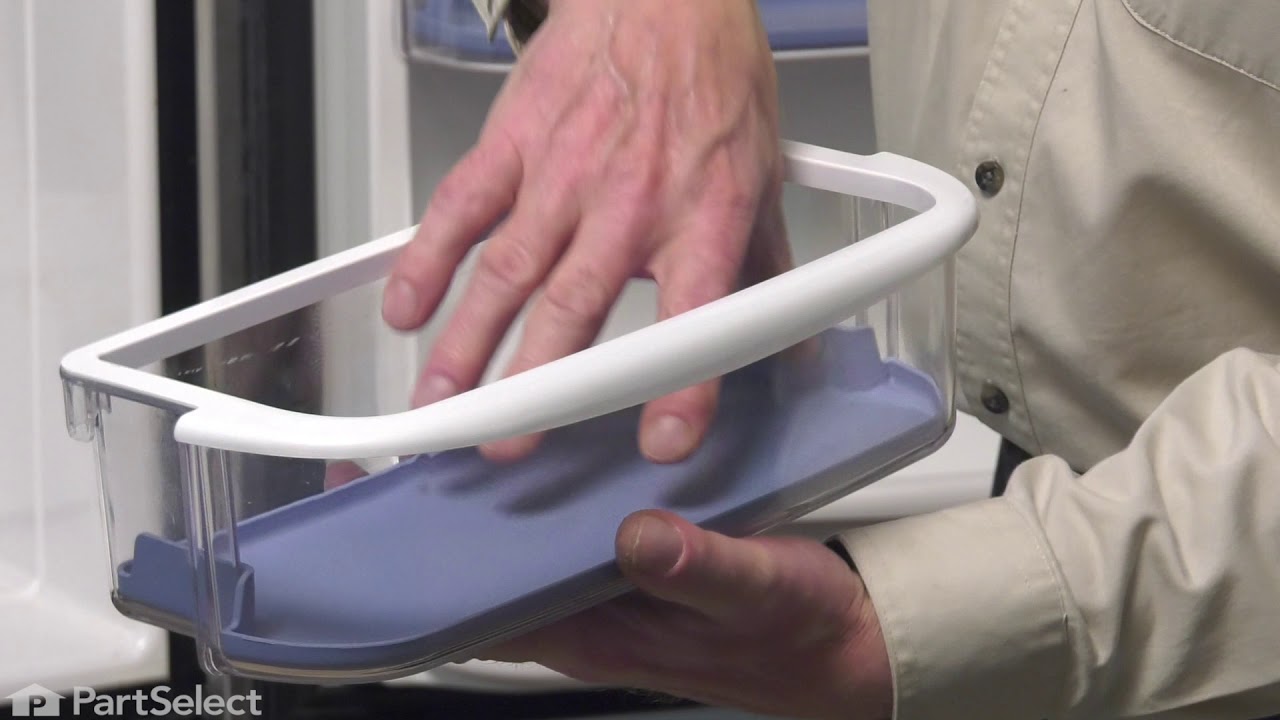
If the door shelf bin in your refrigerator is cracked, missing, or no longer holding items securely, this clear plastic replacement bin may be just what you need. Designed to fit inside the refrigerat...
$84.50
In Stock
Questions And Answers for AFD2535DEQ
Ask our experts a question about this model and we'll get back to you as soon as possible!
3 questions answered by our experts.
< Prev
1
Next >
Sort by:
Search filter:
Clear Filter
Your search term must have 3 or more characters.
Keep searches simple. Use keywords, e.g. "leaking", "pump", "broken" or "fit".
Sorry, we couldn't find any existing answers that matched.Try using some different or simpler keywords, or submit your new question by using the "Ask a Question" button above!
Mimi
July 8, 2021
What is the size of this model?
For model number AFD2535DEQ
Hi Mimi,
Thank you for your question. The dimensions of your refrigerator are 69-7/8 high by 35-5/8 inches wide by 34 inches deep and it has a capacity of 24.8 cubic feet. We hope this helps! Good luck with the repair!
3 peoplefound this helpful.
Was this helpful?
Thank you for voting!
Joyce
November 24, 2022
Need two door seal for Model AF2535DEQ and Serial 13577643LJ
The cost and the ones you show will they work on my refrigerator?
MY doors will not close tight have to keep pushing too good to whole close.
I am assuming the seals or bad, they have beginning tears.
For model number AFD2535DEQ
Hello Joyce, thank you for contacting us. The door gasket, part number PS11759516, is identical for both sides of the refrigerator, right and left, for your model. This gasket is sold individually, so you will need to order two in quantity for your repair. We look forward to hearing from you if you need assistance with placing an order through our 7-days-a-week customer service. We hope this helps!
Freezer door handle was loose and just came off in my hand. Need instructions on how to either replace it or repair. Looks like screws come from inside door out. Thank you.
For model number AFD2535DEQ
Hello Barbara, thank you for reaching out. Use the following instructions to replace the door handle:
1. Align the door handle clips slightly to the left of the tabs attached to the freezer door.
2. Rotate the handle so the left base is flat against the door.
3. Push the left handle base against the left door tab and slightly to the right, just enough to allow it to hang unsupported.
4. While firmly supporting the left handle base against the door, align the right base of the handle with the right tabs that are attached to the door.
5. Now, while firmly holding the handle at the left and right bases, gently slide the handle towards the right until the right base settles in. The handle should now be flat against the face of the freezer door at both the left and right bases.
6. With hands still firmly holding the handle flat against the freezer door, you may have to reverse directions momentarily to assure clip or tab engagement. Then firmly slide the handle to the right until it clicks. The audible "click" indicates that the fastening clips are securely interlocked.
We hope this information helps!
Was this helpful?
Thank you for voting!
< Prev
1
Next >
✖
Ask a Question
Ask our experts a question on this model and we'll respond as soon as we can.
Pressed in the end of the filter cover, lowered it down part way. Twisted the old filter 1/4 turn and removed it. Set in the sink to drain. Inserted new filter and twisted it to lock. closed cover. Done. Total time @ 1 Minute.
Interior surface of ice tray felt rough & flaky (coating deteriorated) so cubes would not release. Unplug appliance. Remove timer cover by hand pressure @ edge. Remove single attachment screw & bracket at lower front of icemaker. Disconnect wiring harness from socket @ rear of compartment. Tricky part was determining what type of connection held the other two attachment points along the long edge of the icemaker. I did not have repair manual or useful drawing but looked @ PartsDirect pic of side brackets & used a small mirror to confirm that mine were also some sort of "snap in" attachment. Remove icemaker unit by pushing upward and outward on the unit. I takes a good bit of pressure and will pop loose, but be careful not to break attachment bracket from freezer wall. Scavenge shut off bar and wiring harness from old icemaker once you have it out & attach to new one before installing it back in freezer. Again, you might find a mirror useful to align those pesky snap-in brackets with the new unit. Since you probably kept your freezer running while waiting for the part, the plastic snap-ins will be cold and brittle. I warmed them up first by applying a dampened cloth heated in the microwave to make them a little more pliable. A good push of the new unit towards the snap-ins along with some upward force will get it stable. Reattach the metal screw in bracket & connect the wiring harness to rear plug... and don't forget to plug the whole thing back in. It will take awhile for the first batch of cubes dump as the timer may need to cycle completely around to get to the fill cycle... be patient. Dump the first couple of batches of cubes just to make sure you're free of any residue.
unplugged refrigerator and shut off water, removed one screw and loosened two more, after removing one side of the ice bucket rail, unplugged electrical from old ice maker. Then I removed the bail and out on new one, reinstalled ice maker in reverse order from taking it out.





















.gif "SUPPLEMENTAL INFORMATION Diagram and Parts List for Amana Refrigerator")