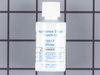
This 18 ml bottle of white appliance touch-up paint is used to cover scratches or marks on your appliance. The white touch-up paint can be used on refrigerators, microwaves, ranges, clothes dryers, an...
$17.95
In Stock
Order within the next 15 mins and your part ships today!
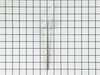
This temperature sensor detects the temperature within the oven cavity. This oven temperature sensor, for ranges, works together with the oven control board to measure and regulate the oven temperatur...
$111.52
In Stock
Order within the next 15 mins and your part ships today!
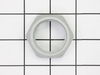
This is a multi-use and multi-appliance screw. It can be used on a microwave, refrigerator, range/oven, air conditioner, dehumidifier, washer, or dryer. The measurements of this screw are 8 x 1/2 inch...
$28.95
In Stock
Order within the next 15 mins and your part ships today!
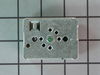
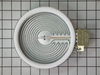
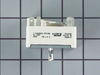
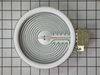
This switch helps you control the heat on your stove’s 8-inch burner. If your burner isn’t heating up or won’t adjust properly, this part could be the fix. It works by sending the right amount of powe...
$72.03
In Stock
Order within the next 15 mins and your part ships today!
This oven rack offers a sturdy, chrome-finished surface for baking, roasting, and broiling in your range. It fits a wide selection of compatible ovens and is built to handle high heat and frequent use...
$65.39
In Stock
Order within the next 15 mins and your part ships today!
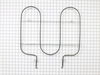
This broil element is a genuine replacement component located at the top of the oven cavity, designed to supply direct heat for broiling and high-temperature cooking. Engineered for select range model...
$207.91
In Stock
Order within the next 15 mins and your part ships today!
Order within the next 15 mins and your part ships today!
Questions And Answers for AER6303MFS3
Ask our experts a question about this model and we'll get back to you as soon as possible!
1 question answered by our experts.
< Prev
1
Next >
Sort by:
Search filter:
Clear Filter
Your search term must have 3 or more characters.
Keep searches simple. Use keywords, e.g. "leaking", "pump", "broken" or "fit".
Sorry, we couldn't find any existing answers that matched.Try using some different or simpler keywords, or submit your new question by using the "Ask a Question" button above!
Beth
September 8, 2023
The cooktop hot and cooktop on indicators lights won't turn off. Burners have not been used in over 2 days so cooktop hasn't been on
For model number AER6303MFS3
Hello Beth, thank you for your inquiry. If your cooktop indicator light stays on even when the burner is off, then it is not an issue with the light itself. Instead, it is because of a stuck contact on one of the infinite switches. You can test and see which one is powering the light. You can test this with a multimeter. Infinite switches for your model are part numbers PS11740774, for the right front and left rear burner and PS11740775, for the left front and right rear burner. We hope this helps, good luck with this repair!
I numbered every part. ex: 1 L., for first part removed left side. I used a magic marker to circle the holes and wrote the number of screws used on the part, set the srews in a separete place, so that I new where these screws went to. The cleanup was pretty time consuming, but I was able to keep my stove, when every repairman I called to fix my stove told me I was better off buying a new stove. ($600.00 stove 2 years old)Please Note: The insulation blanket needed for the entire stove is two pieces, the sides and top are one part # and the bottom and back, are another part #. I did not know this. I just purchased the top and sides. I got lucky, the back and bottom were still in good shape. So I guess I should have read the description of the part more carefully to see what it covers, before I ordered it. It took two people two hours to do the work, it was really nice to have an extra set of eyes, to remember what direction pieces of metal from the stove went. I would do it all over in a heart beat instead of buying a new stove.
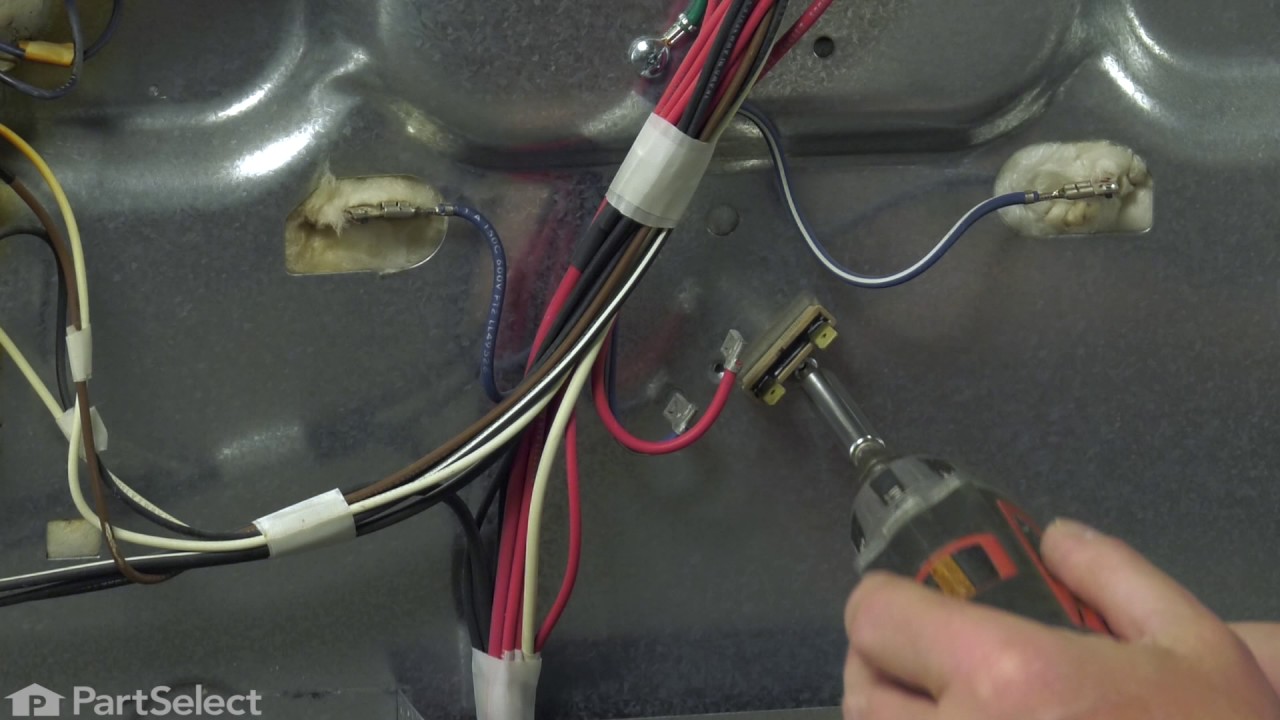
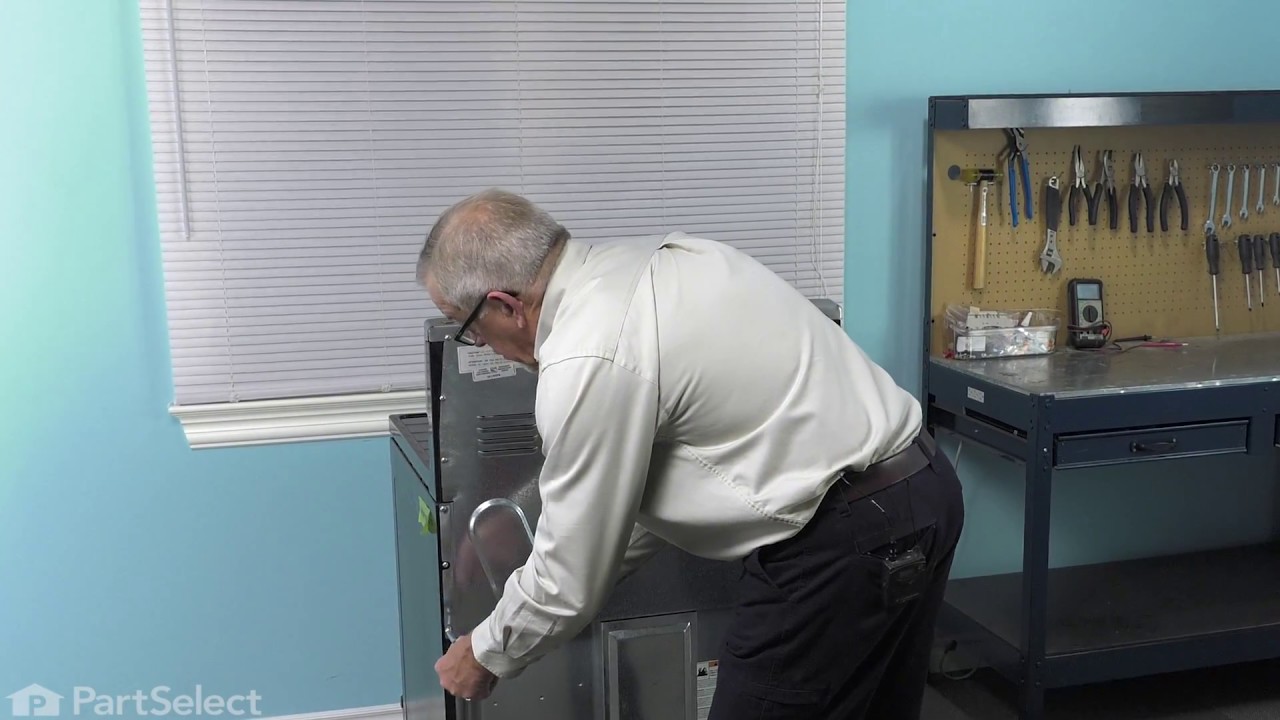
Opened up the back of the stove. Unpluged the sensor. Replaced the sensor. Replace the back of the stove.
The sensor that has been replaced is not what is expected. After reading all of the instructions for adjusting the temperatures, the only temp that stays steady is when we first turn on the oven to 350 degrees. That stays steady but when I turn it to 400 it slowly goes up to 425 degrees.
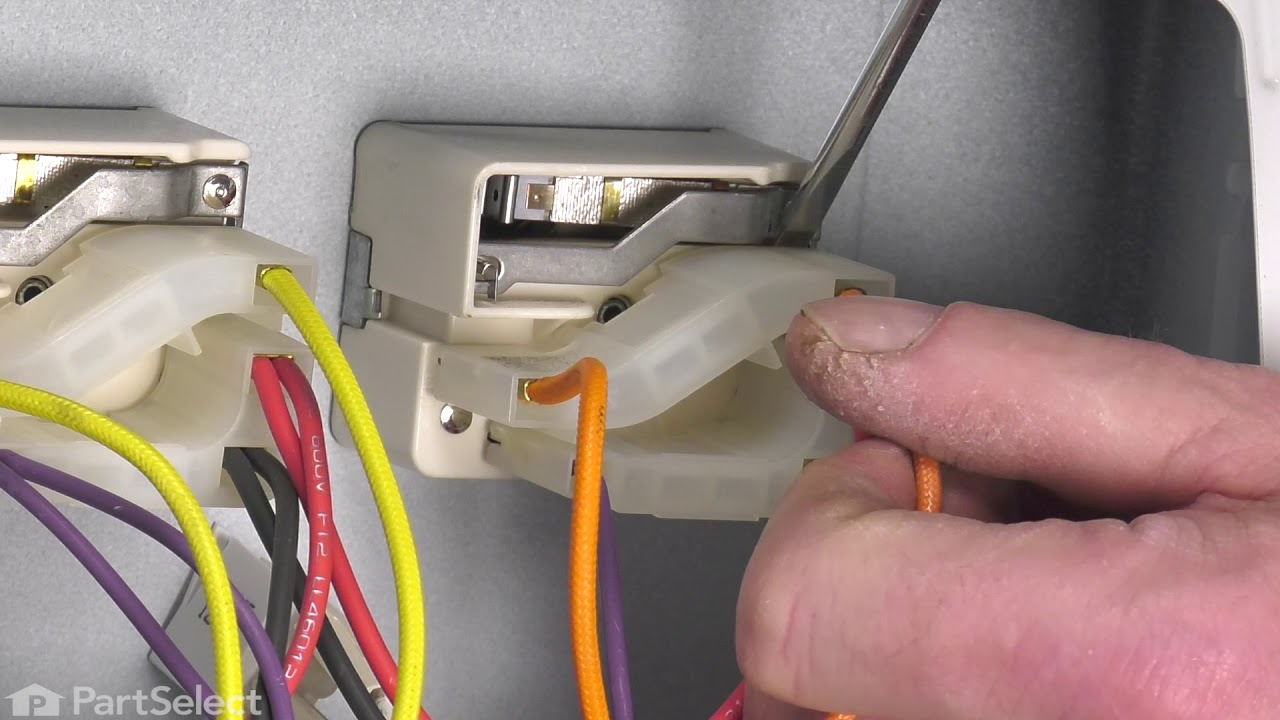
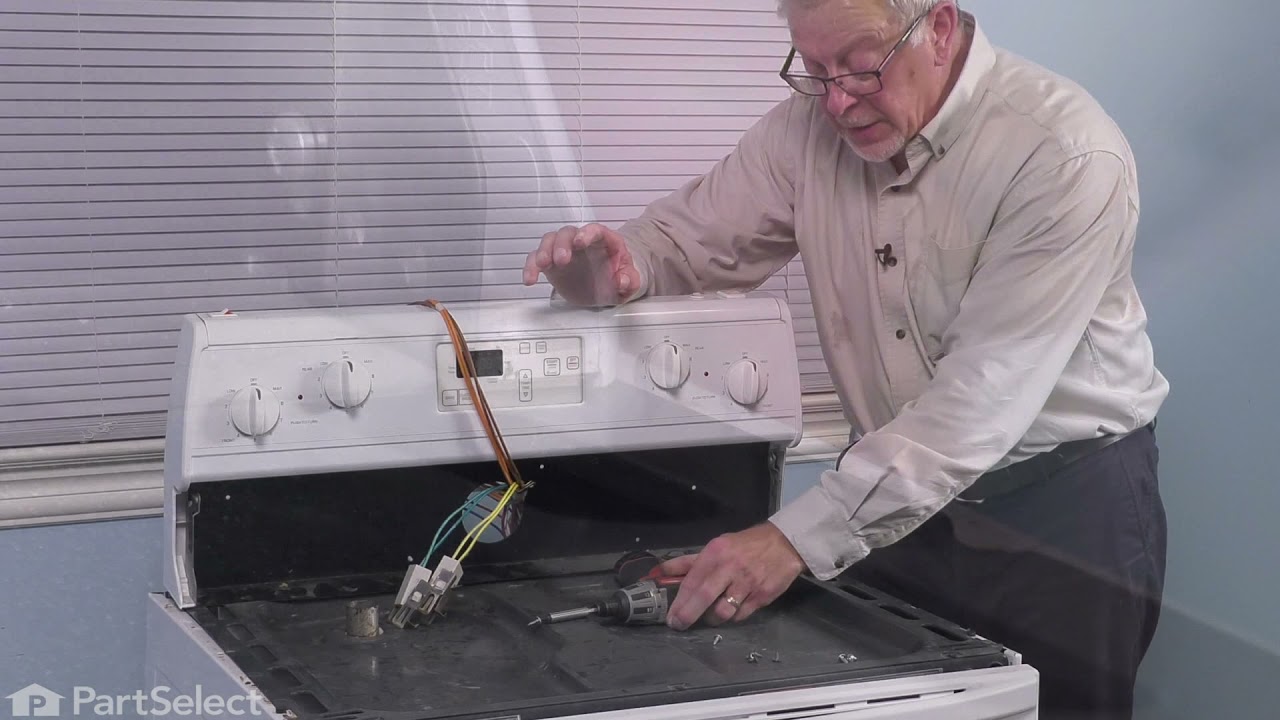
Start by turning off the power to the range. It was fairly easy to take the "Control Deck" off the top of the range by removing about 8 screws. I leaned the deck forward without removing any wires except a green ground that was held on by one of the screws. There are two small screws under the switch knob holding the Infinite Switch to the panel. I removed these and let the switch hang on the wires. To avoid missplacing or crossing the wires... I moved one wire at a time to the new switch, then attached the switch to the panel and put it all back together. Whole job was done in about 15 minutes