














ACC6356KFW01 Whirlpool Cooktop - Overview
Sections of the ACC6356KFW01
[Viewing 3 of 3]
Keep searches simple, eg. "belt" or "pump".

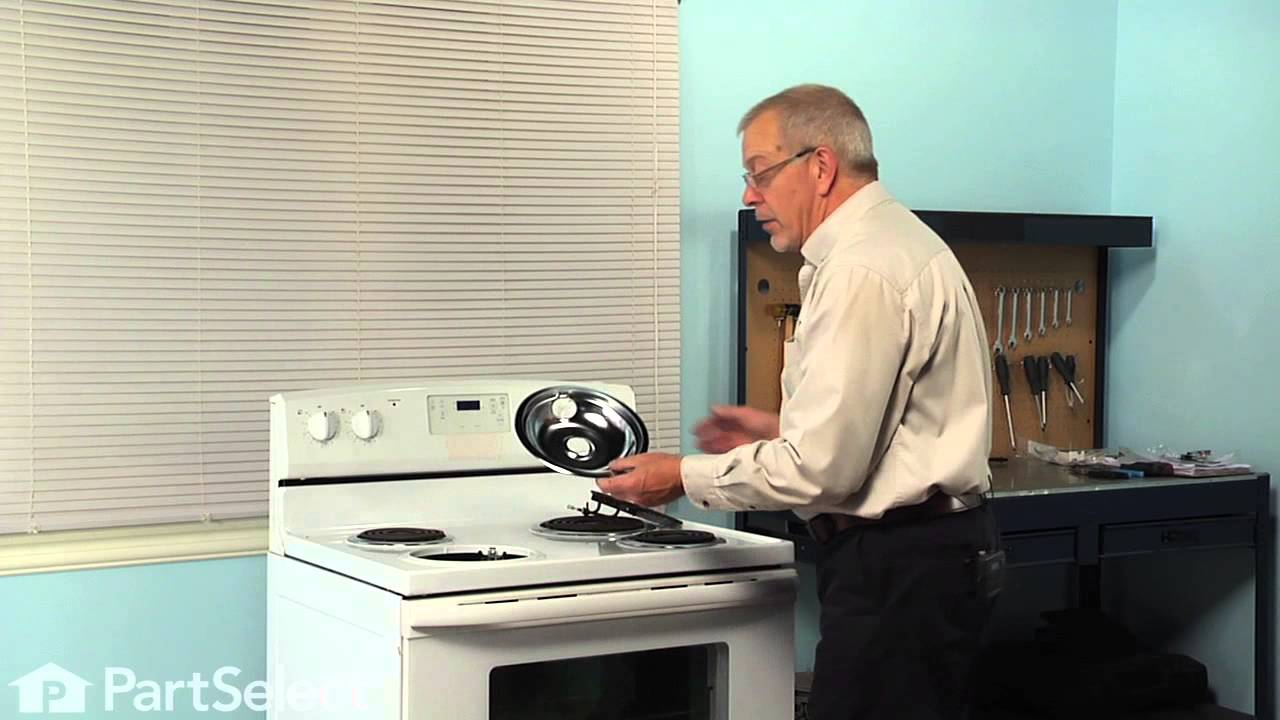
Chrome Drip Bowl - 8 inch
PartSelect #: PS11750107
Manufacturer #: WPW10196405
This manufacturer-certified drip bowl is also known as a drip pan, and it is designed for use with cooktops and ranges. It sits below 8-inch burner elements and catches drips and spills from the cookw...
$17.96
In Stock

Drip Bowl - 6 Inch
PartSelect #: PS2366565
Manufacturer #: W10196406RW
This part has been substituted by the manufacturer and has a hole in the center. It no longer has a solid bottom.
$23.29
In Stock


Stand Mixer Screw
PartSelect #: PS11742292
Manufacturer #: WP4159193
This screw is sold individually.
$12.95
In Stock


Delta Frame Canning Element - 8"
PartSelect #: PS333520
Manufacturer #: 242905
This canning element is typically used for Whirlpool/Kenmore brand electric ranges. This element has a 3/4 raised frame for additional support, 5 turns, and carries 2600 watts. It also comes with an infinite switch.
No Longer Available


Common Symptoms of the ACC6356KFW01
[Viewing 1 of 1]


Keep searches simple. Use keywords, e.g. "leaking", "pump", "broken" or "fit".
Replaced drip bowls in stove
Took out the old drip bowls and replaced with new bowls.
Parts Used:
-
Liza from College Point, NY
-
Difficulty Level:Really Easy
-
Total Repair Time:Less than 15 mins
71 of 134 people
found this instruction helpful.
Was this instruction helpful to you?
Thank you for voting!
Rented appartment in which none of the drain pans were the proper size making it very difficult to cook
I removed the element and then the drain pan and replaced with the new correct pans. I replaced the element and all was well.
Parts Used:
-
Grace Mary from Canton, OH
-
Difficulty Level:Really Easy
-
Total Repair Time:Less than 15 mins
67 of 131 people
found this instruction helpful.
Was this instruction helpful to you?
Thank you for voting!
lens light was broken and missing.
Removed the cooktop using screwdriver. Pushed lens-light into cooktop hole.It was difficult to do and was where I spent most of my time. Next time I will spray bottom of lens- light with silicon so it goes in easier. I stood cooktop up on its side and inserted the red light assembly onto the lens-light. Reinstalled cooktop
and turned electrical power on.
and turned electrical power on.
Parts Used:
-
Allan from Rolla, MO
-
Difficulty Level:A Bit Difficult
-
Total Repair Time:15 - 30 mins
-
Tools:Screw drivers
1 person
found this instruction helpful.
Was this instruction helpful to you?
Thank you for voting!