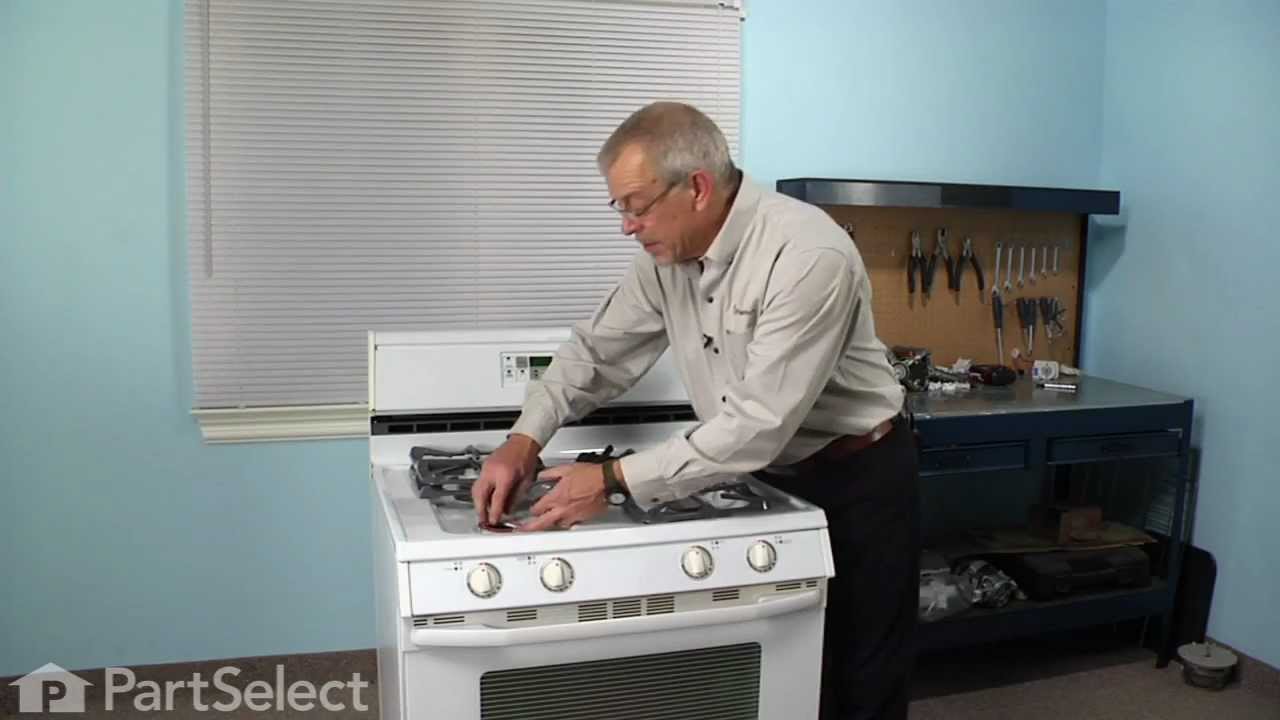
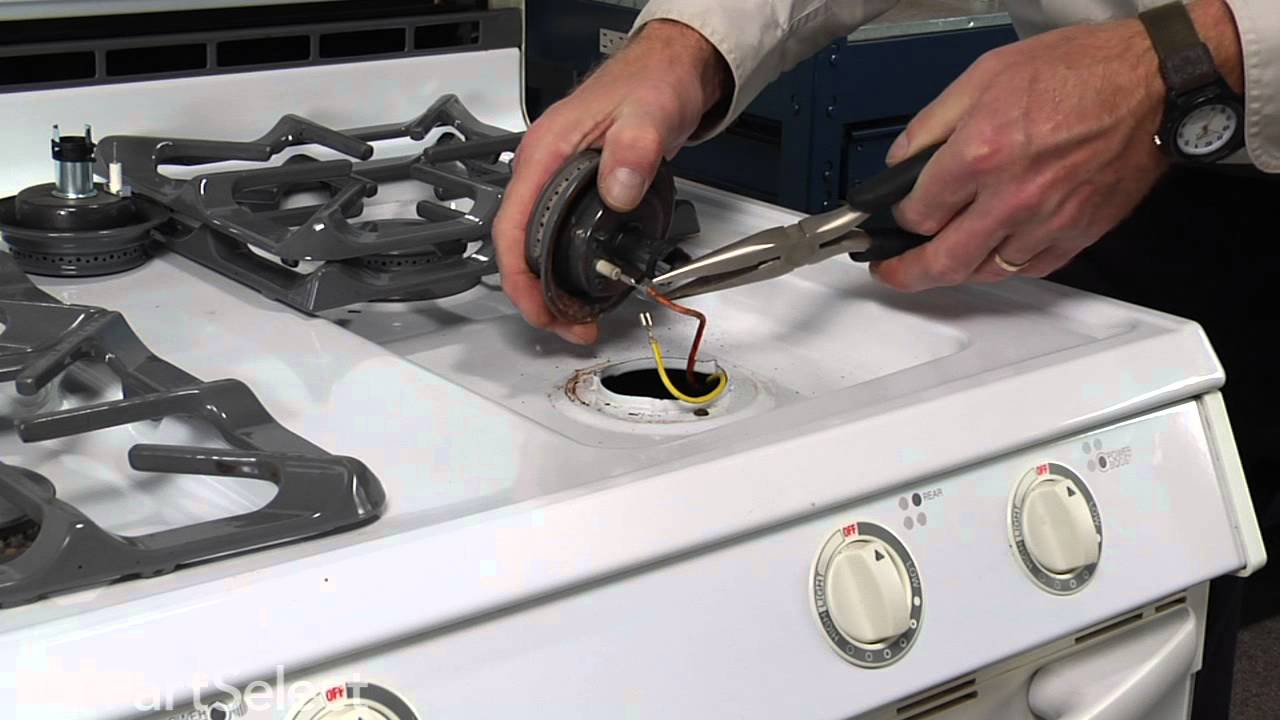
This burner cap assembly is sold with the spark electrode. Please note this part has been redesigned and no longer requires a gasket. Sold individually.
This is a multi-use and multi-appliance screw. It can be used on a microwave, refrigerator, range/oven, air conditioner, dehumidifier, washer, or dryer. The measurements of this screw are 8 x 1/2 inch...
This burner knob is a little over two inches in diameter. This knob has gray lettering denoting the off, low, light, and high positions. It also has a red indicator line and a line of decorative red f...
This pressure regulator is three inches long. It is made of metal, but has a blue plastic plug on each end. This regulator sits below a gas range's control panel.
$205.83
In Stock
Questions And Answers for 8351VV
Ask our experts a question about this model and we'll get back to you as soon as possible!
4 questions answered by our experts.
< Prev
1
Next >
Sort by:
Search filter:
Clear Filter
Your search term must have 3 or more characters.
Keep searches simple. Use keywords, e.g. "leaking", "pump", "broken" or "fit".
Sorry, we couldn't find any existing answers that matched.Try using some different or simpler keywords, or submit your new question by using the "Ask a Question" button above!
Rod
July 29, 2026
Where can I get a Spark Module for my Magic Chef Countertop stove?
For model number 8351VV
Hi Rod, thank you for getting in touch. The spark module for your model, part number PS2094592, is available on our site; you can order it from there. If you require assistance to place an order, please contact customer service!
I would like to order your part but I can't get the stove top to come loose from the main burner section where your the spark module goes! I removed all screws but it still will not come apart! Maybe it is because it has not been apart for at least 35 years!
For model number MAGI
Hello Rod, thank you for reaching out to us. If you have removed all the screws, the check for baked grease and hardened foam tape that have essentially welded. Take a stiff flat putty knife or plastic scraper and carefully work it into the perimeter seam between the top and the housing underneath. Work slowly all the way around all four sides to cut through the hardened residue. Also, check along the front and side edges for hidden spring clips or latch tabs. Slide the putty knife flat into the seam approximately 2 to 4 inches in from each front corner and push inward while gently lifting, this will release any spring tension holding the top down. If the burner heads or venturi tubes are binding in their cutout openings from rust or corrosion, apply a small amount of penetrating oil like WD-40 around each burner cutout and allow it to soak for 15 to 20 minutes before attempting to lift again. This often breaks the corrosion bond and makes a significant difference on older units. We hope this information helps!
2 peoplefound this helpful.
Was this helpful?
Thank you for voting!
Terry
January 15, 2020
We had taking it apart to because it was only clicking on one burner so we seen wire out placed back were it belonged clean it and when we plugged it in make sure it was good all burned clicked then the one l used started to smoke and now shorted out.
For model number 8351VV
Hello and thank you for writing.
This is usually an indication that a wire was exposed or touched metal which will cause a short. It sounds like you need to change the ignitor itself PS2082000 and hopefully, that will fix this issue. We hope this helps. Please contact us anytime if you require further assistance.
We got got all burners clicking but the one we turned on started to spark and Flame so unplugged unit and now rest still click but the one doesn't do anything looks fried.
For model number 8351VV
Hello and thank you for writing.
It certainly sounds like it could be a faulty PS2082000, you should check the parts for signs of damage, and replace as necessary. We hope this helps. Please contact us anytime if you require further assistance.
Replacement of these burners is very easy. You just twist the burner counterclockwise a quarter turn and pull it out. (You may need a big wrench if the range is very old.) Once out, just pull the two wires off and push them onto the new burner. Crimp them on with pliers if they're loose -- mine were. Twist the burner back on. If the gasket under the burner has disintegrated, don't worry about it. They don't offer replacements for them because they're not necessary as a safety feature. They were designed to keep overspills from running under the cooktop, but the ridge around the hole is likely higher than you'd ever need.
Lift out sealed burner assembly rear of stove first while careully sliding to rear to disengage ignitor probes.Remove philips head screws from bottom sheet metal housing to expose bottom of burners Remove gas tube assembly screws and move tube away carefully.Unplug wires from ignitor.Remove screws for ignitor .Remove ignitor, I noticed that rust and dirt had built up around burner to pan connection.I used my oil filter wrench to turn slightly the burner to remove it from the pan to clean.Reassembled in reverse order.