














7MMGDX655EW0 Whirlpool Dryer - Overview
Sections of the 7MMGDX655EW0
[Viewing 1 of 1]
Keep searches simple, eg. "belt" or "pump".

Drive Motor with Pulley
PartSelect #: PS334304
Manufacturer #: 279827
If your dryer drum isn’t spinning, the motor might be the issue. This replacement motor works with many Whirlpool-brand dryers made before 1996 and comes with the pulley already attached. It powers th...
$151.26
In Stock
Order within the next 1 hr and 54 mins and your part ships today!

Dryer Door Handle - White
PartSelect #: PS11731583
Manufacturer #: W10861225
This dryer door handle is designed to facilitate smooth opening and closing of the dryer door. Measuring 5-3/4 inches by 2 inches, it features a white, smooth-surfaced finish that complements most dry...
$62.65
In Stock
Order within the next 1 hr and 54 mins and your part ships today!

Dryer Idler Pulley Assembly
PartSelect #: PS11743765
Manufacturer #: WP691366
The idler pulley wheel provides the tension for a multi-ribbed belt and helps the belt to rotate the drum. The drum will not spin if the idler pulley fails to put the correct amount of tension on the ...
$24.19
In Stock
Order within the next 1 hr and 54 mins and your part ships today!

Stacking Kit
PartSelect #: PS990537
Manufacturer #: 8572546
This kit allows you to stack your washer and dryer to maximize your laundry space.
$69.25
In Stock
Order within the next 1 hr and 54 mins and your part ships today!

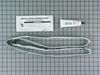
Rear Drum Felt Seal
PartSelect #: PS8691753
Manufacturer #: W10612022
This seals Includes adhesive. This part helps seal the drum to prevent hot air from escaping.
$60.69
In Stock
Order within the next 1 hr and 54 mins and your part ships today!

Stacking Kit
PartSelect #: PS888067
Manufacturer #: 8541503
This kit comes with 2 adhesive pads, 2 brackets and 4 screws. This is for stacking the appliances vertically - dryer over washer.
$58.25
In Stock
Order within the next 1 hr and 54 mins and your part ships today!

Door Gasket
PartSelect #: PS11731610
Manufacturer #: W10861521
If your dryer is taking longer to dry clothes or feels like it’s losing heat, the door seal might be the problem. This flexible, heat-resistant gasket wraps around the door opening to keep hot air in ...
$80.25
In Stock
Order within the next 1 hr and 54 mins and your part ships today!

CATCH
PartSelect #: PS12745673
Manufacturer #: W11429587
Ensure your dryer operates smoothly with this replacement door catch, which helps keep the door firmly closed throughout each cycle. It’s compatible with various models and replaces older versions. Co...
$30.95
In Stock
Order within the next 1 hr and 54 mins and your part ships today!

Stack Kit
PartSelect #: PS12069913
Manufacturer #: W10869845
This stacking kit allows compatible front-load washer and dryer models to be stacked vertically. It is designed to maximize laundry space and can be used on various models. Please use your model numbe...
$51.65
In Stock
Order within the next 1 hr and 54 mins and your part ships today!

Dryer Drum Roller Shaft Left Side
PartSelect #: PS11753706
Manufacturer #: WPW10359270
Replace the shaft of your left side drum support roller with this part from Whirlpool/Kenmore. This replacement shaft is 2-7/8 inches long. It is meant for use with many of Whirlpool/Kenmore's gas and...
$68.10
In Stock
Order within the next 1 hr and 54 mins and your part ships today!

Liquid Propane Conversion Kit
PartSelect #: PS3493998
Manufacturer #: 49572A
This gas dryer conversion kit allows a dryer that is set up for natural gas to be converted for use with liquid propane (LP) gas. The kit includes the key components needed for the conversion, includi...
$46.15
In Stock
Order within the next 1 hr and 54 mins and your part ships today!

Drying Rack
PartSelect #: PS346849
Manufacturer #: 3406839
This white dryer drying rack is designed to fit securely inside the drum of select dryers, allowing delicate items such as shoes and sweaters to dry without tumbling. It remains stationary while the d...
$72.55
In Stock
Order within the next 1 hr and 54 mins and your part ships today!
Common Symptoms of the 7MMGDX655EW0
[Viewing 9 of 9]Noisy
Fixed by
these parts
these parts


Show All
Door won’t close
Fixed by
these parts
these parts


Show All
Drum Not Spinning
Fixed by
these parts
these parts

Show All
Marks left on clothes
Fixed by
these parts
these parts
Show All
Won’t Start
Fixed by
these parts
these parts

Show All
Door Pops Open
Fixed by
these parts
these parts
Show All
Not Heating
Fixed by
these parts
these parts
Show All
Too hot
Fixed by
these parts
these parts
Show All
Will Not Start
Fixed by
these parts
these parts
Show All

Keep searches simple. Use keywords, e.g. "leaking", "pump", "broken" or "fit".
Make humming noise when pressing start button. Would not start
After looking on the website for advice I walked throught the simple steps of disassembling the front, removing the drum, removed the back, disconnected the wire harness. Then removed the blower housing in the back. The blower, mounted on the back side of the motor was very tight. I used a pipe wrench wedged in place and help by my 10 year old Grand-daughter while I used an adjustable wrench to turn the shaft on the front of the motor. Spun the blower off, removed the two clips holding the motor. Then reversed the process when I received the new motor. Care should be taken to avoid damaging the blower fan if a lot of pressure is required.
Parts Used:
-
James from Moscow, IA
-
Difficulty Level:Easy
-
Total Repair Time:30 - 60 mins
-
Tools:Nutdriver, Screw drivers
98 of 112 people
found this instruction helpful.
Was this instruction helpful to you?
Thank you for voting!
The handle to the dryer broke.
-
Dawn from AUSTIN, TX
-
Difficulty Level:Very Easy
-
Total Repair Time:Less than 15 mins
73 of 82 people
found this instruction helpful.
Was this instruction helpful to you?
Thank you for voting!
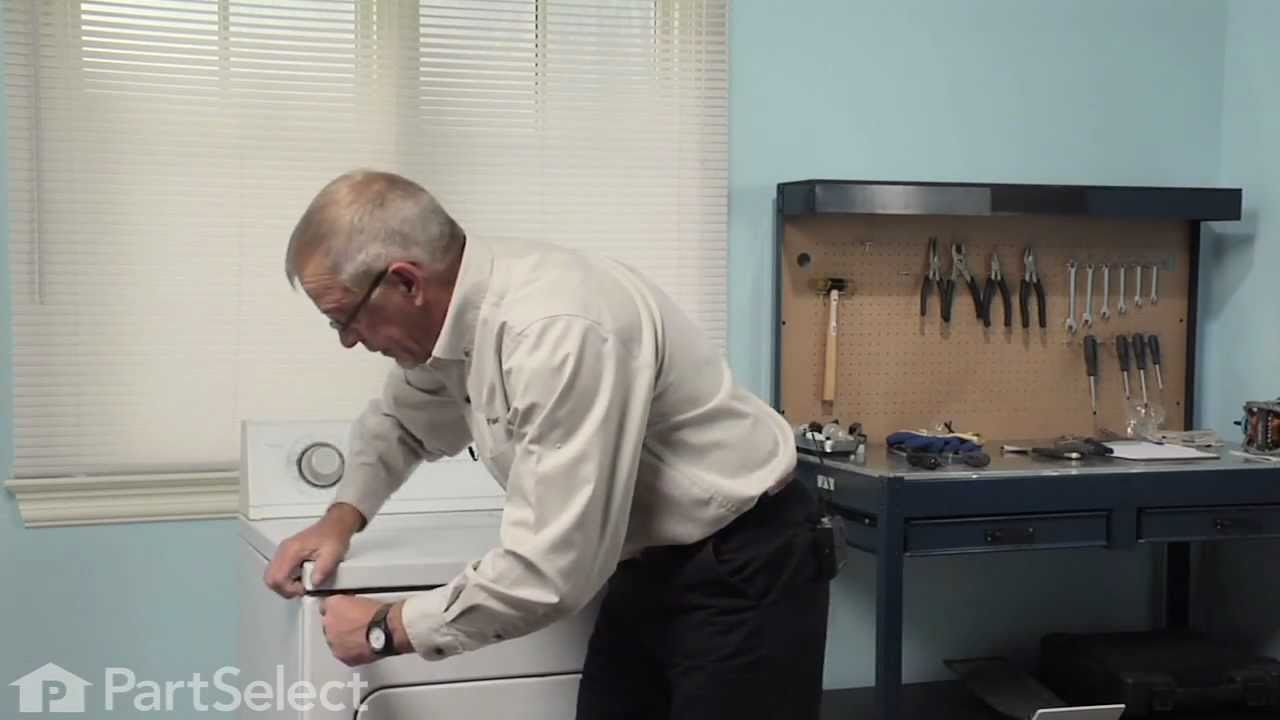
Rear Dryer Seal was old and staining clothing
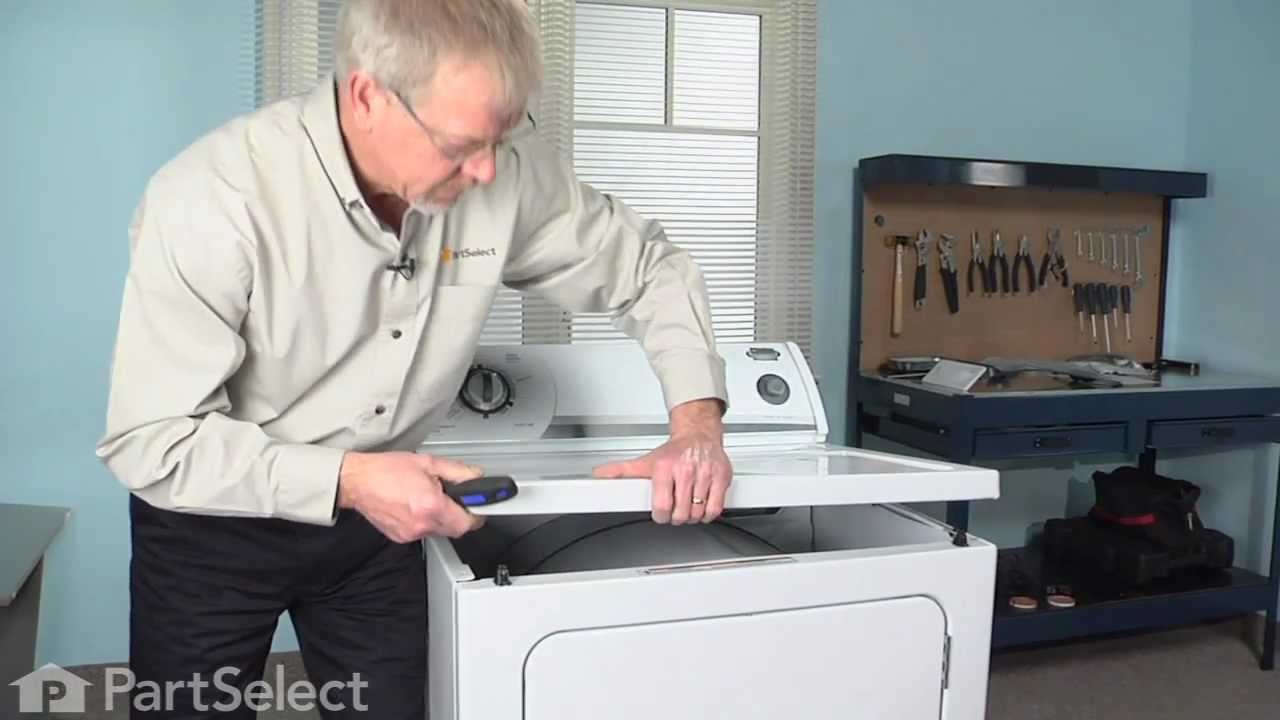
After unplugging the dryer,I removed 2 bolts on the back top of the dryer, then removed the two screws in the lint box area. I used a screw driver to help force the top panel of the dryer up. When open, I removed the top screws that held the front and side panels together. I then lifted the front panel up and away from the dryer, so there would be room to take the drum out. I removed the belt from the pulley (located under the drum) and slid the drum out. I removed the old seal, cleaned up the drum and the inside of the dryer, then glued the new seal on. After the glue was dry, I put the drum back in (with the belt on the drum), put the belt back on the pulley and proceeded to put the dryer front back on. Once the front was on, I put the top back on and replaced the bolts on the back of the dryer. I plugged it in and it is working great! By the way, before this, I had NEVER attempted to repair a dryer before and I am female. If I could do it, so can anyone else willing to try :)
Parts Used:
-
Grace from Phoenix, AZ
-
Difficulty Level:Easy
-
Total Repair Time:30 - 60 mins
-
Tools:Screw drivers, Socket set
58 of 65 people
found this instruction helpful.
Was this instruction helpful to you?
Thank you for voting!