














7MMGD6630TM0 Maytag Dryer - Overview
Sections of the 7MMGD6630TM0
[Viewing 4 of 4]


Keep searches simple, eg. "belt" or "pump".

Multi Rib Belt - 92-1/4"
PartSelect #: PS346995
Manufacturer #: 341241
This dryer drum belt has four ridges, three grooves and is 1/4" wide.
$21.14
In Stock

Door Catch Kit
PartSelect #: PS334230
Manufacturer #: 279570
This kit contains two door strikes, and three door catches to service dryer doors that have one or two catches.
$10.58
In Stock

Maintenance Kit
PartSelect #: PS373087
Manufacturer #: 4392065
The drum support roller kit (Dryer Repair Kit) allows the dryer to tumble properly by supporting the drum cylinder. The idler pulley provides the tension required for a multi-ribbed belt. The belt att...
$51.62
In Stock

Dryer Cycling Thermostat
PartSelect #: PS11741405
Manufacturer #: WP3387134
Cycling thermostats continually cycle the heating element off and on to maintain a constant inner temperature. This particular cycling thermostat has a limit of 155 degrees Fahrenheit and a differenti...
$35.80
In Stock

Rear Drum Support Roller Kit
PartSelect #: PS347627
Manufacturer #: 349241T
This dryer drum roller kit is designed to restore smooth and quiet operation in a wide range of dryer models. It includes two drum rollers, four tri-rings, and one to two retaining washers, providing ...
$29.23
In Stock

M Series New Style Coil Kit
PartSelect #: PS334310
Manufacturer #: 279834
This gas dryer ignition coil set comes with two ignition coils: one three-terminal boost/hold coil, and one two terminal secondary coil. Usually only one of them burns out but you should replace them ...
$36.25
In Stock


Roller Support Tri-Ring
PartSelect #: PS11755850
Manufacturer #: WPW10512946
If you notice that your dryer is noisy or will not tumble, you may need to replace the tri ring. This part is triangular, and is less than an inch in size. Tri rings can be found both on the idler pul...
$18.70
In Stock

Touch-Up Paint - White
PartSelect #: PS385132
Manufacturer #: 72017
This 18 ml bottle of white appliance touch-up paint is used to cover scratches or marks on your appliance. The white touch-up paint can be used on refrigerators, microwaves, ranges, clothes dryers, an...
No Longer Available

LINT SCREEN ASSY, WOD
PartSelect #: PS18355774
Manufacturer #: W11778253
This manufacturer-certified dryer lint filter is used to collect lint during the dryer cycle, to prevent damage to the machine and to prevent lint from sticking to clothes. This model comes in white a...
$68.09
In Stock

Drive Motor with Pulley
PartSelect #: PS334304
Manufacturer #: 279827
If your dryer drum isn’t spinning, the motor might be the issue. This replacement motor works with many Whirlpool-brand dryers made before 1996 and comes with the pulley already attached. It powers th...
$151.26
In Stock

Thermal Cut-Off Kit
PartSelect #: PS334278
Manufacturer #: 279769
This kit includes one high limit thermostat with a limit of 250 degrees Fahrenheit, and one thermal cut-off fuse with a limit of 360 degrees Fahrenheit. The thermostat and fuse help prevent the dryer from overheating.
$54.46
In Stock
Common Symptoms of the 7MMGD6630TM0
[Viewing 14 of 14]Noisy
Fixed by
these parts
these parts


Show All
Drum Not Spinning
Fixed by
these parts
these parts

Show All
Door won’t close
Fixed by
these parts
these parts


Show All
Not Heating
Fixed by
these parts
these parts


Show All
Too hot
Fixed by
these parts
these parts

Show All
Marks left on clothes
Fixed by
these parts
these parts


Show All
Won’t Start
Fixed by
these parts
these parts

Show All
Door Pops Open
Fixed by
these parts
these parts
Show All
Heat stays on after drum has stopped
Fixed by
these parts
these parts
Show All
Timer Not Working
Fixed by
these parts
these parts

Show All
Running With Door Open
Fixed by
these parts
these parts

Show All
Lid or door won’t close
Fixed by
these parts
these parts
Show All
Will Not Start
Fixed by
these parts
these parts
Show All
Touchpad does not respond
Fixed by
these parts
these parts
Show All
Keep searches simple. Use keywords, e.g. "leaking", "pump", "broken" or "fit".
Door Catch part had fallen out,/ was missing
Received your parts, Popped them both right into place, Even though only one side needed to be replaced, I wanted them to match up. It was amazing how easy this was. My husband was quite impressed I had ordered these rather then look for either a new or used dryer from some other source.
Parts Used:
-
Terri from Saint Augustine, FL
-
Difficulty Level:Really Easy
-
Total Repair Time:Less than 15 mins
676 of 740 people
found this instruction helpful.
Was this instruction helpful to you?
Thank you for voting!
intermittant heat
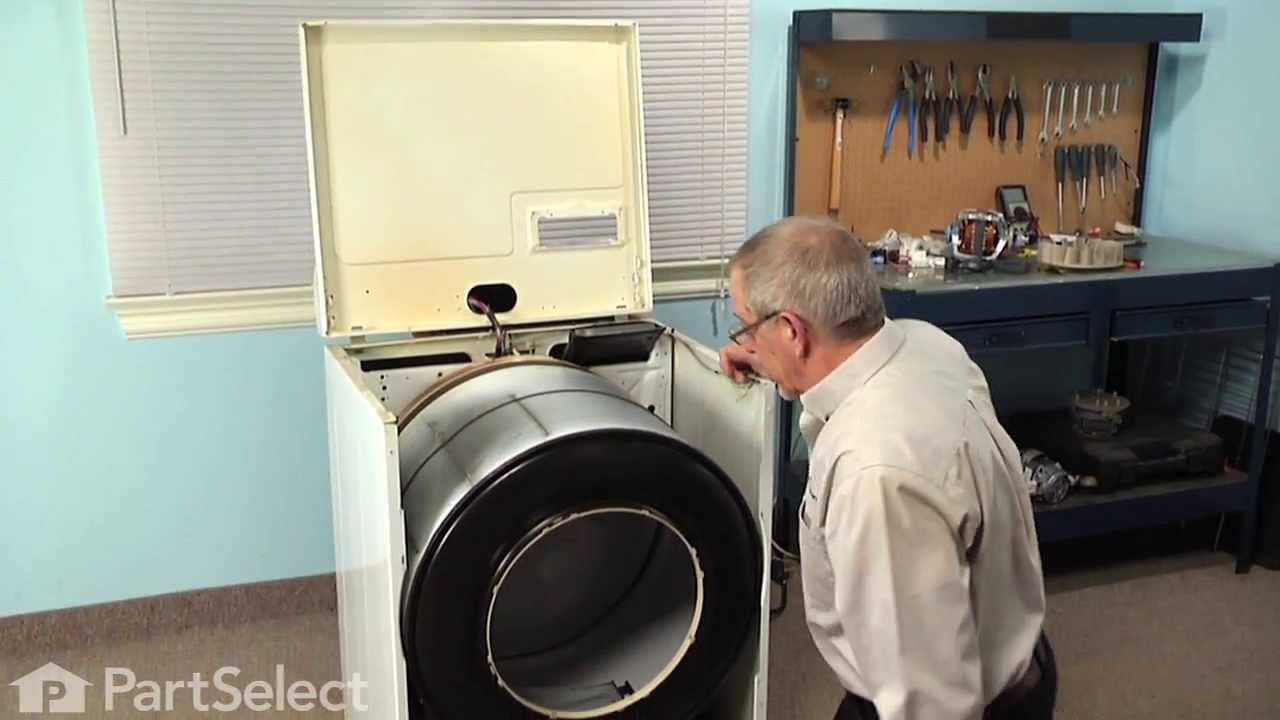
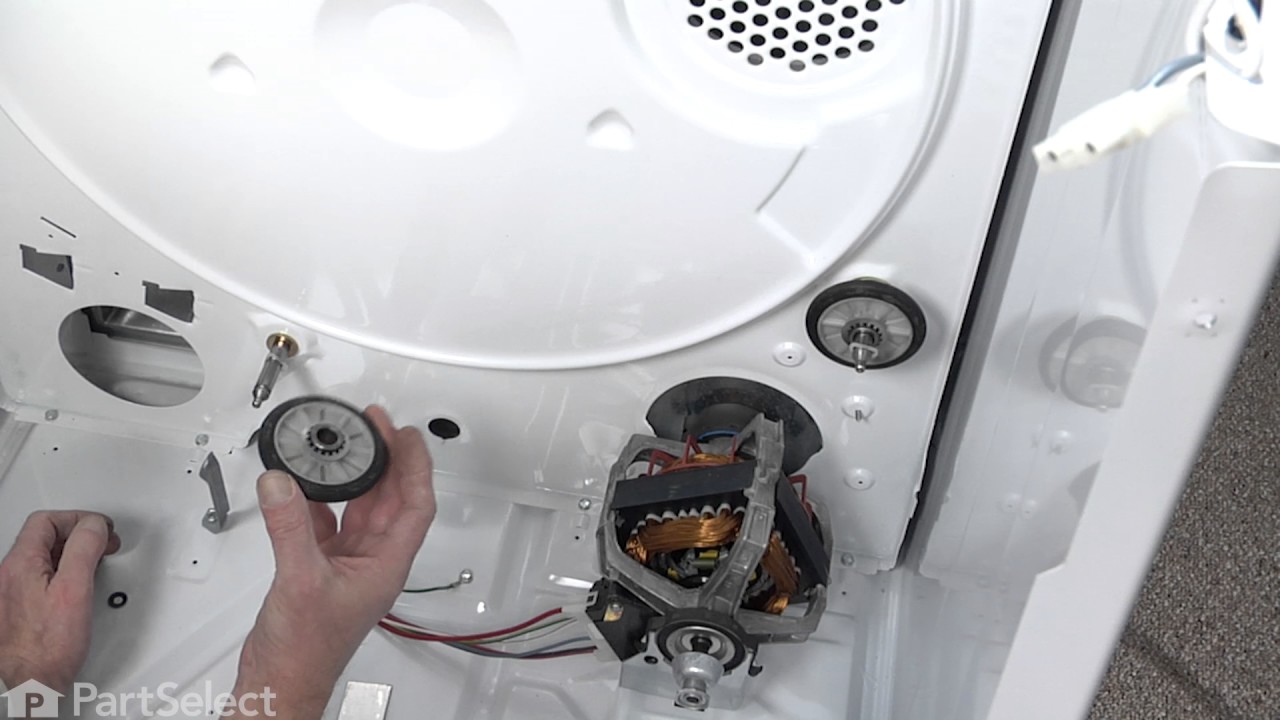
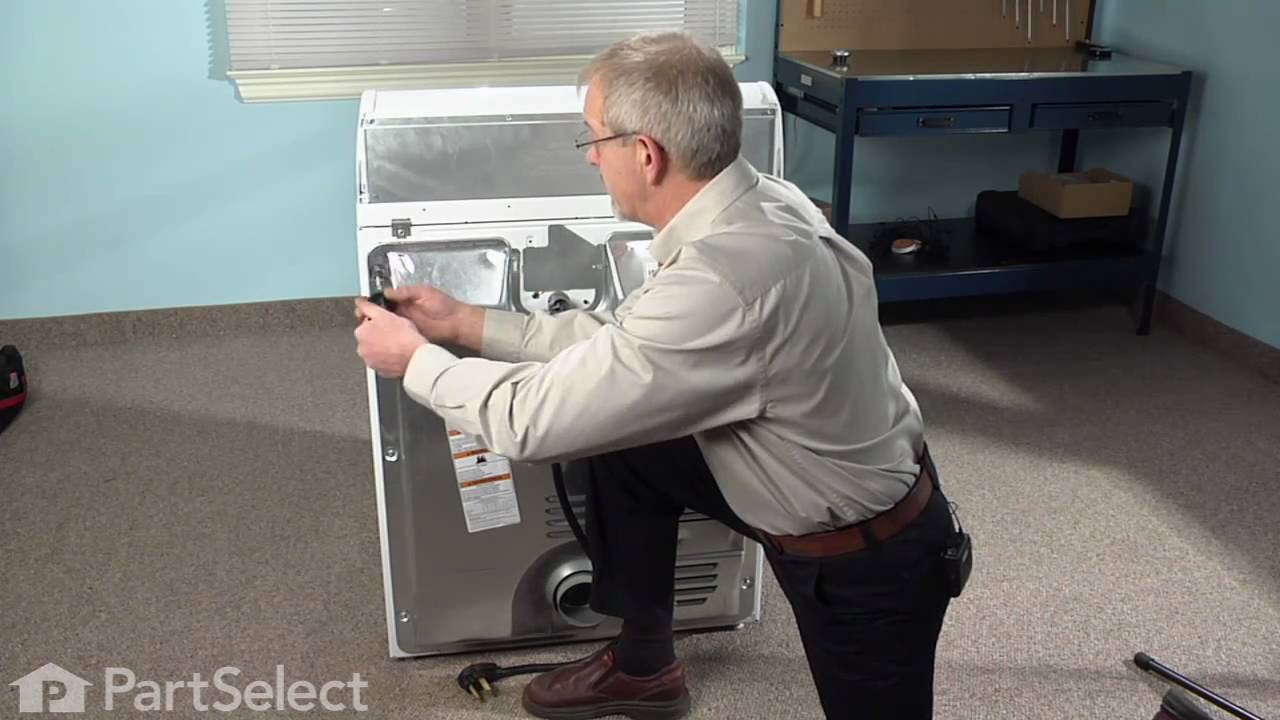
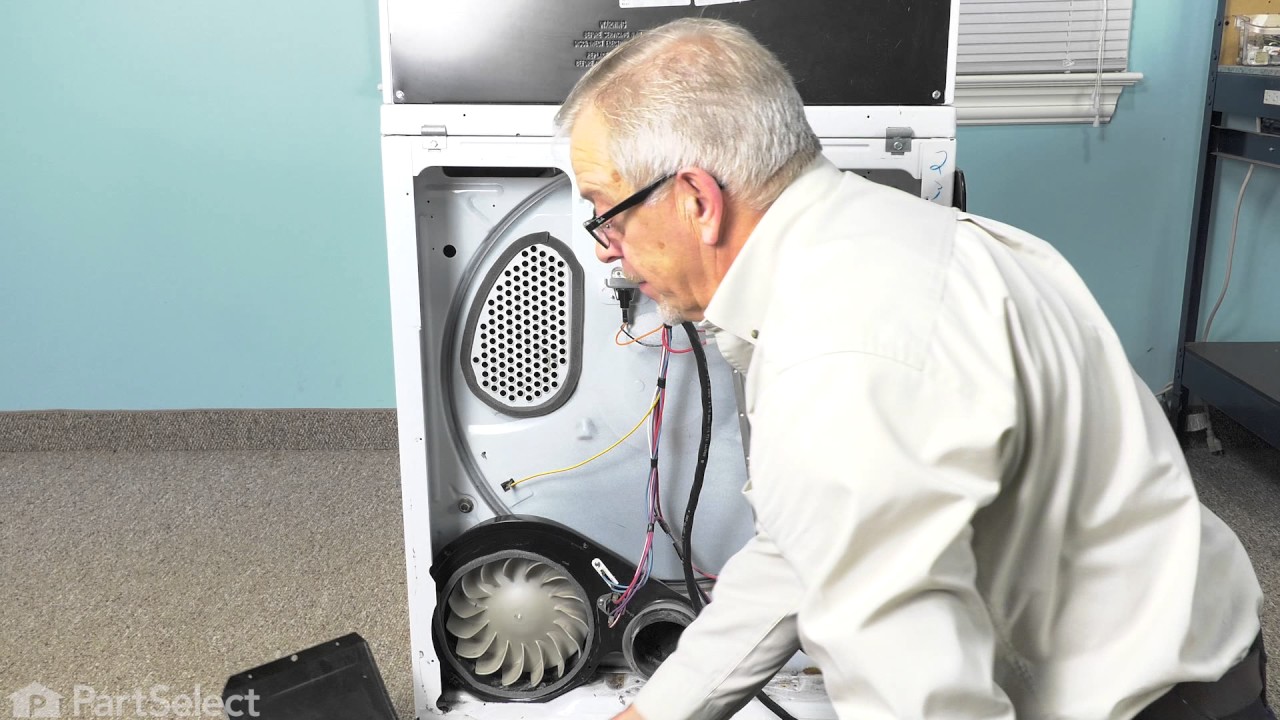
First I shut off the gas supply and disconnected the dryer vent and unpluged the unit so you can access the rear of the dryer. Then I removed the rear cover. This is where you will find your thermostats and fuses. Holding the new part next to the one to be replaced I transfer the wires one at a time so as not to get them mixed up, then unscrew the old part and install the new one. Insert a flat blade screwdriver under the top cover in the 2 front corners to unsnap it from it's clips, also at this time you need to remove the 2 screws that hold the upper part of the lint filter tube to the lid, then lift the lid to expose the drum ( I tilted the dryer back as far as the flex gas line would allow me to and rested the top lid against the wall without removing it, to many wires). Behind the front cover in the top right corner is the plug for the door switch,un-plug it and also there are 2 screws one in each corner. After that lift the front cover straight up and pull it away from the cabinet ( it has clips at the bottom to hold it in place). Reaching under the drum on the right side pull down on the belt tensioner and release the belt from the motor then you can remove the drum. Laying the drum down on it's front edge I removed the rear felt seal and took a piece of sand paper to rough up th old glue and clean off some of the felt that was still stuck to the drum. Following the directions from the seal package I put the glue around the edge of the drum and re-installed the new felt. This is a good time to clean out your dryer, while the glue sets up. A shop vac works the best, but be carefull not to suck up the money, it will help pay for the repair ( I found over a dollar in change ). At this time I also changed the coils on the gas valve, remove the 2 screws that hold the clamp and replace them one at a time. Re-install the drum with the belt on it, fold it and push it through the tensioner and put it on the motor pulley. rotate the drum to make sure that the felt is not kinked under itself, re-install the front cover bottom clips first, then the 2 screws and the plug for the door switch, pull down the lid and snap it in place, before installing the rear cover this is a good time to remove the rear cover to the lint chute and clean in there also ( it's easy to see why there are so many dryer fires). Re- install that cover and the rear cover and vent tube, turn your gas back on and check it for leaks ( even if you didn't disconnect it) plug your dryer back in and get busy catching up on the laundry that you haven't had a chance to do because your dryer broke, then smile and think about all the money you saved by doing this simple repair your self. Thanks Parts Select
Parts Used:


-
Paul from Monmouth, IL
-
Difficulty Level:Easy
-
Total Repair Time:1- 2 hours
-
Tools:Nutdriver, Pliers, Screw drivers
481 of 532 people
found this instruction helpful.
Was this instruction helpful to you?
Thank you for voting!
Door catch broken; lint filter handle had come off
Removed some screws and partially dismantled the door so I could get the old catch out. Inserted the new catch, and put the screws back in. Saved me an $80+ service call.
On the filter, I had to use pliers to remove the old one because the handle had broken off. Did that, and inserted the new one. Done. Sears had been unable to supply me with a new filter.
On the filter, I had to use pliers to remove the old one because the handle had broken off. Did that, and inserted the new one. Done. Sears had been unable to supply me with a new filter.
Parts Used:
-
Daniel from Wichita, KS
-
Difficulty Level:Really Easy
-
Total Repair Time:Less than 15 mins
-
Tools:Pliers, Screw drivers
449 of 477 people
found this instruction helpful.
Was this instruction helpful to you?
Thank you for voting!