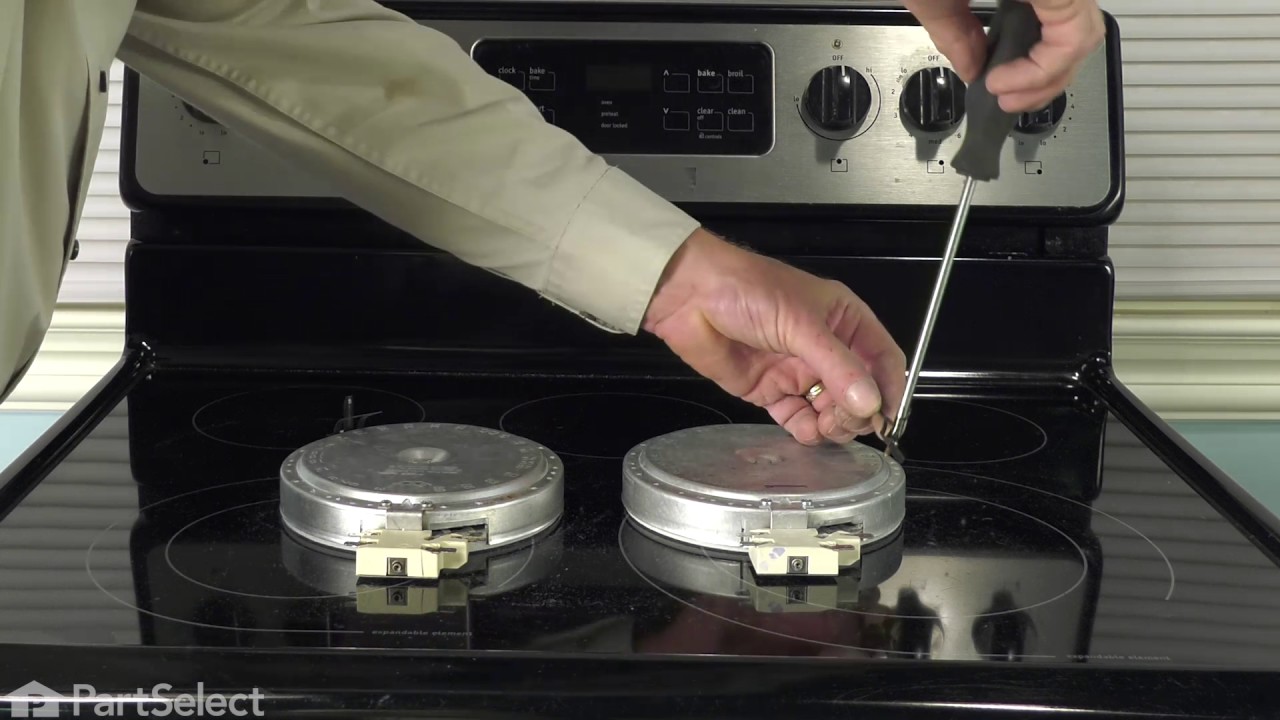
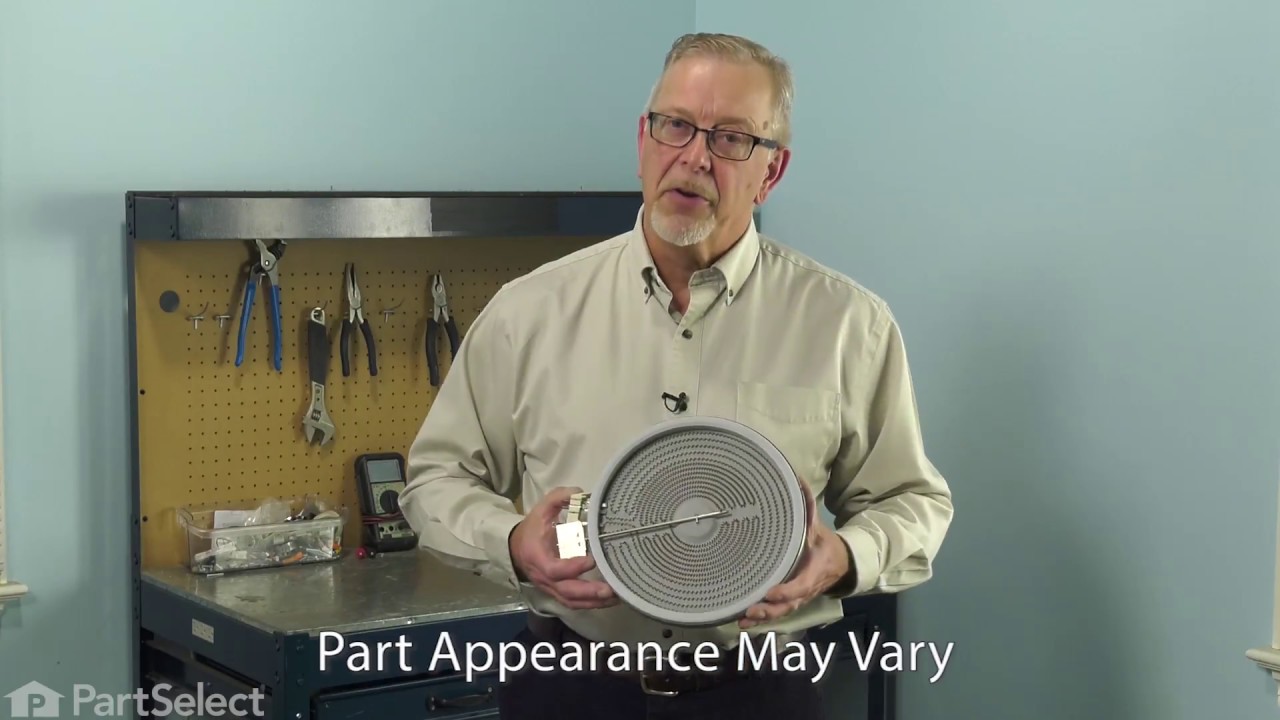
The 6” radiant cooking element with limiter fits under the glass cooktop and supplies heat to the cooking area. If your element is not heating, you can test the element for continuity with a multimete...
This cooktop element gives you two heating sizes in one—9 inches and 6 inches—so you can cook with different pots and pans easily. It heats up fast and evenly, helping meals cook just right. If your c...
Ask our experts a question about this model and we'll get back to you as soon as possible!
1 question answered by our experts.
< Prev
1
Next >
Sort by:
Search filter:
Clear Filter
Your search term must have 3 or more characters.
Keep searches simple. Use keywords, e.g. "leaking", "pump", "broken" or "fit".
Sorry, we couldn't find any existing answers that matched.Try using some different or simpler keywords, or submit your new question by using the "Ask a Question" button above!
Mark
February 22, 2026
I need the front touch screen that turn on the oven, clock settings, temperature control, etc.
For model number 79099613704
Hi Mark, thank you for contacting us. The touch screen for your model comes attached to the control board, part number PS2339261. You may need to replace it to fix the issue. We hope that helps!
First we removed two screws under the rim of the range top to open the lid. Lifted the lid and removed the screws from the bracket that holds the elements, Be careful with the clips that hold the element in, if you break them or bend them there aren't any more! Also note which holes they were in, they are marked according to the different sizes of elements. Disconnected the wires, needed needlenose pliers to grip them...connected new element, popped it back in place, replaced bracket, closed top ...Easy peasy!!!
Unplug the unit or turn off power at the electrical panel!!!! I removed the 2 screws that hold the top surface of the stove down. On my range, these are located in the front, under the the top surface. You have to open the oven door to remove them. I propped the top up with a couple of 10 inch pieces of 1 x 2 then removed the screws on each end of the bracket that holds the elements in place. I used a 1/4 inch nut driver for these. With needle nose pliers, I removed the 3 retaining clips from the bracket and removed them from the element with a screwdriver and transferred them to the new heating element. The holes around the outside of the element are numbered so it's easy to know where they go. Laying the new element next to the old one, I moved each paddle-type electrical connection one at a time to the corresponding place on the new one. Put the retaining clips back in the slots. Screw the mounting bracket back in. Put the top down and secure it with screws. Very easy repair.