














79048342411 Kenmore Range - Overview
Sections of the 79048342411
[Viewing 1 of 1]
Keep searches simple, eg. "belt" or "pump".


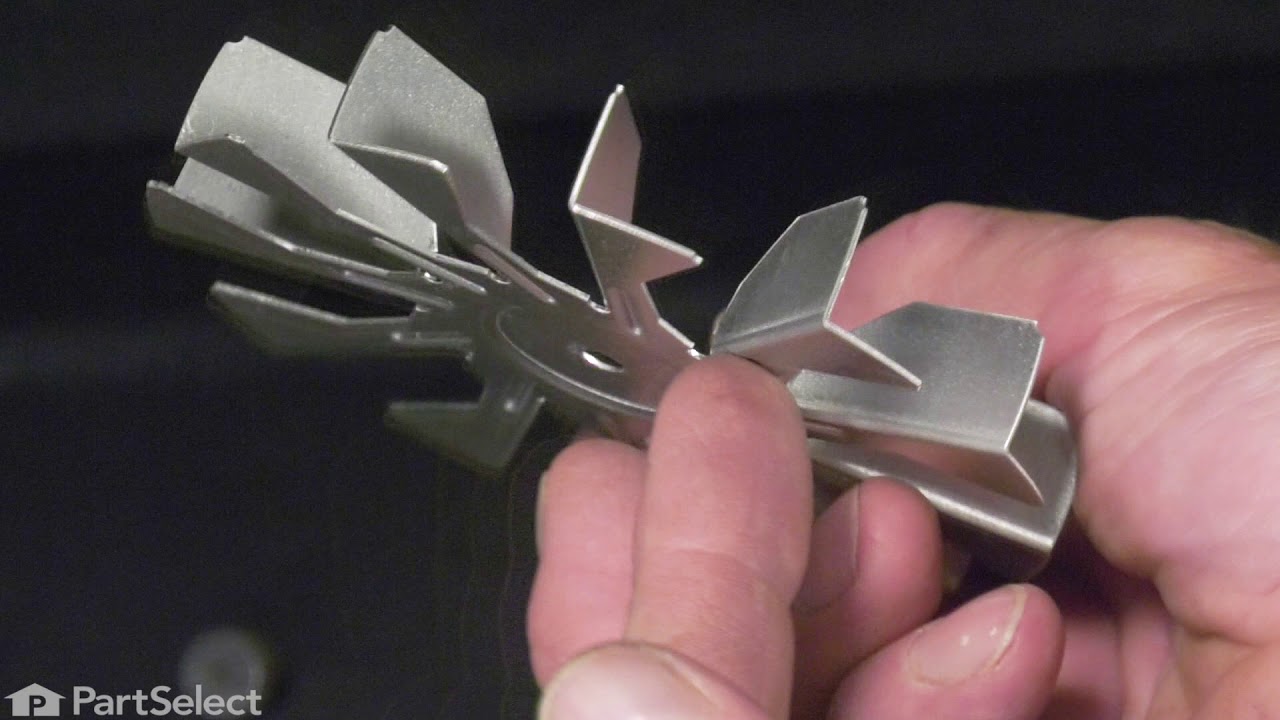
Convection Fan Blade
PartSelect #: PS3409337
Manufacturer #: 318398302
This convection fan blade is designed for use with various makes and models of range and oven and is sold as an individual part. Made of metal and measuring approximately 4.75-inches in diameter, this...
$43.07
In Stock


Fan Blade Retainer Nut
PartSelect #: PS439475
Manufacturer #: 316136600
Sold individually.
$39.95
In Stock


PROBE
PartSelect #: PS16745361
Manufacturer #: 5304525427
This genuine OEM oven temperature sensor probe monitors the internal temperature of the oven to ensure accurate and consistent cooking performance. By sending temperature readings to the control syste...
$62.31
In Stock


Common Symptoms of the 79048342411
[Viewing 2 of 2]Little to no heat when baking
Fixed by
these parts
these parts

Show All
Element will not heat
Fixed by
these parts
these parts
Show All
Keep searches simple. Use keywords, e.g. "leaking", "pump", "broken" or "fit".
replacing the fan on a convection oven (fan was making a vibration noise)
This was the first time replacing the fan. It is a lot easier to work in the oven compartment with the oven door removed, only two screws on the door and the hinges were released. I found that a couple of the screws were either rusted or stripped so I used a pair of pliers to remove the screws that were holding the diffuser in place. Once there was access to the fan I found that the fan was warped and that the blades were scraping against the back wall of the oven. The next challenge was to remove the retaining nut. I used a sheet metal screw to secure the warped fan to keep it from spinning. once I figured out that you have to turn the retaining nut to the right to loosen, it came off easily. 1/2" socket with extension. When I replace the fan I used two washers for spacers to make sure that the fan would not scrape the wall of the oven. Its been tested many times and the oven does not make that horrible sound anymore.
Parts Used:
-
John from Stevensville, MD
-
Difficulty Level:A Bit Difficult
-
Total Repair Time:30 - 60 mins
-
Tools:Pliers, Screw drivers, Socket set
17 of 26 people
found this instruction helpful.
Was this instruction helpful to you?
Thank you for voting!
Thermostat for oven cook elements. Cooling fan is a misnomer-the fan still worked!
First of all I am not Betty, I am her husband. Second I and a friend pulled the range out of the countertop (which was not necessary). The top can be raised on it hinges and the plate under the burners can be removed by taking out 8 to 19 screws and there is the thermostat looking at you. After doing this once and knowing where the thermostat is, the job could be done in less that an hour.. INSTRUCTIONS: Turn OFF the circuit breaker. Remove the burners. Remove the plate under the burners. Change the thermostat (making sure to place in correct direction as the one removed). Reassemble, turn on circuit breaker, test oven heat.
Parts Used:
-
Betty from OLIVE BRANCH, MS
-
Difficulty Level:Very Easy
-
Total Repair Time:1- 2 hours
-
Tools:Screw drivers
6 of 9 people
found this instruction helpful.
Was this instruction helpful to you?
Thank you for voting!
Original Meat Probe insulation separated on the probe end
I searched the web for a replacement and Parts Select had a picture and part number for the exact same probe. I ordered the probe and it arrived very quickly. The problem was that the probe I received didn't match the picture as shown on the web site. Instead I received a probe that was a different color and the actual probe was about 2" shorter than the one I was replacing. I called customer service and was told that the probe I received was the new version that the older version was discontinued. If they had updated their pictures on the web site I would not have ordered the probe. Parts Select customer service did apologize for the issue and offered to have me return for a refund.
I will order from Parts Select but I will call first to verify that the item pictured is the actual item being shipped. Parts Select please update the part pictures to show the actual items being sold.
I will order from Parts Select but I will call first to verify that the item pictured is the actual item being shipped. Parts Select please update the part pictures to show the actual items being sold.
Parts Used:
-
john from PITTSFIELD, MA
-
Difficulty Level:Really Easy
-
Total Repair Time:Less than 15 mins
5 of 6 people
found this instruction helpful.
Was this instruction helpful to you?
Thank you for voting!