














79042562316 Kenmore Range - Overview
Sections of the 79042562316
[Viewing 1 of 1]
Keep searches simple, eg. "belt" or "pump".

Radiant Element with Limiter - 1200W
PartSelect #: PS1528719
Manufacturer #: 318178110
The 6” radiant cooking element with limiter fits under the glass cooktop and supplies heat to the cooking area. If your element is not heating, you can test the element for continuity with a multimete...
$162.93
In Stock

GLASS
PartSelect #: PS11728351
Manufacturer #: 5304503232
This is also called the heat barrier glass.
$135.91
In Stock


Convection Fan Blade
PartSelect #: PS3409337
Manufacturer #: 318398302
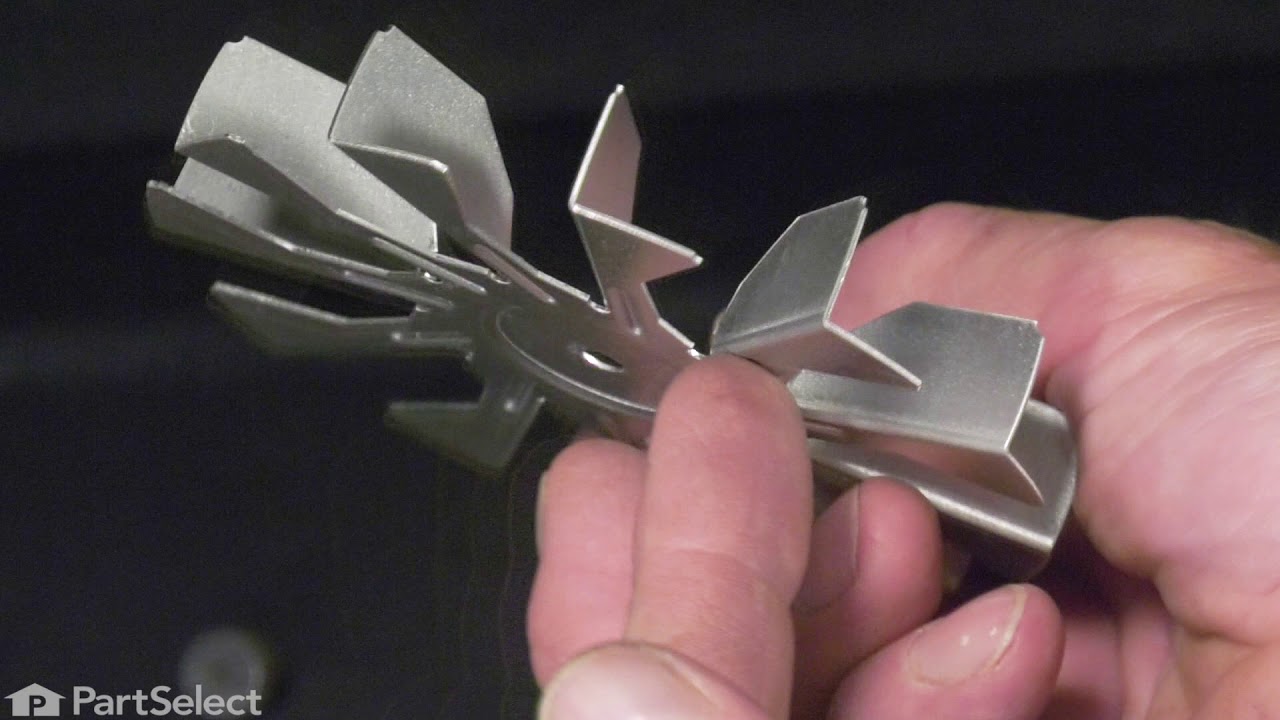
This convection fan blade is designed for use with various makes and models of range and oven and is sold as an individual part. Made of metal and measuring approximately 4.75-inches in diameter, this...
$43.07
In Stock

PROBE
PartSelect #: PS16745361
Manufacturer #: 5304525427
This genuine OEM oven temperature sensor probe monitors the internal temperature of the oven to ensure accurate and consistent cooking performance. By sending temperature readings to the control syste...
$62.31
In Stock


Circuit Board Assembly
PartSelect #: PS12712230
Manufacturer #: 316472807
Got a Frigidaire, Electrolux, White Westinghouse, or Tappan stove, oven, or range? Then, this Frigidaire Circuit Board Assembly could be just the piece you need to get your appliance back to peak perf...
$504.86
In Stock

ELEMENT
PartSelect #: PS12741833
Manufacturer #: 5304521861
You're in the right place if your oven's not heating properly! Our genuine OEM Frigidaire Broil Element is here to save the day. With a robust power of 4000W and 8 pass, this part is specifically craf...
$111.30
In Stock

MOTOR
PartSelect #: PS8692143
Manufacturer #: 318575612
Are you noticing your Frigidaire range control panel overheating or not cooling properly? You're in just the right place to find a solution. Meet your new best friend: The Frigidaire Cooling Fan Assem...
$232.90
In Stock

Light Bulb
PartSelect #: PS3502557
Manufacturer #: 318946500
This replacement light bulb provides clear illumination to improve visibility during appliance operation. It is commonly replaced when the original bulb burns out, flickers, or no longer produces adequate light.
$65.83
In Stock

ELEMENT
PartSelect #: PS6012330
Manufacturer #: 318297810
If your cooktop isn’t heating like it used to, this triple radiant surface element might be the fix. It sits under the glass surface and heats your pots and pans with three different zones—small, medi...
$388.38
In Stock
Common Symptoms of the 79042562316
[Viewing 2 of 2]
Keep searches simple. Use keywords, e.g. "leaking", "pump", "broken" or "fit".
burned out burner
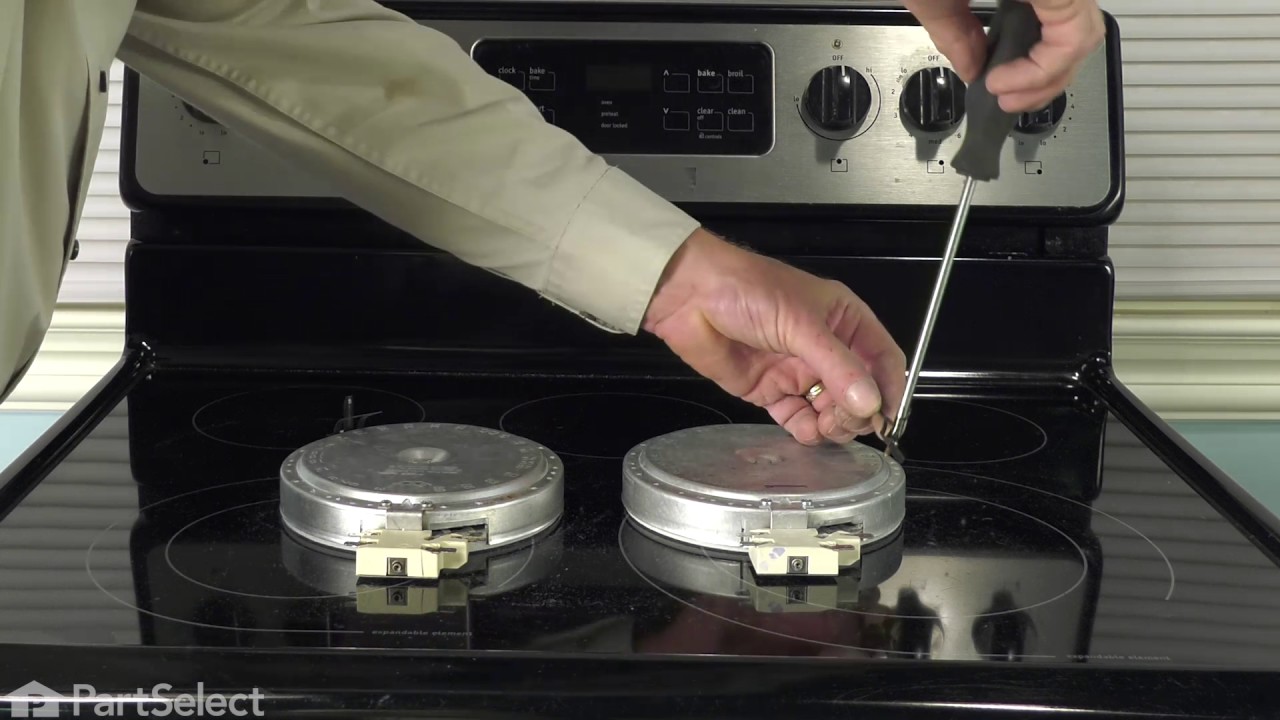
First we removed two screws under the rim of the range top to open the lid. Lifted the lid and removed the screws from the bracket that holds the elements, Be careful with the clips that hold the element in, if you break them or bend them there aren't any more! Also note which holes they were in, they are marked according to the different sizes of elements. Disconnected the wires, needed needlenose pliers to grip them...connected new element, popped it back in place, replaced bracket, closed top ...Easy peasy!!!
Parts Used:
-
Lori from Winter Haven, FL
-
Difficulty Level:Easy
-
Total Repair Time:Less than 15 mins
-
Tools:Pliers, Screw drivers
70 of 99 people
found this instruction helpful.
Was this instruction helpful to you?
Thank you for voting!
Cracked oven door inner glass
Repair was quite easy, as long as you have the instructions for removing the door. The screws that hold the bottom of the door to the fixed hinge are placed into the side of the hinge assembly after removal; this holds the door at a 45 degree angle for easy removal. After that, just place the door on a flat surface and dismantle the door from the inside. The inner glass is contained in a metal frame with another piece of glass; this frame comes apart easily using the clips in each side. The door assembles easily after the glass is replaced; just take your time and give yourself enough room to lay out the parts as you go. Good luck!
Parts Used:
-
Mitch from Fernandina Beach, FL
-
Difficulty Level:Easy
-
Total Repair Time:15 - 30 mins
-
Tools:Screw drivers
76 of 134 people
found this instruction helpful.
Was this instruction helpful to you?
Thank you for voting!
Broken glass interior oven door
Had to reference original owner's manual for instruction(s) on how to remove oven door. Used several "YouTube" videos to reference oven door design (Oven door glass is actually several layers of glass.) After completing about 30 mins of research and finding the right square drive bit, the repair went smoothly and without complications. The biggest challenge was researching and understanding what part(s) were needed and how to replace them. It seemed liked a lot of work doing the research however it sure beat a $350 repair bill. It cost me $90 and about 1 1/2 hours of total time. Oven works better than ever, thanks parts select for the part(s) and diagram(s) ...
Parts Used:
-
stephen from garden grove, CA
-
Difficulty Level:Easy
-
Total Repair Time:30 - 60 mins
-
Tools:Screw drivers
33 of 56 people
found this instruction helpful.
Was this instruction helpful to you?
Thank you for voting!