




















79042562310 Kenmore Range - Overview
Sections of the 79042562310
[Viewing 1 of 1]
Keep searches simple, eg. "belt" or "pump".
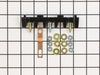
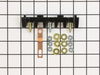
Main Terminal Block Kit
PartSelect #: PS471605
Manufacturer #: 5304409888
Terminal blocks (also called terminal boards or strips) provide a convenient means of connecting individual electrical wires.
$45.61
In Stock
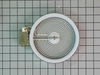
Radiant Element with Limiter - 1200W
PartSelect #: PS1528719
Manufacturer #: 318178110
The 6” radiant cooking element with limiter fits under the glass cooktop and supplies heat to the cooking area. If your element is not heating, you can test the element for continuity with a multimete...
$147.02
In Stock
GLASS
PartSelect #: PS11728351
Manufacturer #: 5304503232
This is also called the heat barrier glass.
$135.91
In Stock
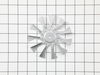
Convection Fan Blade
PartSelect #: PS3409337
Manufacturer #: 318398302
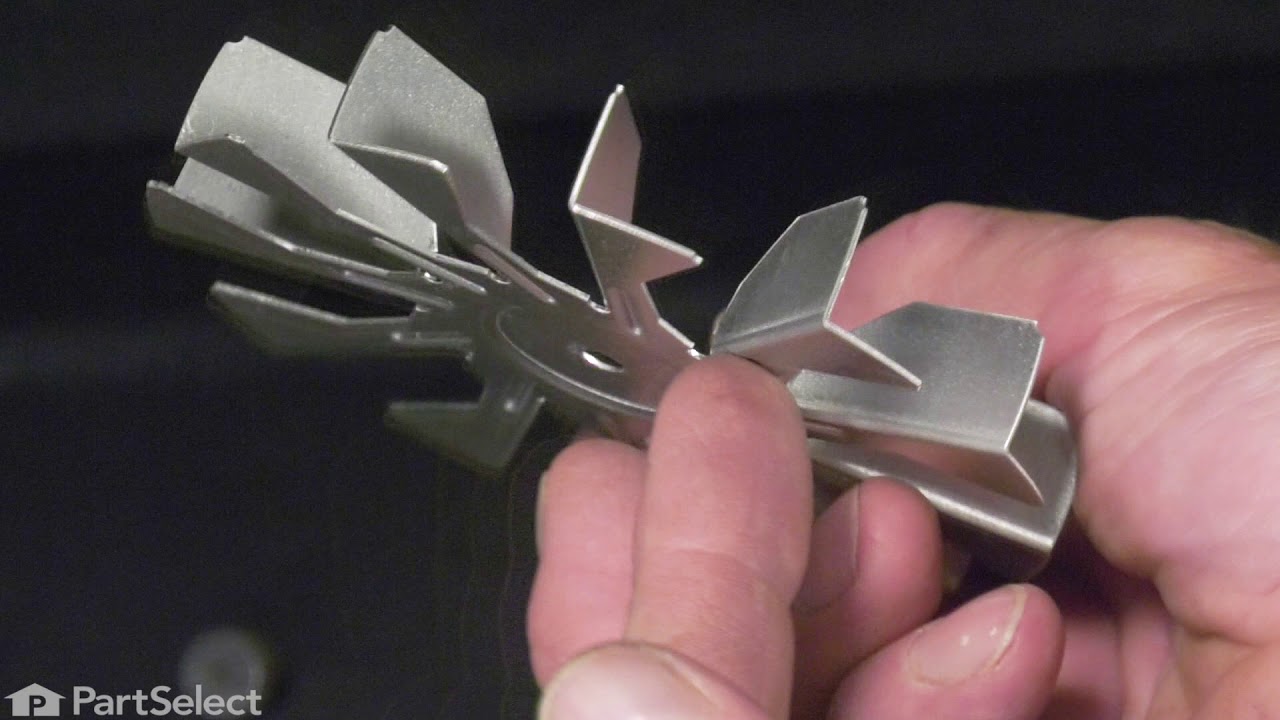
This convection fan blade is designed for use with various makes and models of range and oven and is sold as an individual part. Made of metal and measuring approximately 4.75-inches in diameter, this...
$43.07
In Stock
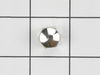
Fan Blade Retainer Nut
PartSelect #: PS439475
Manufacturer #: 316136600
Sold individually.
$39.95
In Stock
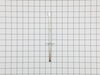
PROBE
PartSelect #: PS16745361
Manufacturer #: 5304525427
This genuine OEM oven temperature sensor probe monitors the internal temperature of the oven to ensure accurate and consistent cooking performance. By sending temperature readings to the control syste...
$58.25
In Stock

HEATING ELEMENT,MIDDLE,TURBO
PartSelect #: PS18375114
Manufacturer #: 8583165300010
This radiant burner element delivers powerful, even heat for your cooktop, ensuring fast and efficient cooking. Measuring 9 inches and rated at 3200 watts, it is ideal for replacing a worn or malfunct...
No Longer Available
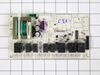
Relay Control Board
PartSelect #: PS2342728
Manufacturer #: 316442119
If your oven isn’t heating properly or the display is blank, the relay control board may need replacing. This part acts as the “brain” of your appliance, controlling temperature, cooking cycles, and t...
$363.22
In Stock
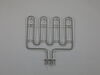
ELEMENT
PartSelect #: PS12741833
Manufacturer #: 5304521861
You're in the right place if your oven's not heating properly! Our genuine OEM Frigidaire Broil Element is here to save the day. With a robust power of 4000W and 8 pass, this part is specifically craf...
$100.43
In Stock
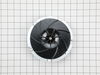
MOTOR
PartSelect #: PS8692143
Manufacturer #: 318575612
Are you noticing your Frigidaire range control panel overheating or not cooling properly? You're in just the right place to find a solution. Meet your new best friend: The Frigidaire Cooling Fan Assem...
$232.90
In Stock
Common Symptoms of the 79042562310
[Viewing 5 of 5]Element will not heat
Fixed by
these parts
these parts
Show All
Little to no heat when baking
Fixed by
these parts
these parts
Show All
Will Not Start
Fixed by
these parts
these parts
Show All
Oven not heating evenly
Fixed by
these parts
these parts
Show All
Little to no heat when broiling
Fixed by
these parts
these parts
Show All

Keep searches simple. Use keywords, e.g. "leaking", "pump", "broken" or "fit".
Cord was not tightened enough by delivery crew.
PF alarm appeared on display. Noticed clicking when cord was moved. Had arced for some time and melted original block. New part slightly different. Only has 3 lugs, old one had six. Stack using washers provided. Take note of colors before disassembly. Use caution while working through access opening. The edges are sharp. Only tools needed are phillips screwdriver, deep socket for lug nuts. Nut driver optional. Hope this is helpful.
Parts Used:
-
Timothy from Spring Valley, AL
-
Difficulty Level:Really Easy
-
Total Repair Time:15 - 30 mins
-
Tools:Screw drivers, Socket set
109 of 174 people
found this instruction helpful.
Was this instruction helpful to you?
Thank you for voting!
burned out burner
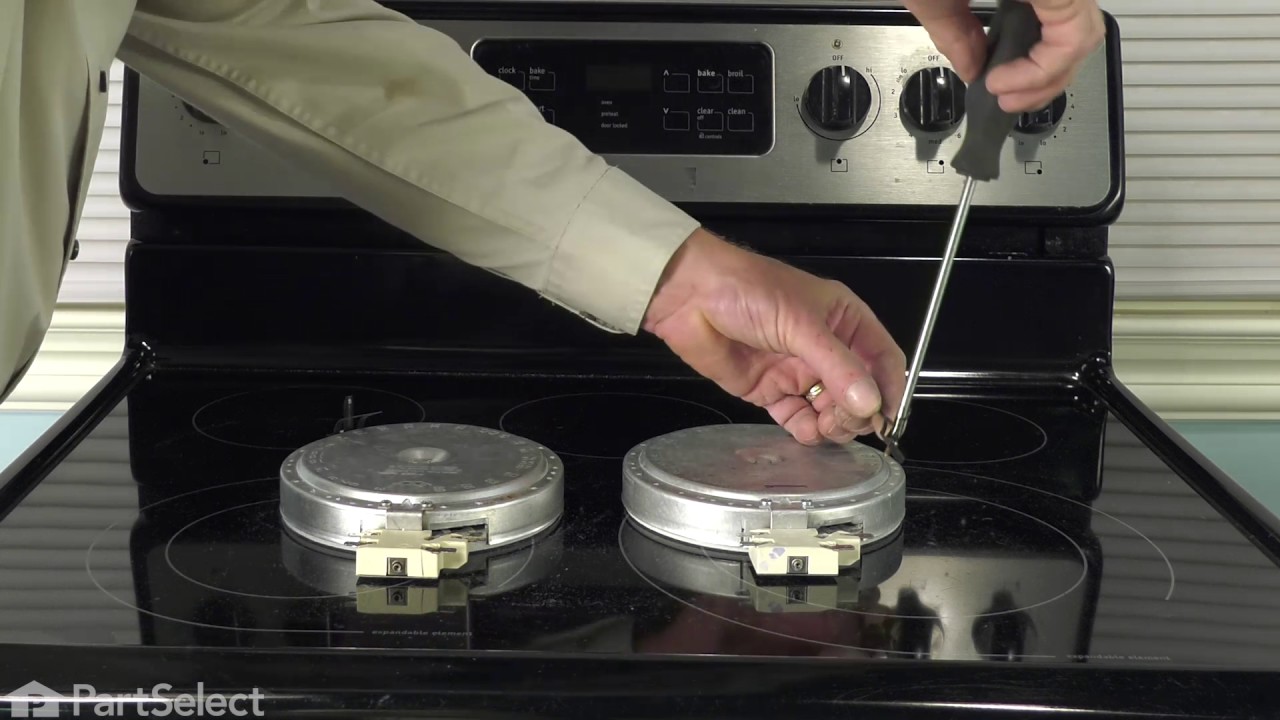
First we removed two screws under the rim of the range top to open the lid. Lifted the lid and removed the screws from the bracket that holds the elements, Be careful with the clips that hold the element in, if you break them or bend them there aren't any more! Also note which holes they were in, they are marked according to the different sizes of elements. Disconnected the wires, needed needlenose pliers to grip them...connected new element, popped it back in place, replaced bracket, closed top ...Easy peasy!!!
Parts Used:
-
Lori from Winter Haven, FL
-
Difficulty Level:Easy
-
Total Repair Time:Less than 15 mins
-
Tools:Pliers, Screw drivers
70 of 99 people
found this instruction helpful.
Was this instruction helpful to you?
Thank you for voting!
Cracked oven door inner glass
Repair was quite easy, as long as you have the instructions for removing the door. The screws that hold the bottom of the door to the fixed hinge are placed into the side of the hinge assembly after removal; this holds the door at a 45 degree angle for easy removal. After that, just place the door on a flat surface and dismantle the door from the inside. The inner glass is contained in a metal frame with another piece of glass; this frame comes apart easily using the clips in each side. The door assembles easily after the glass is replaced; just take your time and give yourself enough room to lay out the parts as you go. Good luck!
Parts Used:
-
Mitch from Fernandina Beach, FL
-
Difficulty Level:Easy
-
Total Repair Time:15 - 30 mins
-
Tools:Screw drivers
76 of 132 people
found this instruction helpful.
Was this instruction helpful to you?
Thank you for voting!