














66598009701 Kenmore Range - Overview
Sections of the 66598009701
[Viewing 6 of 6]
Manuals & Care Guides for 66598009701
Click to downloadKeep searches simple, eg. "belt" or "pump".

Range Lower Bake Element
PartSelect #: PS11744518
Manufacturer #: WP7406P428-60
This lower bake element provides consistent heat for baking in select Whirlpool, KitchenAid, Maytag, Jenn-Air, Amana, Inglis, and Magic Chef ovens. Measuring 18 7/8" x 15 7/8", it features spade conne...
$52.75
In Stock

Touch-Up Paint - White
PartSelect #: PS385132
Manufacturer #: 72017
This 18 ml bottle of white appliance touch-up paint is used to cover scratches or marks on your appliance. The white touch-up paint can be used on refrigerators, microwaves, ranges, clothes dryers, an...
No Longer Available

Element with Limiter 6 Inch - 1200W
PartSelect #: PS11764915
Manufacturer #: W10823711
This 6-inch, 1200-watt radiant surface heating element is a genuine replacement part designed for select ranges. It supplies consistent heat to the designated cooking zone on the stovetop, ensuring ev...
$231.78
In Stock

Leveler Foot Screw (Nylon)
PartSelect #: PS16875974
Manufacturer #: W11665456
This leveling leg is two inches long. It is all black in color and it is made entirely of plastic.
$33.95
In Stock

Broil Element - Push On Terminals
PartSelect #: PS2342087
Manufacturer #: W10201551
This broil element is found on the roof of the oven.
$67.05
In Stock

Range Door Gasket
PartSelect #: PS11749287
Manufacturer #: WPW10162384
This oven door gasket comes with built in retaining clips.
$111.60
In Stock

Screw
PartSelect #: PS12349731
Manufacturer #: W11233072
This is a multi-use and multi-appliance screw. It can be used on a microwave, refrigerator, range/oven, air conditioner, dehumidifier, washer, or dryer. The measurements of this screw are 8 x 1/2 inch...
$30.40
In Stock

Inner Door Glass Pane
PartSelect #: PS2081701
Manufacturer #: 74003645
Keep your oven safe and functional with this replacement interior door glass, the heat-resistant panel that lines the inside of your oven door. With dimensions of approximately 20 5/8" x 13 1/8", it f...
$179.14
On Order

Range Insulation
PartSelect #: PS11750415
Manufacturer #: WPW10208653
Oven Wrap Insulation.
$69.24
In Stock

Infinite Switch - 8 Inch
PartSelect #: PS11744412
Manufacturer #: WP74010824
Sold individually.
$124.02
In Stock

Oven Rack
PartSelect #: PS11744745
Manufacturer #: WP7801P173-60
Used in the lower oven. Sold individually.
No Longer Available

Surface Element
PartSelect #: PS11764922
Manufacturer #: W10823719
Do you need your range to work like brand new again? The Whirlpool radiant burner element is here to solve your problem. This simple part enhances the heat delivery to your range's cooking surface, ma...
$339.14
In Stock
Common Symptoms of the 66598009701
[Viewing 8 of 8]Element will not heat
Fixed by
these parts
these parts


Show All
Little to no heat when baking
Fixed by
these parts
these parts

Show All
Little to no heat when broiling
Fixed by
these parts
these parts
Show All
Oven not heating evenly
Fixed by
these parts
these parts
Show All
Will Not Start
Fixed by
these parts
these parts
Show All
Door won’t close
Fixed by
these parts
these parts
Show All
Oven is too hot
Fixed by
these parts
these parts
Show All
Touchpad does not respond
Fixed by
these parts
these parts
Show All
Keep searches simple. Use keywords, e.g. "leaking", "pump", "broken" or "fit".
Right rear burner went bad
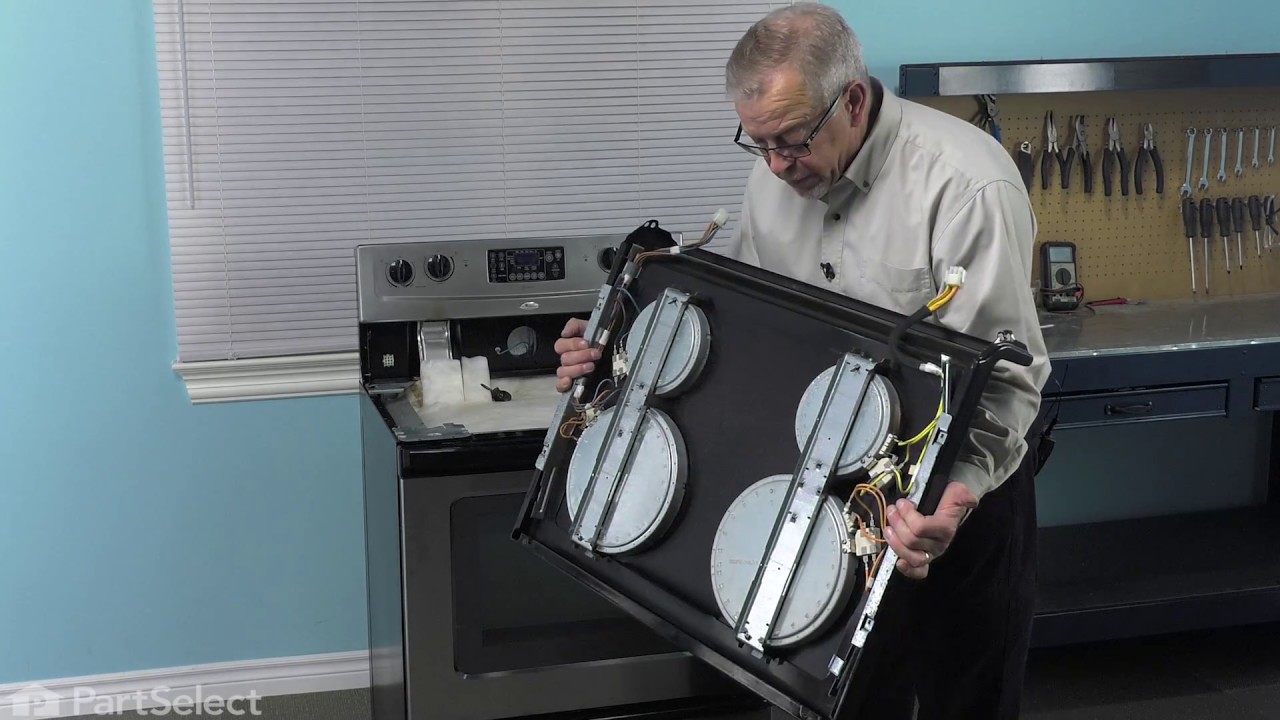
Turned the breaker off, I removed 2 screws securing the range top to the range, opened the top and secured it in the up position, Removed the 2 screws securing the element ,one at a time I swapped the quick connectors from the old element to the new and repeated the process in reverse. I save over $100.00 in labor, plus most companies get you for a trip charge. It was easy!!
Parts Used:
-
Mark from Loxahatchee, FL
-
Difficulty Level:Really Easy
-
Total Repair Time:15 - 30 mins
-
Tools:Nutdriver, Screw drivers
155 of 190 people
found this instruction helpful.
Was this instruction helpful to you?
Thank you for voting!
mice had made nests in the insulation wrap in the range
I numbered every part. ex: 1 L., for first part removed left side. I used a magic marker to circle the holes and wrote the number of screws used on the part, set the srews in a separete place, so that I new where these screws went to. The cleanup was pretty time consuming, but I was able to keep my stove, when every repairman I called to fix my stove told me I was better off buying a new stove. ($600.00 stove 2 years old)Please Note: The insulation blanket needed for the entire stove is two pieces, the sides and top are one part # and the bottom and back, are another part #. I did not know this. I just purchased the top and sides. I got lucky, the back and bottom were still in good shape. So I guess I should have read the description of the part more carefully to see what it covers, before I ordered it. It took two people two hours to do the work, it was really nice to have an extra set of eyes, to remember what direction pieces of metal from the stove went. I would do it all over in a heart beat instead of buying a new stove.
Parts Used:
-
Wendy from Red Hook, NY
-
Difficulty Level:Easy
-
Total Repair Time:More than 2 hours
-
Tools:Screw drivers
129 of 210 people
found this instruction helpful.
Was this instruction helpful to you?
Thank you for voting!
Hot Burner Light always on
Thermal switch is integral to element and can not be changed, must replace entire element.
Turn off power. Removed front two screws above oven door jamb and lifted the top. Removed the bracket that holds the element against the glass top and removed the element. Moved brackets from old element to new one, aligning to same numerical position and then moved wiring to new element. Slide new element under bracket and reinstalled single screw. Replaced top and screwed down. Turn on power and test .
Turn off power. Removed front two screws above oven door jamb and lifted the top. Removed the bracket that holds the element against the glass top and removed the element. Moved brackets from old element to new one, aligning to same numerical position and then moved wiring to new element. Slide new element under bracket and reinstalled single screw. Replaced top and screwed down. Turn on power and test .
Parts Used:
-
Gregory from Cary, NC
-
Difficulty Level:Really Easy
-
Total Repair Time:15 - 30 mins
-
Tools:Screw drivers
110 of 160 people
found this instruction helpful.
Was this instruction helpful to you?
Thank you for voting!