














592-49155 Samsung Washer - Overview
Sections of the 592-49155
[Viewing 1 of 1]
Keep searches simple, eg. "belt" or "pump".


Hex Head Bolt
PartSelect #: PS4205366
Manufacturer #: DC60-40137A
This part is used for the shaft on rear of the tub. Sold individually.
$19.28
In Stock
Order within the next 1 hr and 47 mins and your part ships today!

Shock Damper Rear
PartSelect #: PS4212220
Manufacturer #: DC66-00470B
A washer that walks across the floor or becomes unusually noisy may have a weak suspension damper. The rear shock absorbs tub movement during washing and spinning, helping the machine run more smoothl...
$71.61
In Stock
Order within the next 1 hr and 47 mins and your part ships today!

Tapping Screw
PartSelect #: PS4133205
Manufacturer #: 6002-000520
This manufacturer-approved screw is for refrigerators, including Kenmore refrigerator model. Avoid cross-threading refrigerator screw during installation.
$5.95
In Stock
Order within the next 1 hr and 47 mins and your part ships today!

Drain Pump Assembly - 120V 60Hz
PartSelect #: PS4204638
Manufacturer #: DC31-00054A
This drain pump is designed to remove water from the washer during the drain portion of the cycle. It is recommended to unplug the washer before installation to ensure safety. The Samsung Washer Drain...
No Longer Available

Water Temperature Thermistor
PartSelect #: PS4214274
Manufacturer #: DC90-10128N
The thermistor monitors and helps regulator the water temperature in the washer.
$46.09
In Stock
Order within the next 1 hr and 47 mins and your part ships today!

Flange and Shaft Assembly
PartSelect #: PS4220876
Manufacturer #: DC97-15491A
$207.28
In Stock
Order within the next 1 hr and 47 mins and your part ships today!

Washer Tub Gasket Seal
PartSelect #: PS4213806
Manufacturer #: DC69-00804A
$34.90
In Stock
Order within the next 1 hr and 47 mins and your part ships today!


Oil Seal
PartSelect #: PS4208713
Manufacturer #: DC62-00223A
This oil seal (part number DC62-00223A) is for washers. Oil seal DC62-00223A presses into the rear drum to prevent oil from leaking past the basket spin shaft. Unplug the appliance before installing t...
$29.75
Special Order

Water Valve
PartSelect #: PS4209100
Manufacturer #: DC62-30314K
One solenoid valve for hot water
$88.26
On Order
Common Symptoms of the 592-49155
[Viewing 6 of 6]Will not drain
Fixed by
these parts
these parts

Show All
Shaking and Moving
Fixed by
these parts
these parts


Show All
Leaking
Fixed by
these parts
these parts


Show All
Spinning Issues
Fixed by
these parts
these parts
Show All
Lid or door won’t close
Fixed by
these parts
these parts

Show All
Water Filling Issues
Fixed by
these parts
these parts
Show All


Keep searches simple. Use keywords, e.g. "leaking", "pump", "broken" or "fit".
Code indicating washer was NOT discharging water
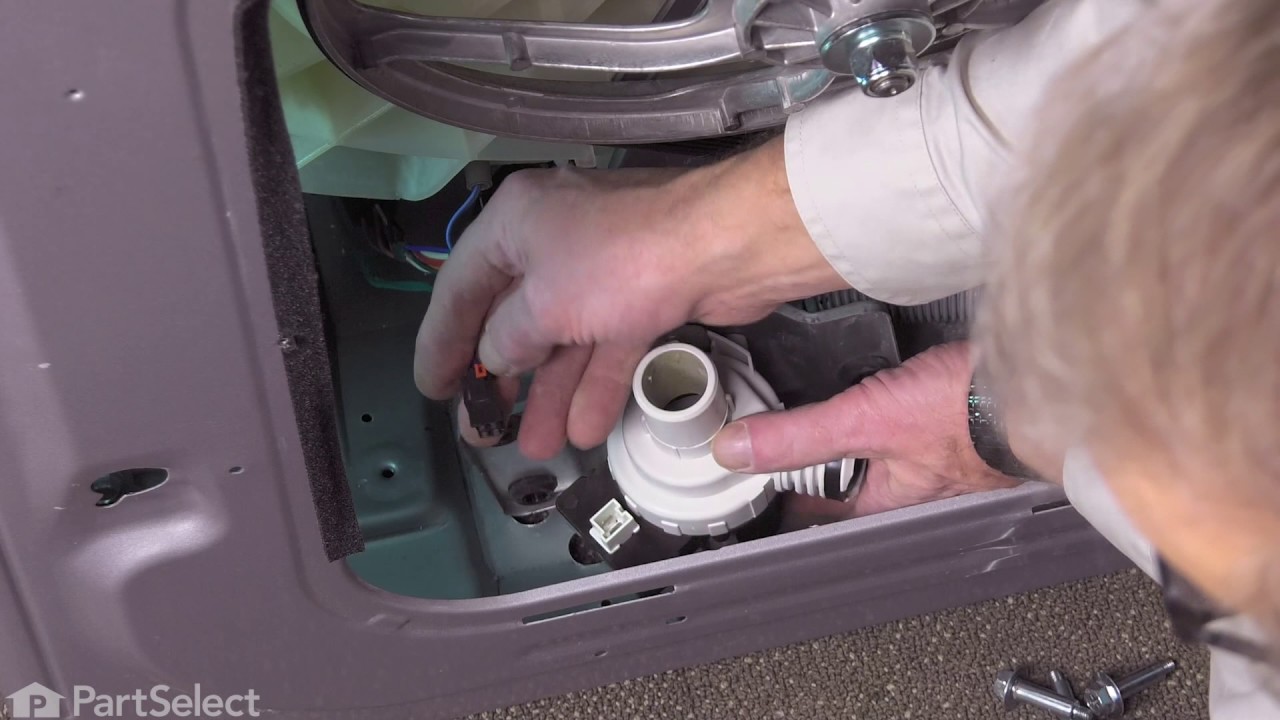
Watched the video, procedure was simple and as depicted on the video. Started by using a wet shop Vac to the discharge hose and sucked as much dirty wash water out as possible. Removed the pump,and found the motor did not turn freely. Removed the motor (3 screws) and replaced the motor with new part. Reassembled the washer, everything worked as it should. After about 3-4 loads of laundry, the "Not Draining" code / problem returned. Again, sucked out the water with the Shop Vac. Checked the Filter /Cleanout and found it completely packed with MUD. Cleaned that out, and again disassembled the washer. The pump was removed and the remaining muddy gunk was cleaned from the impeller. The 3 drain lines that attached to the pump were inspected for blockage/obstruction and flushed of any muddy residue. Reassembly was quick and easy, and the washer has worked well since. I have no idea how the dirt got into the system with enough dirt to gunk up the system. Recommend keeping more frequent inspections of the cleanout trap.
Parts Used:
-
SCOTT from VERNAL, UT
-
Difficulty Level:Easy
-
Total Repair Time:30 - 60 mins
-
Tools:Pliers, Screw drivers
11 of 17 people
found this instruction helpful.
Was this instruction helpful to you?
Thank you for voting!
Was not spinning out
-
Walter from BROOKLYN, NY
-
Difficulty Level:Really Easy
-
Total Repair Time:1- 2 hours
-
Tools:Screw drivers, Socket set
1 of 4 people
found this instruction helpful.
Was this instruction helpful to you?
Thank you for voting!
The water level was lower than normal.
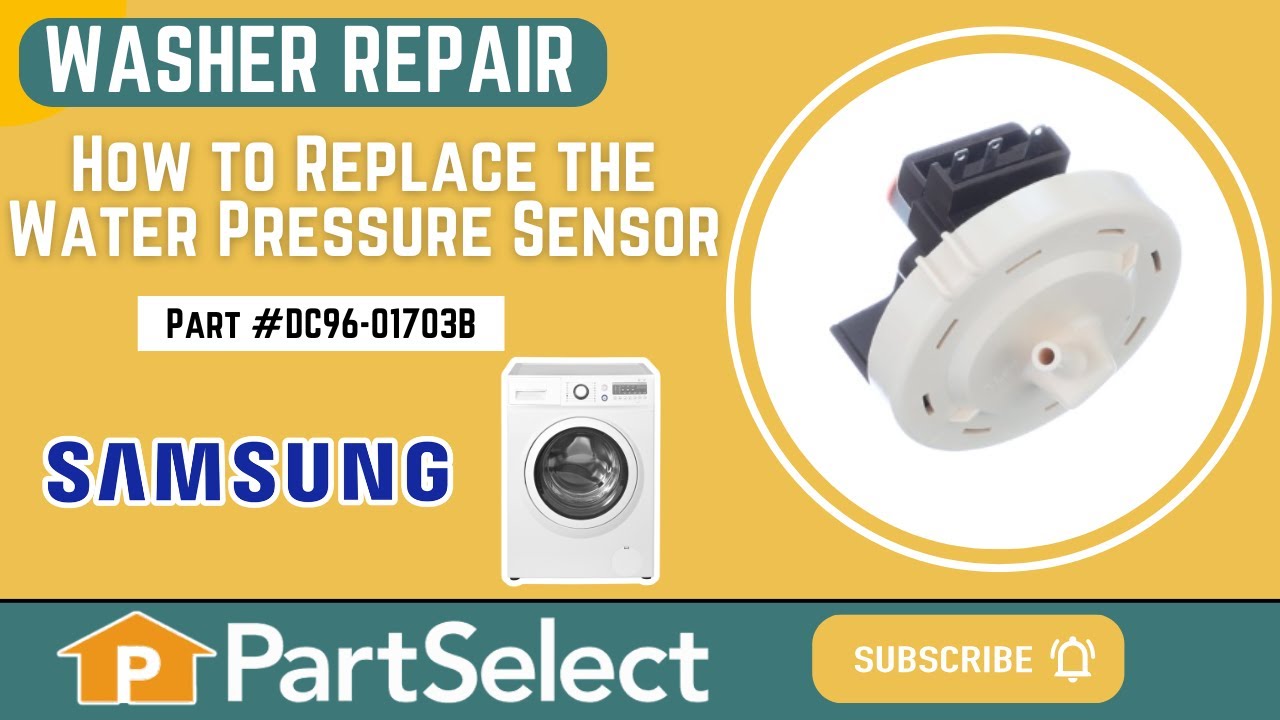
First unplug or turn off thee circuit breaker. Then remove the two screws to the top cover. Slide the cover back about three inches then remove the cover. Next take out the screw to the old sensor. Then unplug the electrical connection by squeezing and the pulling to disengage. Now set the old unit aside. You then grad your eight inch wire tie and hold the with flat side to the right and just to the right of the screw hole for the bracket is a square hole. Feed to wire tie into the square hole with your left hand then loop down left side of the end of new sensor and back up threw the square hole and tighten with the pliers. Your new sensor will be positioned just like it was mounted to the metal bracket. And pretty ridged. Now connect the vacuum hose and electrical connector.
Parts Used:

-
Fredric from ROCKMART, GA
-
Difficulty Level:Really Easy
-
Total Repair Time:15 - 30 mins
-
Tools:Pliers, Screw drivers
3 of 10 people
found this instruction helpful.
Was this instruction helpful to you?
Thank you for voting!