














4KMEDC420JW0 Maytag Dryer - Overview
Sections of the 4KMEDC420JW0
[Viewing 4 of 4]


Keep searches simple, eg. "belt" or "pump".

Dryer Thermal Fuse
PartSelect #: PS11741460
Manufacturer #: WP3392519
This part is a one-time use thermal fuse which attaches to the blower wheel housing of your clothes dryer. It cannot be re-set and must be replaced when there is no longer continuity between the pins....
$24.95
In Stock

Dryer Repair Kit
PartSelect #: PS373088
Manufacturer #: 4392067
This dryer repair kit consists of five commonly replaced dryer parts: one multi-rib belt (part #661570V and measures 93 1/2 inches long), four drum support rollers, one idler assembly, nine tri-rings,...
$56.05
In Stock


Roller Support Tri-Ring
PartSelect #: PS11755850
Manufacturer #: WPW10512946
If you notice that your dryer is noisy or will not tumble, you may need to replace the tri ring. This part is triangular, and is less than an inch in size. Tri rings can be found both on the idler pul...
$17.01
In Stock

Touch-Up Paint - White
PartSelect #: PS385132
Manufacturer #: 72017
This 18 ml bottle of white appliance touch-up paint is used to cover scratches or marks on your appliance. The white touch-up paint can be used on refrigerators, microwaves, ranges, clothes dryers, an...
$17.95
In Stock

Dryer High Limit Thermostat
PartSelect #: PS11742185
Manufacturer #: WP3977767
This high-limit thermostat with Terminal Extension Arm acts as as safety mechanism that keeps the dryer from overheating. Once the dryer temperature reaches 221 degrees Fahrenheit, this piece will shu...
$29.65
In Stock

LINT SCREEN ASSY, WOD
PartSelect #: PS18355774
Manufacturer #: W11778253
This manufacturer-certified dryer lint filter is used to collect lint during the dryer cycle, to prevent damage to the machine and to prevent lint from sticking to clothes. This model comes in white a...
$64.85
In Stock

Dryer Door Handle - White
PartSelect #: PS11731583
Manufacturer #: W10861225
This dryer door handle is designed to facilitate smooth opening and closing of the dryer door. Measuring 5-3/4 inches by 2 inches, it features a white, smooth-surfaced finish that complements most dry...
$62.56
In Stock

Dryer Idler Pulley Assembly
PartSelect #: PS11743765
Manufacturer #: WP691366
The idler pulley wheel provides the tension for a multi-ribbed belt and helps the belt to rotate the drum. The drum will not spin if the idler pulley fails to put the correct amount of tension on the ...
$23.95
In Stock

Dryer Blower wheel
PartSelect #: PS11743785
Manufacturer #: WP694089
The blower wheel is a squirrel cage type wheel whose purpose is to move the air through the room or appliance. The blower wheel spins on the motor shaft to blow air through the dryer drum and out through the exhaust.
$46.44
In Stock

Heating Element Connection Wire Kit
PartSelect #: PS334206
Manufacturer #: 279457
This kit is used for electric clothes dryers, and it comes with a yellow wire nut.
$13.82
In Stock
Common Symptoms of the 4KMEDC420JW0
[Viewing 13 of 13]Noisy
Fixed by
these parts
these parts


Show All
Not Heating
Fixed by
these parts
these parts


Show All
Door won’t close
Fixed by
these parts
these parts


Show All
Won’t Start
Fixed by
these parts
these parts

Show All
Drum Not Spinning
Fixed by
these parts
these parts

Show All
Too hot
Fixed by
these parts
these parts

Show All
Timer Not Working
Fixed by
these parts
these parts


Show All
Door Pops Open
Fixed by
these parts
these parts

Show All
Marks left on clothes
Fixed by
these parts
these parts


Show All
Touchpad does not respond
Fixed by
these parts
these parts
Show All
Will Not Start
Fixed by
these parts
these parts
Show All
Running With Door Open
Fixed by
these parts
these parts
Show All
Heat stays on after drum has stopped
Fixed by
these parts
these parts
Show All
Keep searches simple. Use keywords, e.g. "leaking", "pump", "broken" or "fit".
Dryer was working, but no heat.
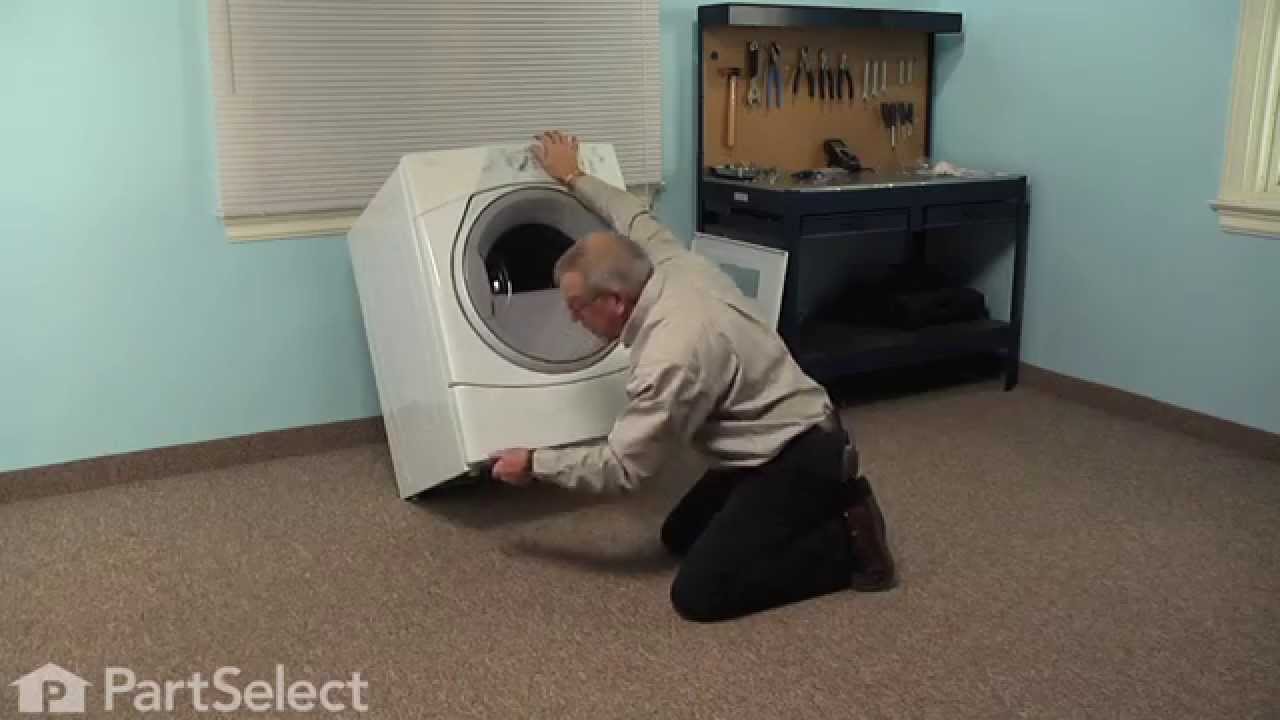
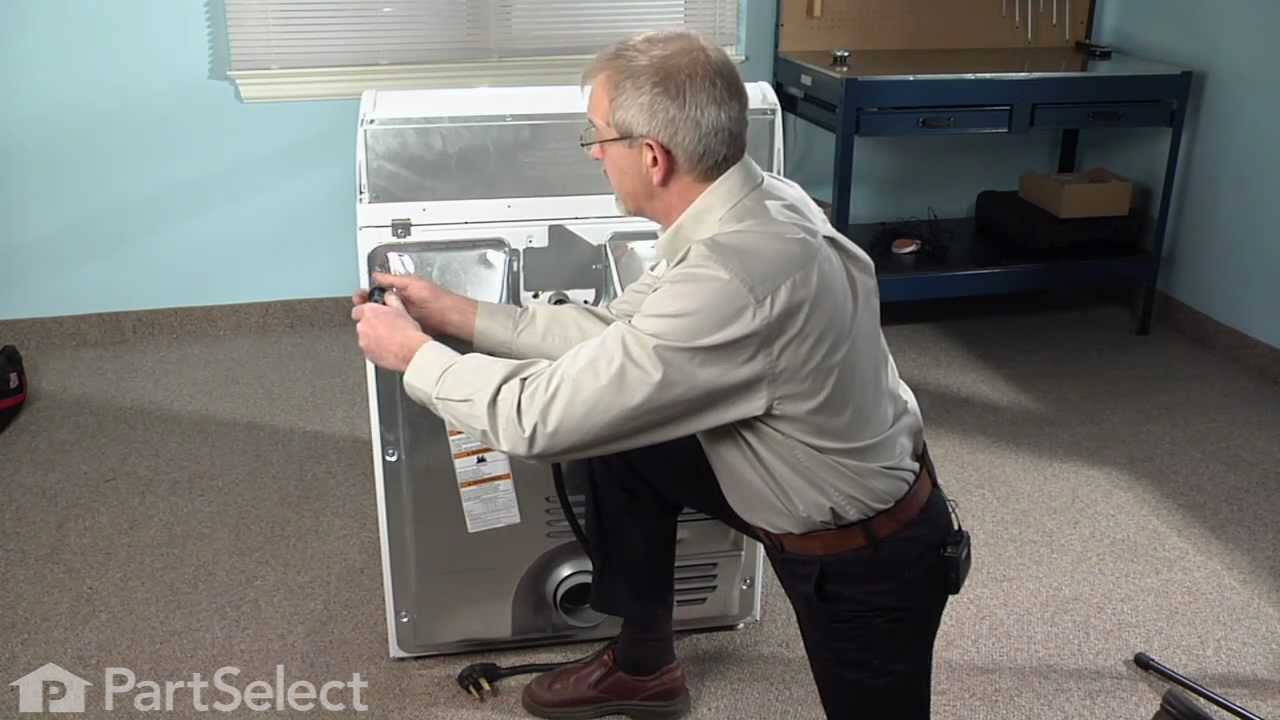
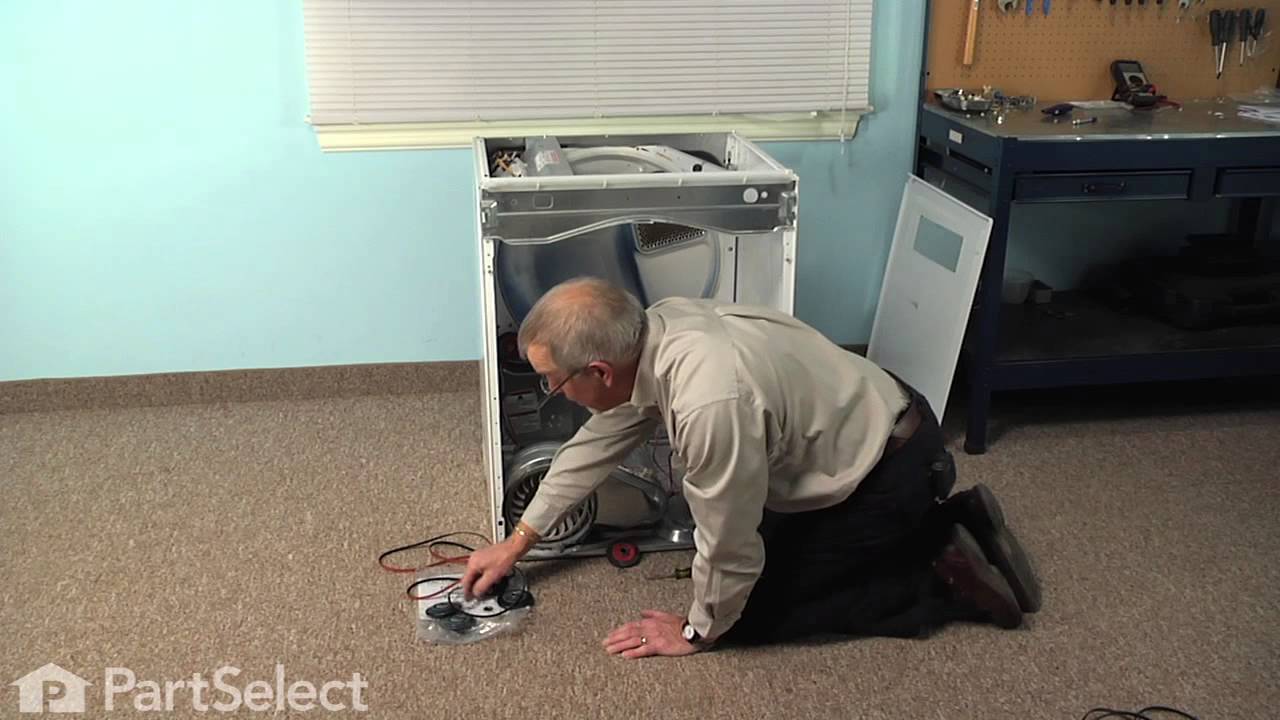
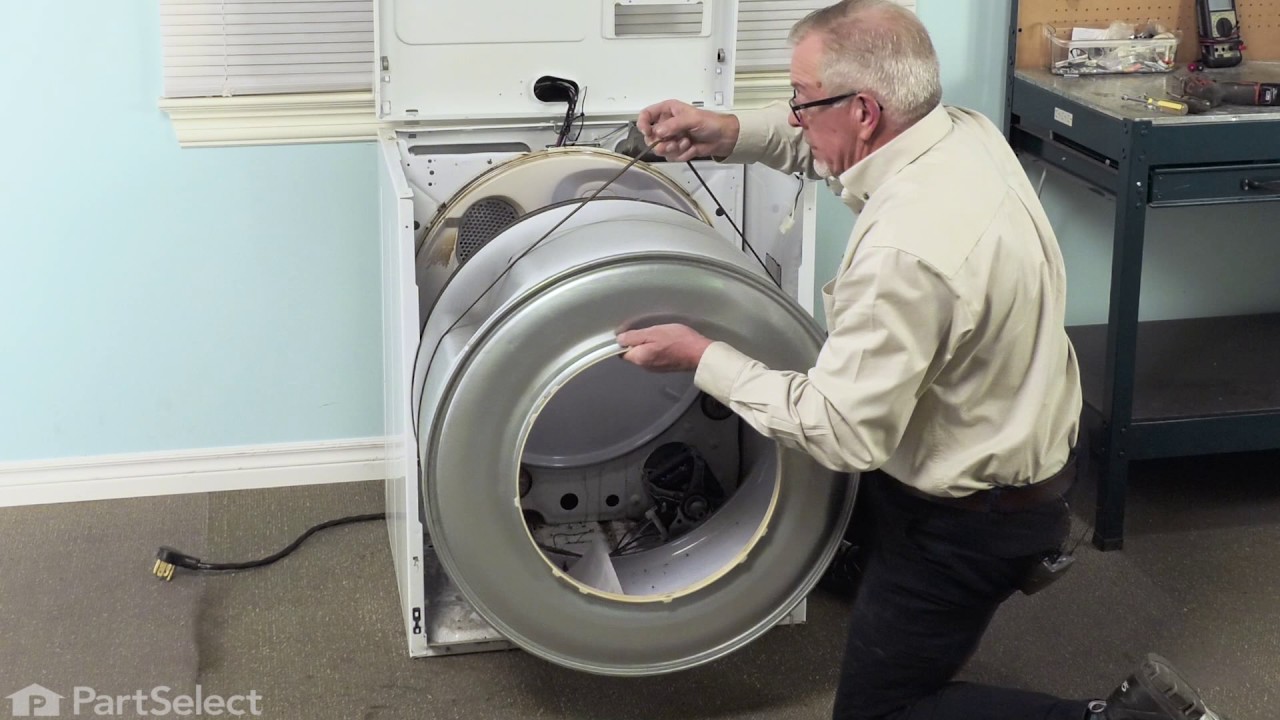
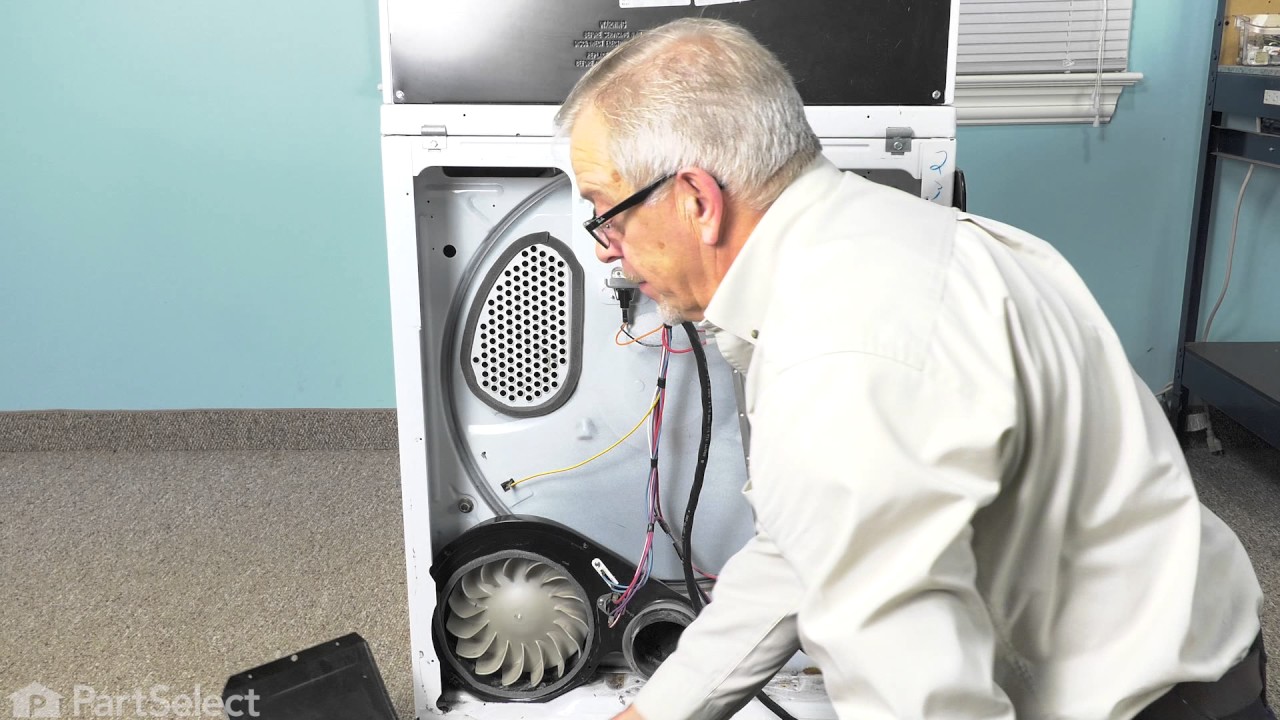
First I unplugged the dryer, then removed the back panel, this exposed most all of the wiring and I could see the heater coils.
Not knowing what the problem was I started looking at the coils and could not see any broken parts.
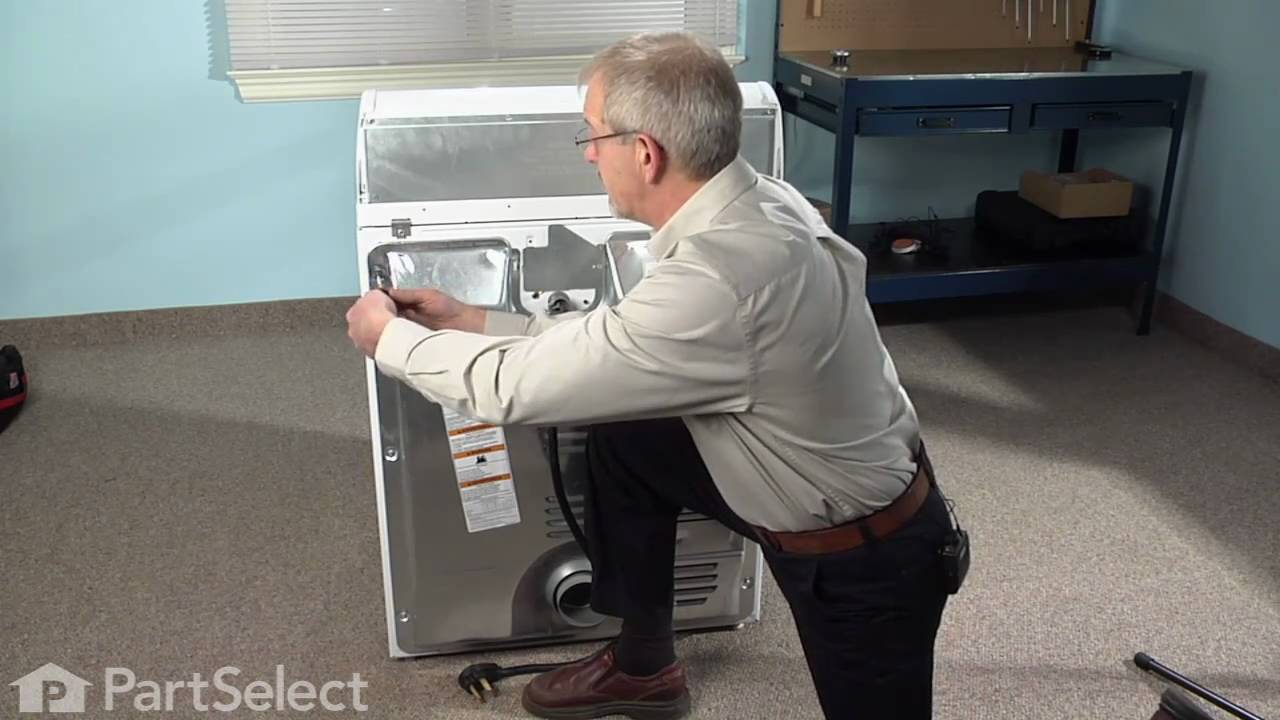
So then checked the thermal fuse for continuity I removed the two wires from it with a small pair of needle nose pliers, it was held in place by two screws, once they were removed the fuse came out easily, I checked continuity with a volt meter placing the meter on X1 Ohms and could not get a reading.
I replaced with a new one and put it all back together the way I took it apart.
Then I plugged it in and it worked first time, I now have warm dry clothes.
Not knowing what the problem was I started looking at the coils and could not see any broken parts.
So then checked the thermal fuse for continuity I removed the two wires from it with a small pair of needle nose pliers, it was held in place by two screws, once they were removed the fuse came out easily, I checked continuity with a volt meter placing the meter on X1 Ohms and could not get a reading.
I replaced with a new one and put it all back together the way I took it apart.
Then I plugged it in and it worked first time, I now have warm dry clothes.
Parts Used:
-
ANTHONY from CHESHIRE, CT
-
Difficulty Level:Easy
-
Total Repair Time:15 - 30 mins
-
Tools:Nutdriver, Pliers, Screw drivers
3067 of 3491 people
found this instruction helpful.
Was this instruction helpful to you?
Thank you for voting!
No heat but would run otherwise
Cleaning the lint out of the whole machine took quite a bit of time--it was everywhere. Underneath the lint trap was a collection that ultimately ruined the thermal fuse where it restricted the air flow considerably.
Ascertaining the problem was the most time consuming part.
The actual repair was quite simple and didn't take but 15-20 minutes.
Ascertaining the problem was the most time consuming part.
The actual repair was quite simple and didn't take but 15-20 minutes.
Parts Used:
-
Dana from Grassvally, CA
-
Difficulty Level:A Bit Difficult
-
Total Repair Time:More than 2 hours
-
Tools:Screw drivers
926 of 1022 people
found this instruction helpful.
Was this instruction helpful to you?
Thank you for voting!
very loud squeeling sound
The issue was the idler pulley. First I began opening up the front panel based on a youtube video but soon realized the model was slightly different and required a lot more items to remove. I saw the pulley in the back with nothing in the way so I put the front panel crap back on and removed the rear panel. There it was, very simple to remove and replace. I'm not looking forward to drum rollers though. Hopefully they're aren't as difficult as they appear.
Parts Used:
-
jason from HOLDEN, MA
-
Difficulty Level:Really Easy
-
Total Repair Time:30 - 60 mins
-
Tools:Socket set
110 of 120 people
found this instruction helpful.
Was this instruction helpful to you?
Thank you for voting!