If your washer’s detergent drawer is hard to open or the handle frame is damaged, this replacement part offers a quick fix. It snaps easily into place and helps restore smooth access to the dispenser. The frame features a white base with a clear outer piece and is made from sturdy plastic for long-lasting use. Compatible with a range of w...Read moreashing machine models, this part is sold individually—just check your model number to confirm it’s the right fit.
This is a replacement screw for your washer or dryer. The screw is approximately half an inch in length and is a Phillips-head screw. It screws in from the outside of the drum, into the vane/baffle. The main reason you would replace this screw is if the old screw is missing or damaged. This part is sold individually and is an OEM part sourced directly from the manufacturer.
This washer shock absorber mounting pin is a small but essential fastener that secures the shock absorber to the outer tub of a front-load washing machine. By holding the shock absorber firmly in place, it helps stabilize the tub during wash and spin cycles, reducing excessive vibration, shaking, and movement. Made from durable materials ...Read moreand designed for a precise fit, the pin supports smooth operation and protects other components from stress caused by unbalanced motion. Replacing a worn, broken, or missing mounting pin can help restore proper vibration control, improve washer stability, and prevent noise or damage during operation.
If your front-load washer is leaking or smells musty, the door seal might be the problem. This rubber gasket fits between the door and the tub to keep water from spilling out during a cycle. It’s a genuine replacement for many Frigidaire, Kenmore, and Electrolux models. If your current seal is torn or worn out, swapping it out can help st...Read moreop leaks and keep your laundry area dry. Just make sure it fits your washer before ordering.
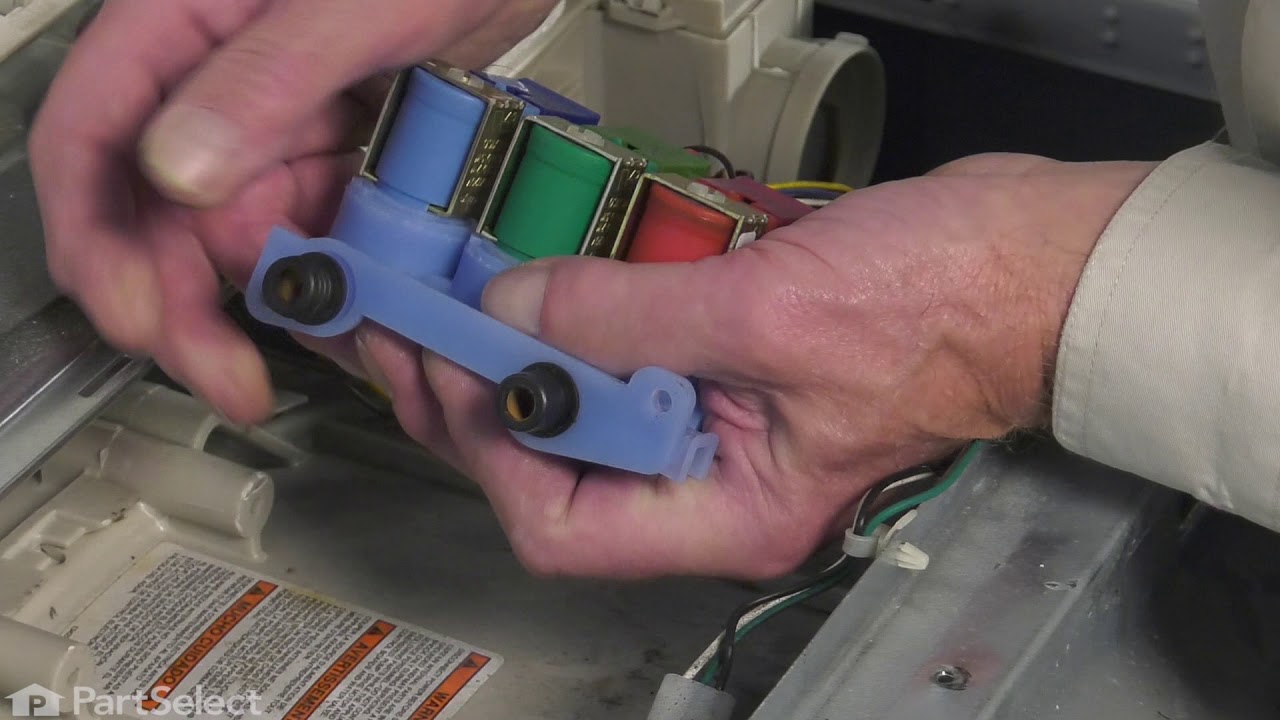
This water inlet valve controls the flow of water into your appliance, ensuring proper filling during wash cycles. Ideal for replacing a faulty valve that causes leaks or filling issues, it restores efficient operation. Installation involves disconnecting power and water supply, removing the old valve, and securing the new one in place.
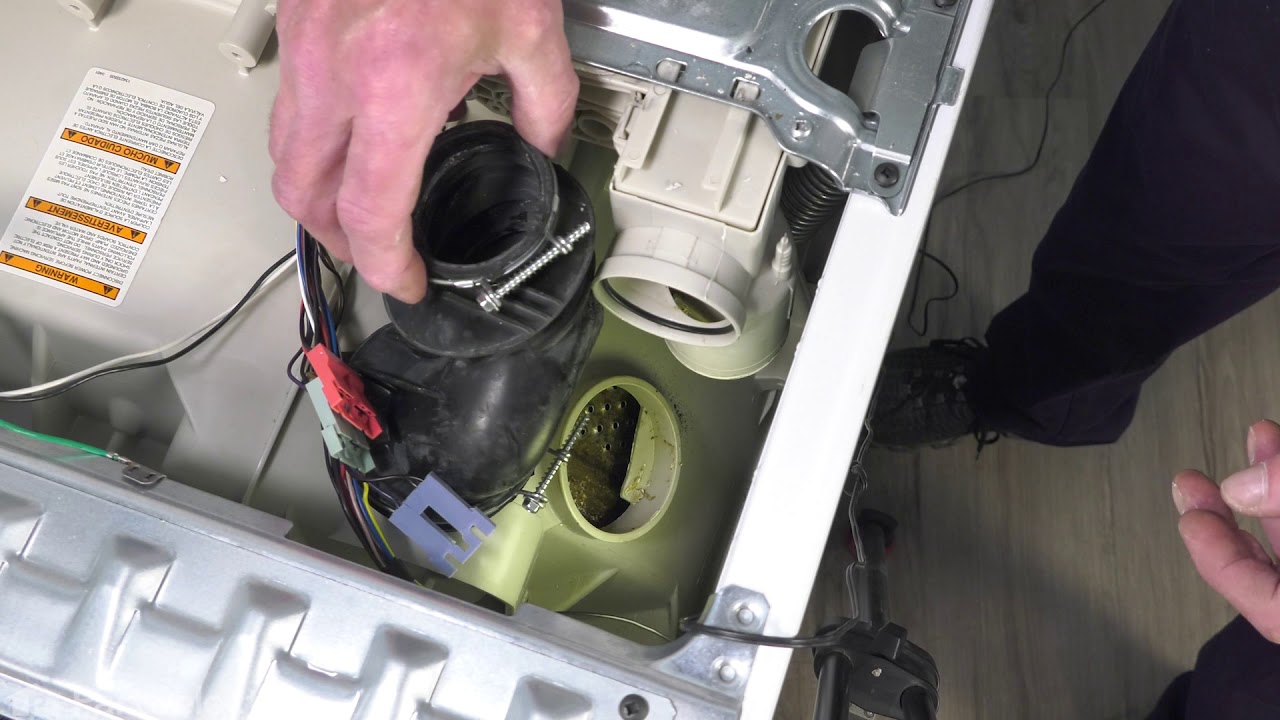
This washer tub-to-pump hose, often called a coin trap or bellows hose, carries water from the outer tub to the drain pump during drain and spin cycles. Designed with an integrated trap, it captures coins, buttons, and other small debris to prevent damage to the pump. Made from durable black rubber or flexible plastic, it withstands high ...Read morewater pressure and constant vibration. Common signs of failure include leaks from underneath the washer, unusual noises, or drainage issues such as slow draining or error codes.
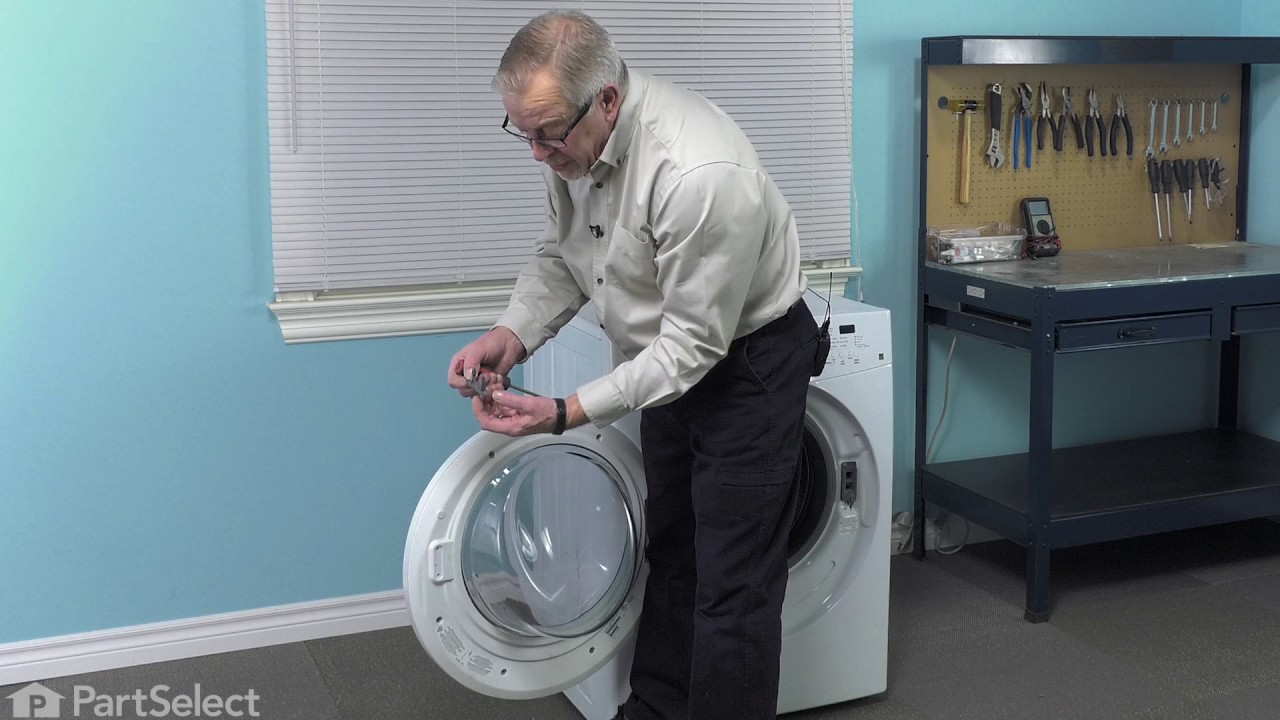
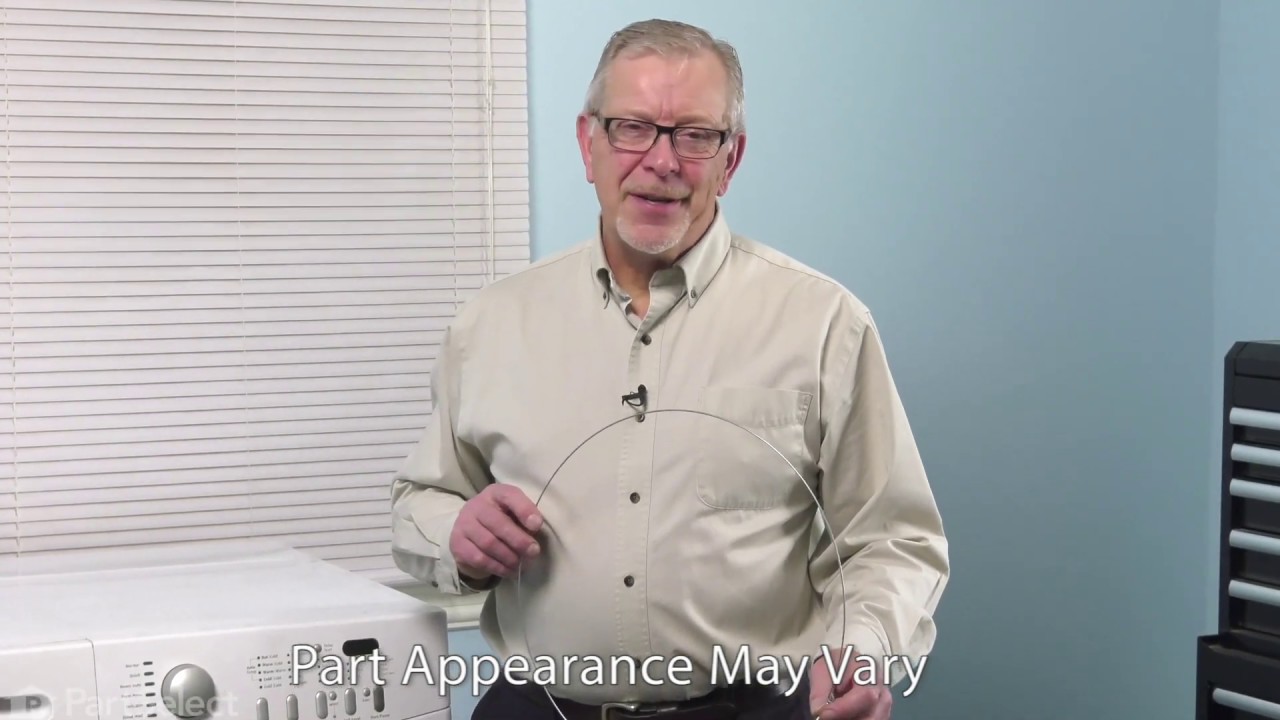
This washer door boot spring clamp secures the rubber door seal in place, maintaining a tight, watertight fit between the tub and front panel during operation. Its tension design helps prevent leaks and keeps the door properly sealed throughout wash cycles. Replacement is recommended if the seal becomes loose, water leaks from the front, ...Read moreor the clamp is damaged, helping restore a secure fit and reliable washer performance.
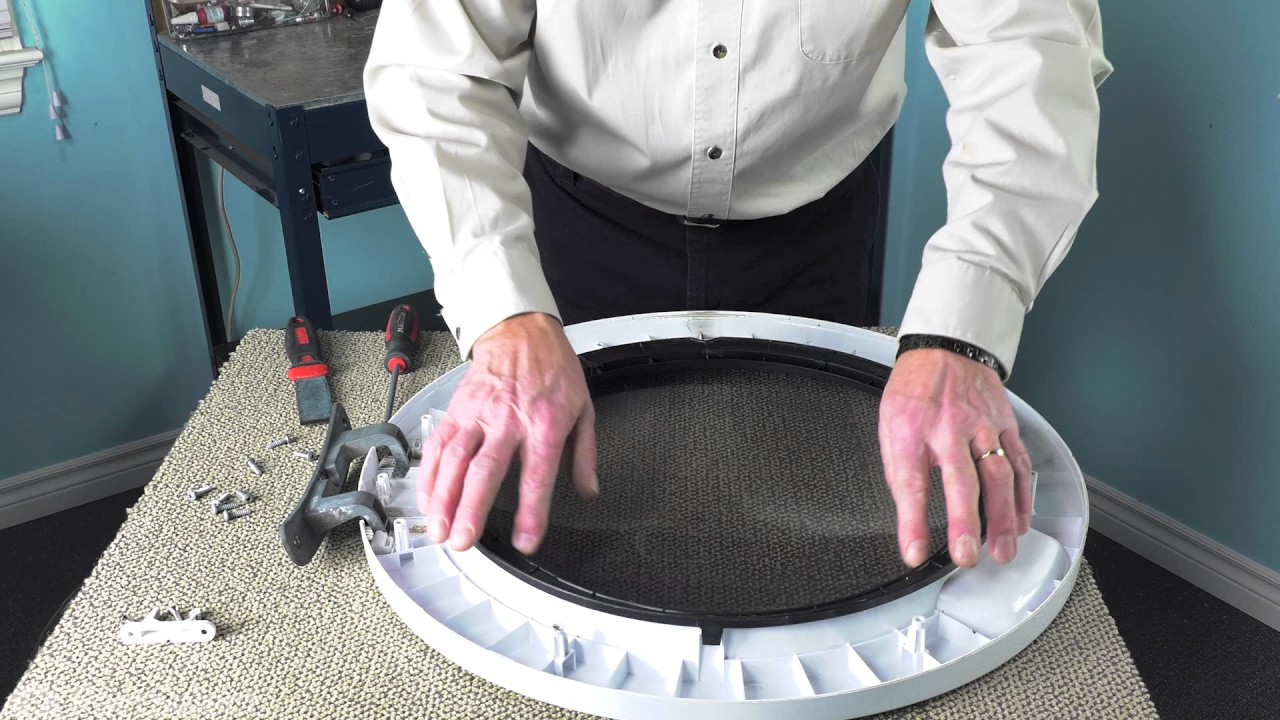
Restore the clean, finished look of your washing machine with this white outer door panel, designed to cover and protect the front of the washer door. This panel not only enhances the appliance’s appearance but also plays a vital role in maintaining a watertight seal during operation. It shields internal components from wear and moisture,...Read more helping to extend the life of your washer. The panel is crafted for a secure fit and is compatible with a range of washer models. Installation is straightforward and typically requires only basic tools. Be sure to consult your appliance’s manual for model-specific guidance and measurements to ensure proper fit.
Ask our experts a question about this model and we'll get back to you as soon as possible!
We may have answered a similar question already! Search questions and answers left by others using simple keywords like "fit", "broken", "easy", or "quality" to find questions that match.
Search filter:
Clear Filter
Your search term must have 3 or more characters.
Sort by:
Prev
1
Next
Sorry, we couldn't find any existing answers that matched.Try using some different or simpler keywords, or submit your new question by using the "Ask a Question" button above!
Suzanne - For model number 41741122310
March 21, 2022
I need to replace the rubber gasket due to mold buildup that will not come out. What is the part number? How much does it cost?I have already tried multiple rounds of bleach and the mold stains are not coming out.
thank you
Hi Suzanne,
Thank you for your question. The part number listed under your model number for the bellow is PS10057189. If you need help placing an order for it, customer service is open 7 days a week and anyone will be happy to assist you. Please feel free to give us a call. We look forward to hearing from you!
Im getting an e55 error code. My washer goes through the wash cycle but will only agitate back and forth, it doesn't go into the final fast spin cycle at the end of the wash leaving my cloths soaked. Ive taken the belt off verified the motor moves freely and the pulley moves freely. Im leaning towards ordering the motor speed control board. Any thoughts? Thanks!
Hello Steve, thank you for your question. That error code is in relation to the motor and an overheating or motor control unit issue. We would recommend replacing the motor speed control board first, as that is the most common cause of that issue. I hope this helps!
1 personfound this instruction helpful.
Was this helpful?
Thank you for voting!
Michael - For model number 41741122310
March 30, 2024
this machine keeps losing cycles , i am down to the delicate cycle
Hello Michael, thank you for getting in touch. Based on our understanding of the issue, we would suggest checking the control board, part number PS10063115, to solve the problem. Glad to be of assistance!
Will drum will rotate, but won’t spin dry. Just drops time to 3 minutes then acts like it’s done spinning but the clothes are still wet. I did remove the drum filter.
Hello John, thank you for getting in touch. Based on the description that you have provided, we would recommend cleaning the drain hose for blockage. If the issue persists, then you may need to replace the drain pump, part number PS3655041, to fix the issue. We hope this helps.
Hi Kevin, thank you for getting in touch. The water inlet valve is the most likely cause if your washer continues filling with water even when it is not running. The valve may have failed internally and is no longer closing completely, allowing water to enter the machine when it should be shut off. Replacing the faulty water inlet valve, part number 134959340, can stop the unwanted water flow. We hope this solves your problem!
Was this helpful?
Thank you for voting!
Prev
1
Next
✖
Ask a Question
Ask our experts a question on this model and we'll respond as soon as we can.
See how others fixed this model. Time, tools, difficulty, and steps that lead to victory!View More
Search repair tips from other customers using simple keywords like "replace", "fit", "remove", "inspect". DIY doesn't mean you have to do it alone!
Search filter:
Clear Filter
Your search term must have 3 or more characters.
Broken Door Catch
574 of 593 peoplefound this instruction helpful.
Joy from Columbia, MO
Really Easy
Less than 15 mins
Screw drivers
This was one of the simpliest repairs I have ever done taking less than 5 minutes to complete. On the inner door I removed the two screws that hold the plastic catch in place. I then removed the broken catch and put the new catch in place. Finally I replaced the two screws that hold the catch in place and it was done.
Was this helpful?
Thank you for voting!
Door Striker broke which was a result of the hinge problem.
114 of 149 peoplefound this instruction helpful.
Paul from Grinnell, IA
Easy
Less than 15 mins
Screw drivers
Removed the screws holding the door. (One was stuck a little so used an air drill with Phillips head to get the torque needed but someone with a strong grip could have done it as it came out very easily). I removed most of the screws holding the front to back of door to exchange the hinge. There was a problem with the old hinge slopping
... Read more around and not allowing the door to align properly when shutting it. The new hinge works better. See note*** below on doorframe. I pretty much was able to get the door back together and make it work. I then exchanged the door striker with no problem. It has a built in key so you cannot attach it incorrectly. The next thing was to just reattach the door to the machine and it worked right off the bat. ------------- *** Unfortunately, there were two screw mounts in the Outer Door Frame - Chrome Part Number: PS3495258 that were broken. This doorframe is listed as a $200+ chrome part whereas it is actually a plastic material that is extremely over priced for what it is. Like I mentioned two of the screw mounts had broken off so those screws are just "decoration" now. (These are screws that basically hold the back cover to the front cover). If this becomes a problem, I will simply modify what I have and make the screws fit before I spend $200+ on that part. (It looks like this could be drilled out and a long screw and nut run through to make it work. TELL THE WASHER OPERATOR… just be careful opening and closing the unit (don't slam the door but carefully close it) and it should work a lot longer. I might investigate the make up of a washer the next time I buy one … but the chrome vs. plastic is a hard one to spot. I hope this helps.
The striker is really easy to replace. Remove 2 #3 phillips screws, replace the striker part, and tighten the screws.
It got more complicated when too many striker tips broke off inside the latch assembly and prevented the tip of the new striker from going inside. To get at the latch assembly, I had to remove the big rubber g
... Read moreasket that connects the drum to the frame of the machine. I removed this at the drum end. Big mistake! It took two of us to get the gasket back onto the drum, and I had to take the frame end of the gasket off anyway. That end is a lot easier to put back on. Anyway, I finally got to the latch assembly, which attaches to the machine with two screws. It has 3 connectors and the housing is a grey plastic clamshell that latches in 3 places. It came apart and parts came out. Jamming the latches open and very gently prying the clamshell open may let you escape the small parts barrage. Once I got everything back together, it all worked.
Unfortunately, the story doesn't end there. This machine has broken 4 strikers. They break during the wash cycle. Taking a cue from a previous DIY description on this site, I took the hinge apart. It looks like there is a part missing, because there isn't anything that keeps the door aligned with the rest of the machine. The door drops down as low as it can go on the hinge pin and the plastic of the door frame rides directly on the arm of the hinge part. I've shimmed it up about 3/16" temporarily, and it seems to work, but I can't escape the idea that I shouldn't have to do this...



 My Orders