Ask our experts a question about this model and we'll get back to you as soon as possible!
1 question answered by our experts.
< Prev
1
Next >
Sort by:
Search filter:
Clear Filter
Your search term must have 3 or more characters.
Keep searches simple. Use keywords, e.g. "leaking", "pump", "broken" or "fit".
Sorry, we couldn't find any existing answers that matched.Try using some different or simpler keywords, or submit your new question by using the "Ask a Question" button above!
JON
March 6, 2020
Washer doesnt finish cycle
For model number 40249032011
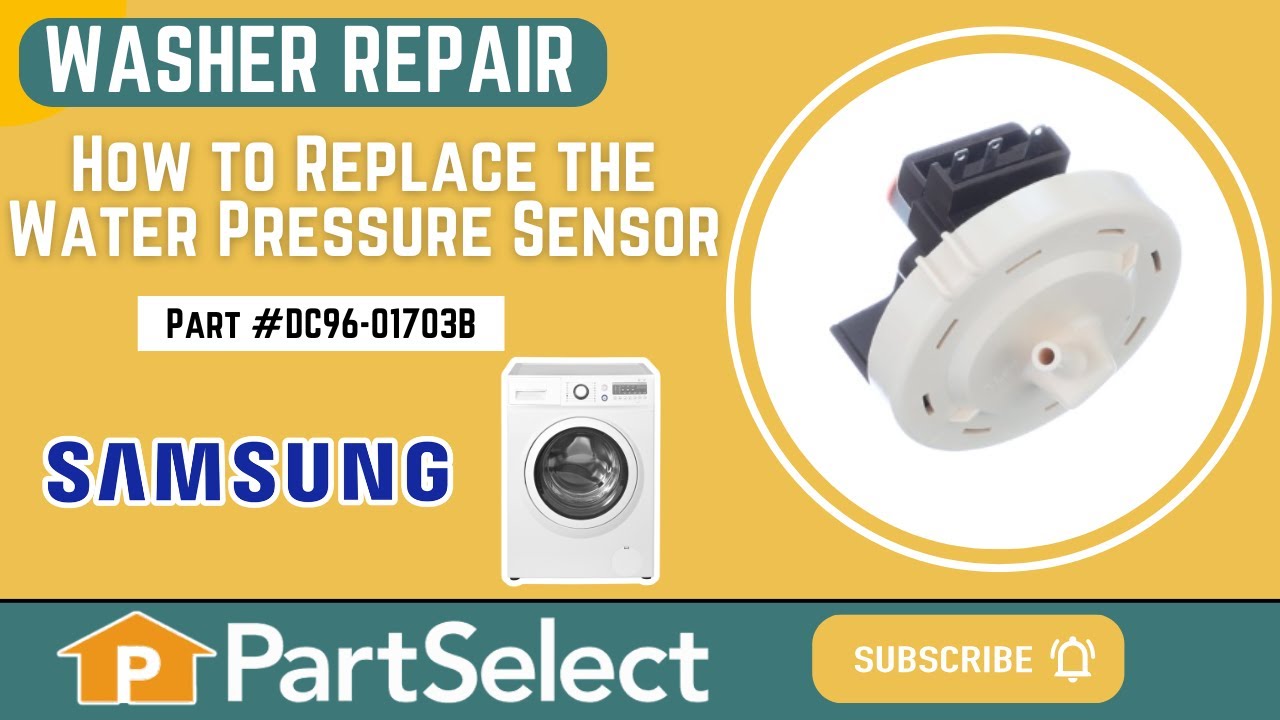
Hello Jon, thank you for your question. There could be a few reasons this is happening. We would recommend testing the door lock, PartSelect Number: PS4211604, pressure sensor PartSelect Number: PS4217080, and the hall sensor and PartSelect Number: PS4204673 first. I hope this helps.
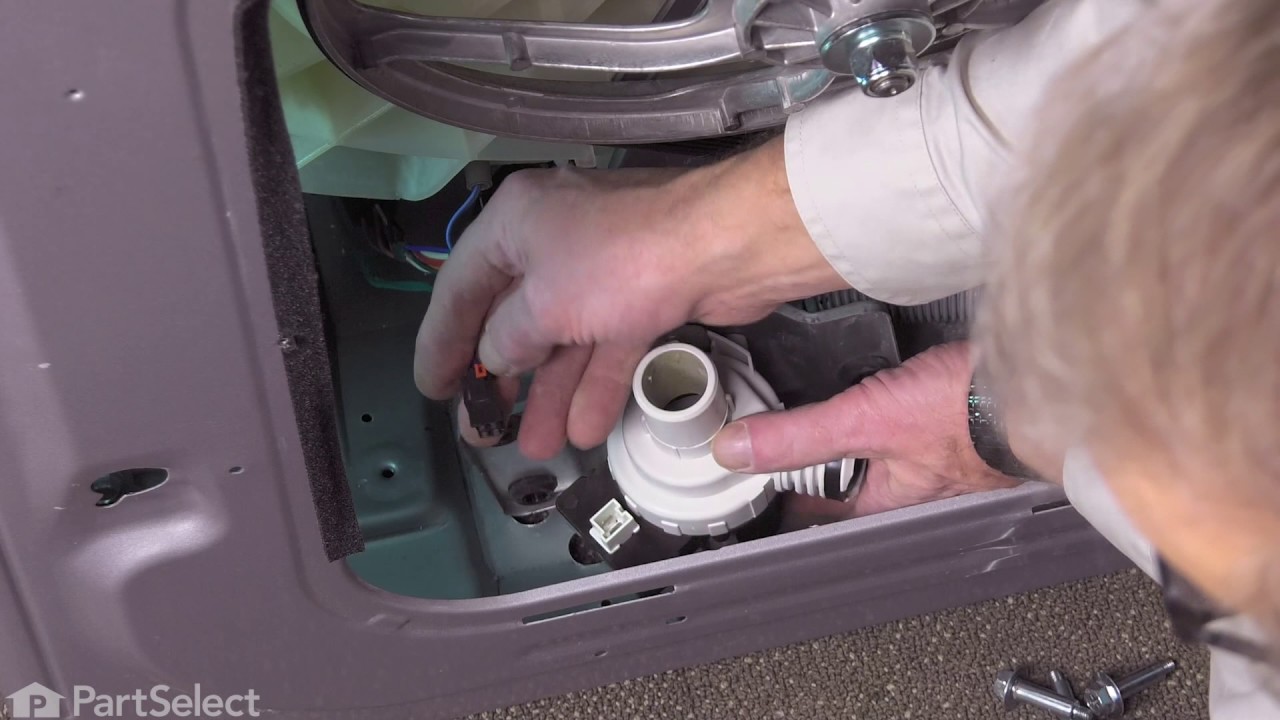
Watched the video, procedure was simple and as depicted on the video. Started by using a wet shop Vac to the discharge hose and sucked as much dirty wash water out as possible. Removed the pump,and found the motor did not turn freely. Removed the motor (3 screws) and replaced the motor with new part. Reassembled the washer, everything worked as it should. After about 3-4 loads of laundry, the "Not Draining" code / problem returned. Again, sucked out the water with the Shop Vac. Checked the Filter /Cleanout and found it completely packed with MUD. Cleaned that out, and again disassembled the washer. The pump was removed and the remaining muddy gunk was cleaned from the impeller. The 3 drain lines that attached to the pump were inspected for blockage/obstruction and flushed of any muddy residue. Reassembly was quick and easy, and the washer has worked well since. I have no idea how the dirt got into the system with enough dirt to gunk up the system. Recommend keeping more frequent inspections of the cleanout trap.
Found a repair video of a Samsung washer that looks like mine (9 years old). Removed two screws from the back of the washer, slid the top a few inches toward the front and lifted it off. Disconnected the two double electrical connections, the two rubber tubes from the solenoids, the cold water hose from the back and removed the two screws holding the valve in place. Installed the new valve by reversing those steps, slid the top back into place and secured it with the two screws and viola (as Kelly Bundy would say)! The washer now functions normally. I'm waiting for my next water bill to arrive to see whether the sudden increase in usage decreases to its normal amount. We have three adults and four small children in the household so the washer is constantly in use.
The part did not fit this model. The flap part fit the hole but the seal ring is too big. I cut 1\4inch out and used super glue the make it small enough to fit and seal the hose. Make sure you only use a drop of glue and keep the seal even and flat so it will seal