














402-49032012 (0001) Samsung Washer - Overview
Sections of the 402-49032012
[Viewing 1 of 1]
Keep searches simple, eg. "belt" or "pump".

Hex Head Bolt
PartSelect #: PS4205366
Manufacturer #: DC60-40137A
This part is used for the shaft on rear of the tub. Sold individually.
$19.28
In Stock


Oil Seal
PartSelect #: PS4208713
Manufacturer #: DC62-00223A
This oil seal (part number DC62-00223A) is for washers. Oil seal DC62-00223A presses into the rear drum to prevent oil from leaking past the basket spin shaft. Unplug the appliance before installing t...
$29.75
Special Order


Water Hose
PartSelect #: PS4212730
Manufacturer #: DC67-00089A
This dispenser hose (part number DC67-00089A) is for washers. Dispenser hose DC67-00089A carries the contents of the dispenser drawer to the washer tub. Unplug the washer before installing this part.
$23.44
In Stock

Weight Balancer
PartSelect #: PS4212983
Manufacturer #: DC67-00622B
This counterweight (part number DC67-00622B) is for washers. Counterweight DC67-00622B helps keep the washer balanced during the spin cycle. Unplug the washer before installing this part. Wear work gl...
$125.74
On Order


Common Symptoms of the 402-49032012
[Viewing 3 of 3]Leaking
Fixed by
these parts
these parts

Show All
Will not drain
Fixed by
these parts
these parts

Show All
Water Filling Issues
Fixed by
these parts
these parts

Show All
Keep searches simple. Use keywords, e.g. "leaking", "pump", "broken" or "fit".
OE error code, water keeps flowing during spin cycle, softener dispenser left half full of water, clothes wet after washer stops
Found a repair video of a Samsung washer that looks like mine (9 years old). Removed two screws from the back of the washer, slid the top a few inches toward the front and lifted it off. Disconnected the two double electrical connections, the two rubber tubes from the solenoids, the cold water hose from the back and removed the two screws holding the valve in place. Installed the new valve by reversing those steps, slid the top back into place and secured it with the two screws and viola (as Kelly Bundy would say)! The washer now functions normally. I'm waiting for my next water bill to arrive to see whether the sudden increase in usage decreases to its normal amount. We have three adults and four small children in the household so the washer is constantly in use.
Parts Used:

-
Gary from Peachtree City, GA
-
Difficulty Level:Really Easy
-
Total Repair Time:15 - 30 mins
-
Tools:Screw drivers
3 of 3 people
found this instruction helpful.
Was this instruction helpful to you?
Thank you for voting!
The boot had a crack, where the leak was.
Took off the front part of boot on the door, continued to take out the front and top off to washer Faisal.
Removed weights and boot connected to the drum. Installed new boot and leeks was gone.
Removed weights and boot connected to the drum. Installed new boot and leeks was gone.
Parts Used:

-
Hilda from YONKERS, NY
-
Difficulty Level:Easy
-
Total Repair Time:30 - 60 mins
-
Tools:Pliers, Screw drivers, Socket set
1 of 3 people
found this instruction helpful.
Was this instruction helpful to you?
Thank you for voting!
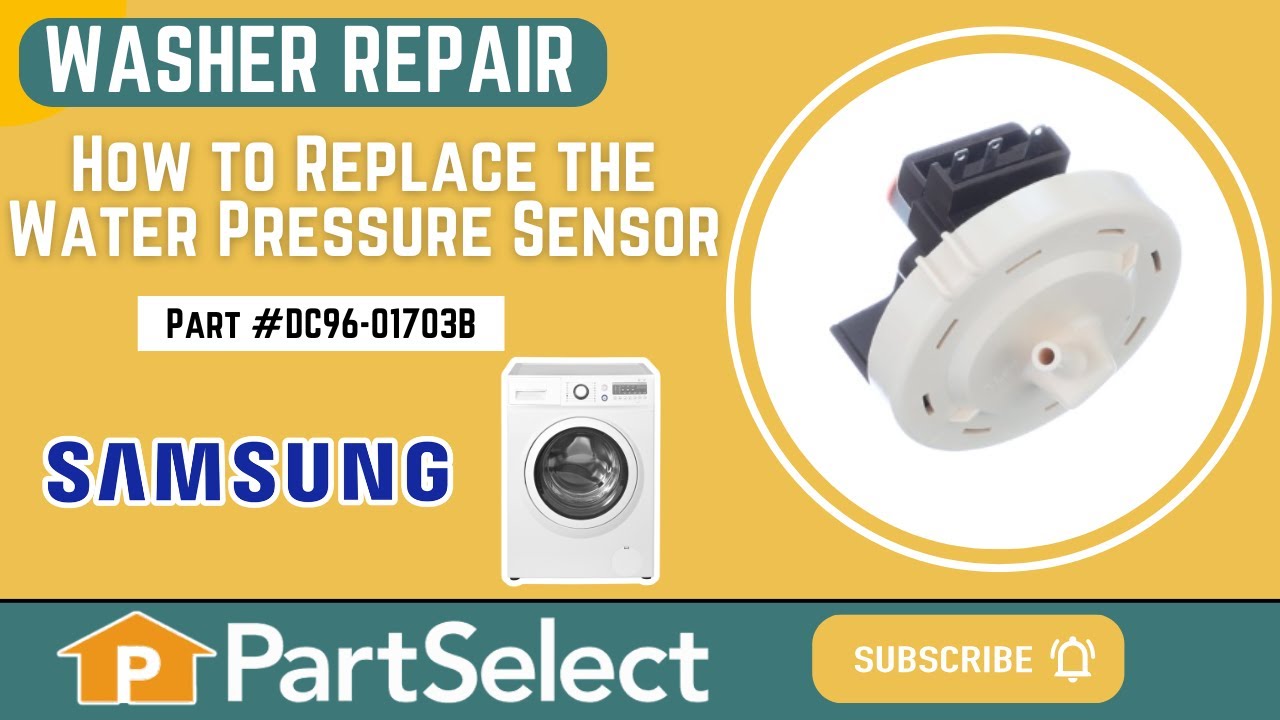
The water level was lower than normal.
First unplug or turn off thee circuit breaker. Then remove the two screws to the top cover. Slide the cover back about three inches then remove the cover. Next take out the screw to the old sensor. Then unplug the electrical connection by squeezing and the pulling to disengage. Now set the old unit aside. You then grad your eight inch wire tie and hold the with flat side to the right and just to the right of the screw hole for the bracket is a square hole. Feed to wire tie into the square hole with your left hand then loop down left side of the end of new sensor and back up threw the square hole and tighten with the pliers. Your new sensor will be positioned just like it was mounted to the metal bracket. And pretty ridged. Now connect the vacuum hose and electrical connector.
Parts Used:

-
Fredric from ROCKMART, GA
-
Difficulty Level:Really Easy
-
Total Repair Time:15 - 30 mins
-
Tools:Pliers, Screw drivers
3 of 10 people
found this instruction helpful.
Was this instruction helpful to you?
Thank you for voting!