














3LMEDC415FW0 Maytag Dryer - Overview
Sections of the 3LMEDC415FW0
[Viewing 5 of 5]


Keep searches simple, eg. "belt" or "pump".

Multi Rib Belt - 92-1/4"
PartSelect #: PS346995
Manufacturer #: 341241
This dryer drum belt has four ridges, three grooves and is 1/4" wide.
$20.95
In Stock

Dryer Repair Kit
PartSelect #: PS373088
Manufacturer #: 4392067
This dryer repair kit consists of five commonly replaced dryer parts: one multi-rib belt (part #661570V and measures 93 1/2 inches long), four drum support rollers, one idler assembly, nine tri-rings,...
$56.05
In Stock


Roller Support Tri-Ring
PartSelect #: PS11755850
Manufacturer #: WPW10512946
If you notice that your dryer is noisy or will not tumble, you may need to replace the tri ring. This part is triangular, and is less than an inch in size. Tri rings can be found both on the idler pul...
$17.01
In Stock

Touch-Up Paint - White
PartSelect #: PS385132
Manufacturer #: 72017
This 18 ml bottle of white appliance touch-up paint is used to cover scratches or marks on your appliance. The white touch-up paint can be used on refrigerators, microwaves, ranges, clothes dryers, an...
$17.95
In Stock

Dryer High Limit Thermostat
PartSelect #: PS11742185
Manufacturer #: WP3977767
This high-limit thermostat with Terminal Extension Arm acts as as safety mechanism that keeps the dryer from overheating. Once the dryer temperature reaches 221 degrees Fahrenheit, this piece will shu...
$29.65
In Stock

LINT SCREEN ASSY, WOD
PartSelect #: PS18355774
Manufacturer #: W11778253
This manufacturer-certified dryer lint filter is used to collect lint during the dryer cycle, to prevent damage to the machine and to prevent lint from sticking to clothes. This model comes in white a...
$64.85
In Stock

Dryer Door Handle - White
PartSelect #: PS11731583
Manufacturer #: W10861225
This dryer door handle is designed to facilitate smooth opening and closing of the dryer door. Measuring 5-3/4 inches by 2 inches, it features a white, smooth-surfaced finish that complements most dry...
$62.56
In Stock

Dryer Blower wheel
PartSelect #: PS11743785
Manufacturer #: WP694089
The blower wheel is a squirrel cage type wheel whose purpose is to move the air through the room or appliance. The blower wheel spins on the motor shaft to blow air through the dryer drum and out through the exhaust.
$46.44
In Stock

Heating Element Connection Wire Kit
PartSelect #: PS334206
Manufacturer #: 279457
This kit is used for electric clothes dryers, and it comes with a yellow wire nut.
$13.82
In Stock

Timer
PartSelect #: PS11749831
Manufacturer #: WPW10185982
This dryer timer is used to control the unit's cycles by regulating the length of time that power is directed to each setting.
$162.74
In Stock
Common Symptoms of the 3LMEDC415FW0
[Viewing 13 of 13]Noisy
Fixed by
these parts
these parts


Show All
Drum Not Spinning
Fixed by
these parts
these parts
Show All
Door won’t close
Fixed by
these parts
these parts


Show All
Not Heating
Fixed by
these parts
these parts


Show All
Too hot
Fixed by
these parts
these parts

Show All
Timer Not Working
Fixed by
these parts
these parts

Show All
Won’t Start
Fixed by
these parts
these parts

Show All
Door Pops Open
Fixed by
these parts
these parts

Show All
Marks left on clothes
Fixed by
these parts
these parts


Show All
Heat stays on after drum has stopped
Fixed by
these parts
these parts
Show All
Leaking
Fixed by
these parts
these parts

Show All
Running With Door Open
Fixed by
these parts
these parts
Show All
Touchpad does not respond
Fixed by
these parts
these parts
Show All
Keep searches simple. Use keywords, e.g. "leaking", "pump", "broken" or "fit".
broken tumbler belt
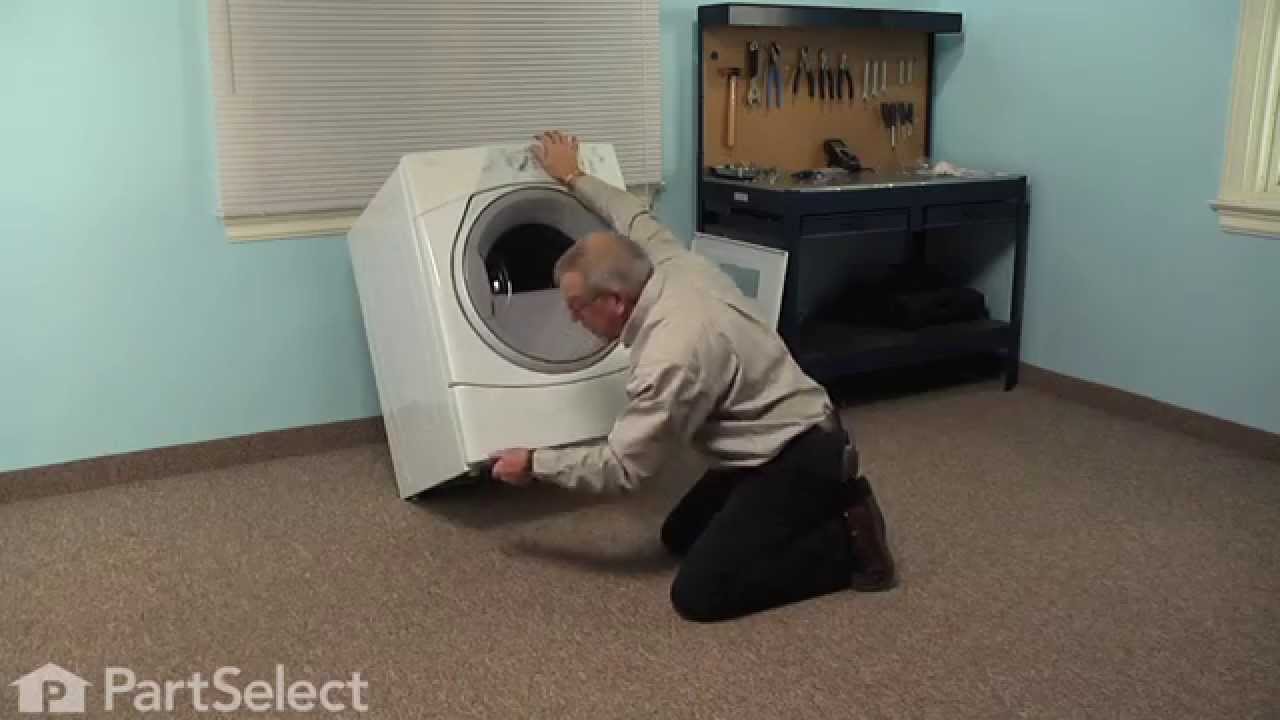
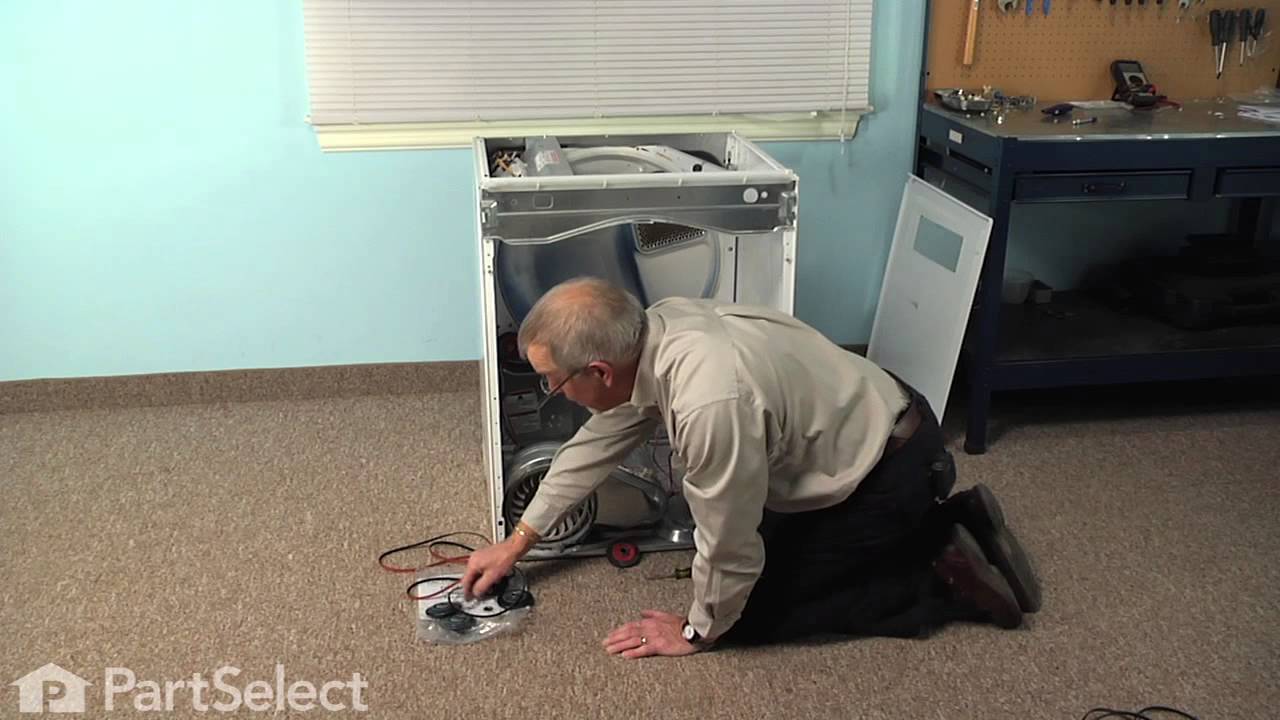
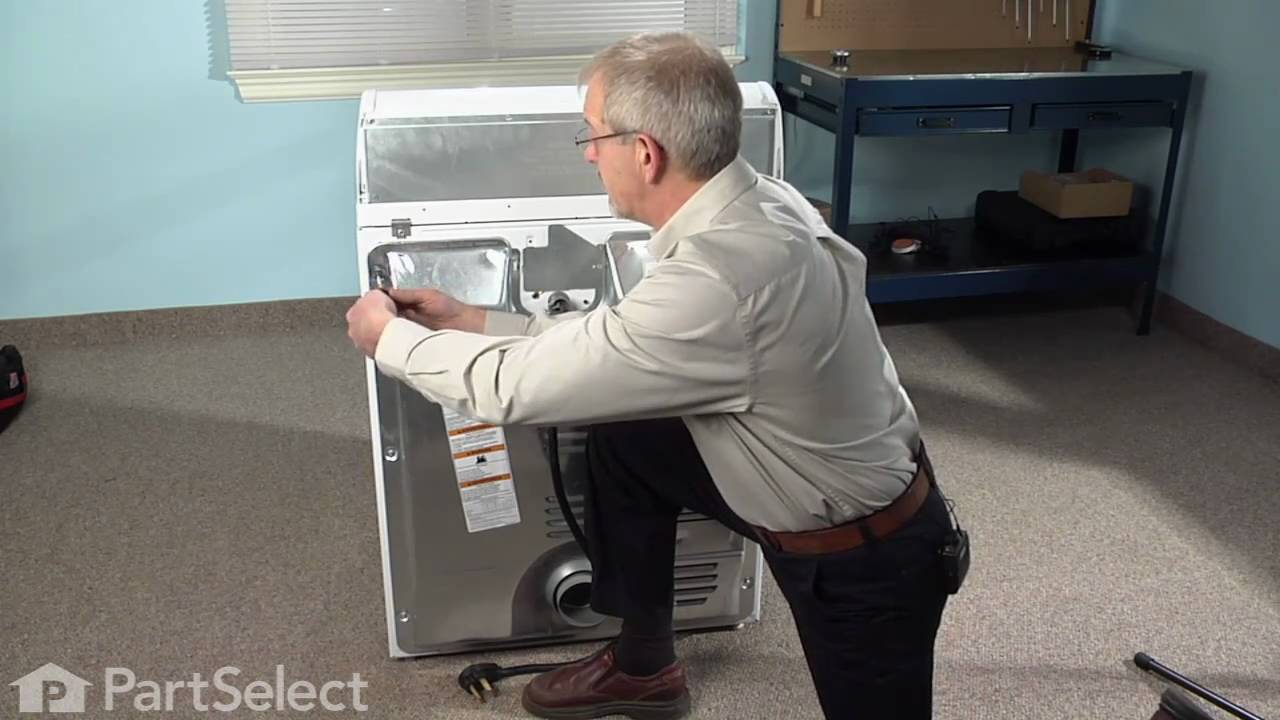
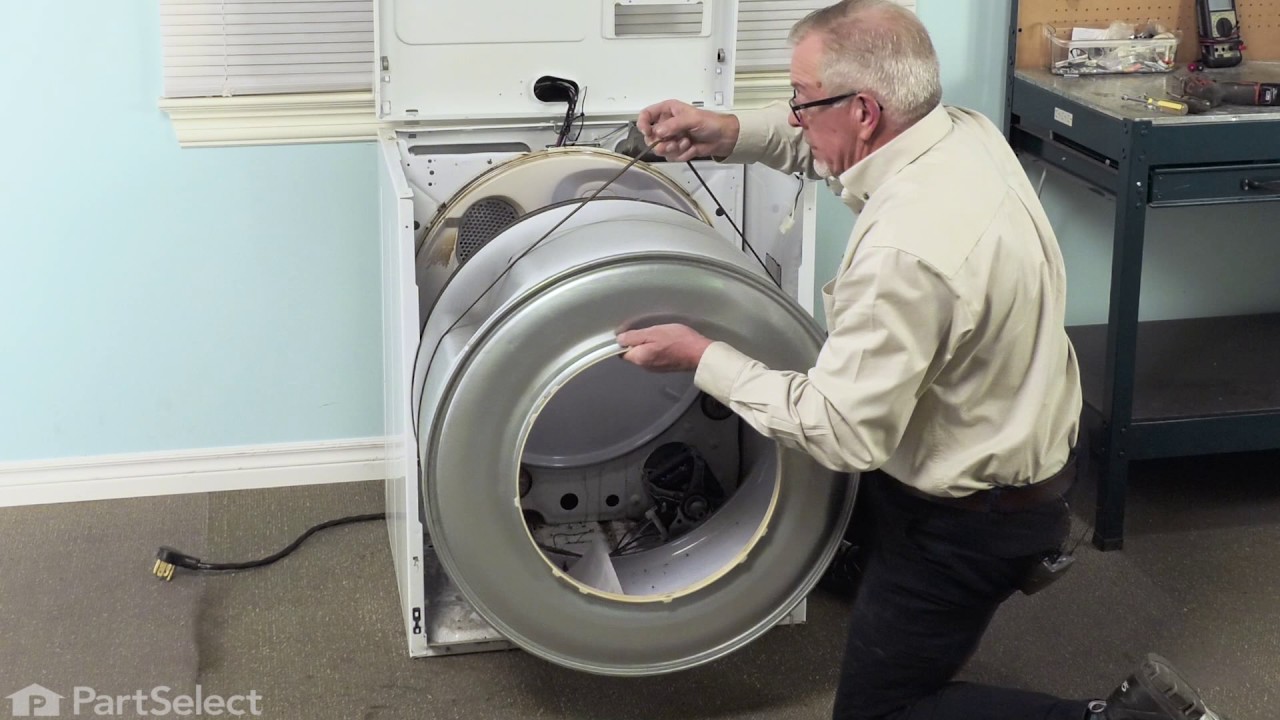
1. Removed the screws from the lint catcher
2. Removed the bolts from upper rear of dryer
3. Pried off the dryer top from the front (it rests on rear hinges)
4. Disconnected dryer door wiring
5. Removed bolt from inside upper front corners; removed front panel (be careful: the edges are sharp and the tumbler will fall when it loses support)
6. Removed broken belt and lint from interior parts; removed tensioner (which had fallen out of place). Note: The newer models have a tensioner pulley; my older model had a smooth semicircle that was confusing at first glance
7. Flipped dryer onto its back (for easier reinsertion of new belt and tumbler)
8. Placed new belt on tumbler; reinserted tumbler
9. Inserted new belt through tensioner, inserted tensioner "legs" into grooves on floor. Note: The belt will pull the tensioner upright when it's inserted properly (which isn't obvious at first)
10. Made sure belt and tumbler seal were properly installed
11. Replaced parts in reverse order
The process took over an hour because I couldn't figure out how to insert the belt through the tensioner. The trick is to insert the folded belt through the tensioner and onto the motor pulley. If I had to do it again, it would take about 30 minutes (including cleaning lint)
2. Removed the bolts from upper rear of dryer
3. Pried off the dryer top from the front (it rests on rear hinges)
4. Disconnected dryer door wiring
5. Removed bolt from inside upper front corners; removed front panel (be careful: the edges are sharp and the tumbler will fall when it loses support)
6. Removed broken belt and lint from interior parts; removed tensioner (which had fallen out of place). Note: The newer models have a tensioner pulley; my older model had a smooth semicircle that was confusing at first glance
7. Flipped dryer onto its back (for easier reinsertion of new belt and tumbler)
8. Placed new belt on tumbler; reinserted tumbler
9. Inserted new belt through tensioner, inserted tensioner "legs" into grooves on floor. Note: The belt will pull the tensioner upright when it's inserted properly (which isn't obvious at first)
10. Made sure belt and tumbler seal were properly installed
11. Replaced parts in reverse order
The process took over an hour because I couldn't figure out how to insert the belt through the tensioner. The trick is to insert the folded belt through the tensioner and onto the motor pulley. If I had to do it again, it would take about 30 minutes (including cleaning lint)
Parts Used:

-
Michael from San Antonio, TX
-
Difficulty Level:Easy
-
Total Repair Time:30 - 60 mins
-
Tools:Screw drivers, Wrench set
145 of 165 people
found this instruction helpful.
Was this instruction helpful to you?
Thank you for voting!
very loud squeeling sound
The issue was the idler pulley. First I began opening up the front panel based on a youtube video but soon realized the model was slightly different and required a lot more items to remove. I saw the pulley in the back with nothing in the way so I put the front panel crap back on and removed the rear panel. There it was, very simple to remove and replace. I'm not looking forward to drum rollers though. Hopefully they're aren't as difficult as they appear.
Parts Used:
-
jason from HOLDEN, MA
-
Difficulty Level:Really Easy
-
Total Repair Time:30 - 60 mins
-
Tools:Socket set
110 of 120 people
found this instruction helpful.
Was this instruction helpful to you?
Thank you for voting!
Bought motor, then bought blower wheel also
couldn't get blower wheel off of the motor. really tight. rounded off the wheel's square hub while trying to hold it still as I turned the motor shaft out. No, I wasn't turning it the wrong way :) I ended up going to the back of the dryer and using the multimax to quickly cut the wheel away from the hub. I love that oscillating saw! Just for fun, I put the motor in a bench vise and got the wheel hub off (in pieces). VERY tight! Ordered new wheel, and the job was smooth sailing from there on. I am guessing that experienced repair people automatically order the motor and blower wheel at the same time(?) BTW both parts were perfect matches for the originals. Not surprised; this has always been my experience with partselect.com!
Parts Used:
-
Daniel from Coatesville, PA
-
Difficulty Level:Easy
-
Total Repair Time:More than 2 hours
-
Tools:Nutdriver, Screw drivers, Wrench (Adjustable)
95 of 111 people
found this instruction helpful.
Was this instruction helpful to you?
Thank you for voting!