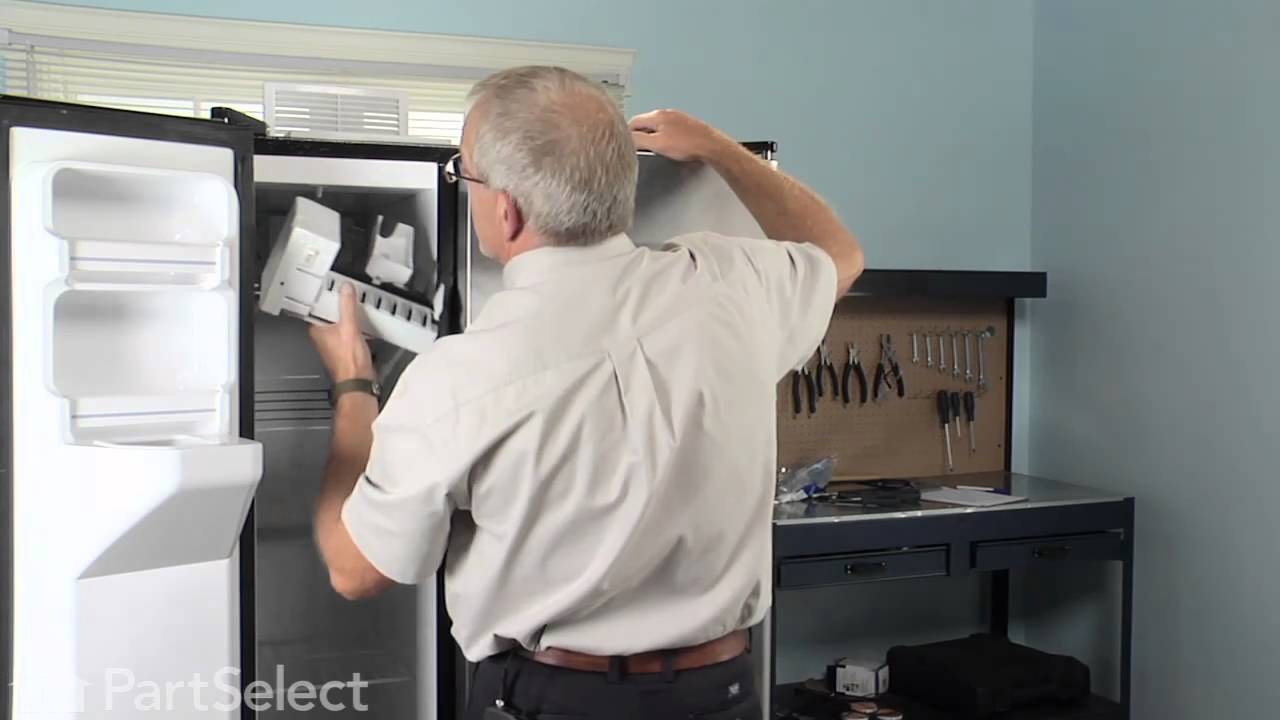
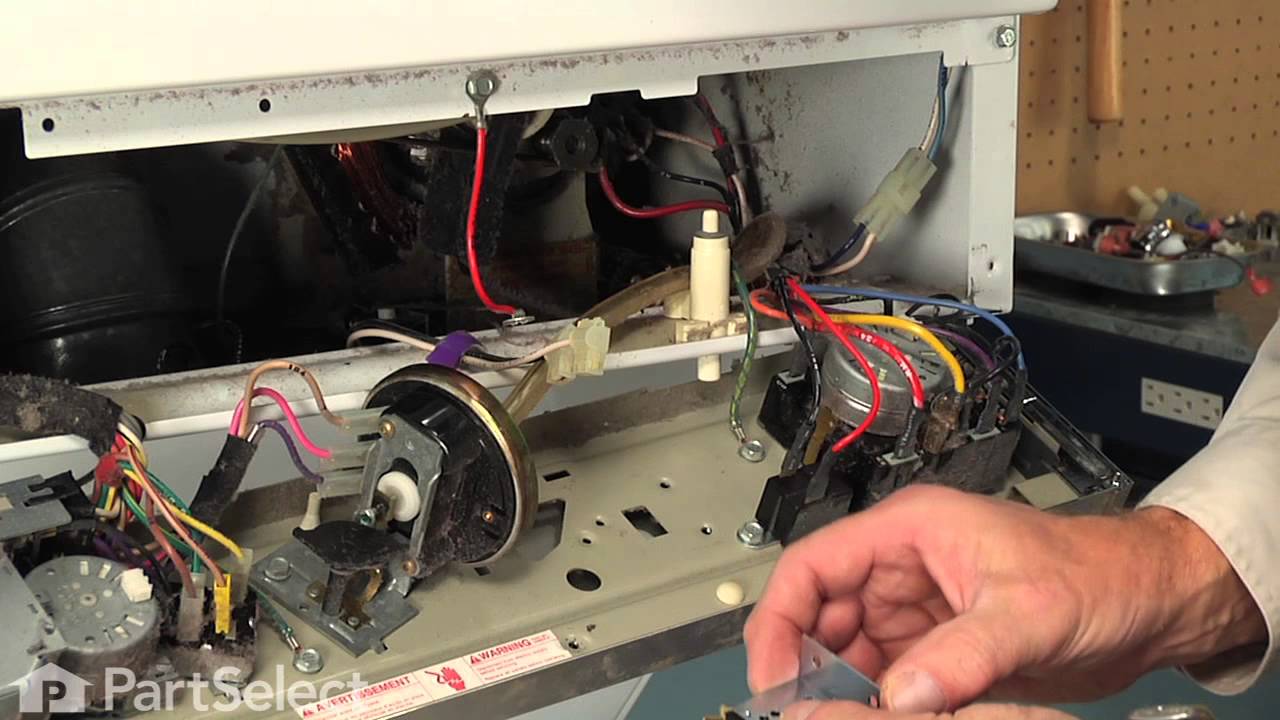
363WR30X0318 Kenmore Ice Maker - Overview

Diagrams for 363WR30X0318

See every part. Know exactly what you need.

Enter a part description. DIY Heroes keep it simple, eg. "belt" or "pump".

Search filter:
Clear Filter
Your search term must have 3 or more characters.
Touch-Up Paint - White – Part Number: 72017
No Longer Available
Touch-Up Paint - White
★★★★★
★★★★★
(23)
Part #72017
This 18 ml bottle of white appliance touch-up paint is used to cover scratches or marks on your appliance. The white touch-up paint can be used on refrigerators, microwaves, ranges, clothes dryers, and freezers. This is a genuine OEM part and includes a brush applicator. Please remember to wear gloves to protect your hands when applying this paint.
Ice Maker – Part Number: WR30X10093
$267.74
Special Order
Ice Maker
★★★★★
★★★★★
(5)
Part #WR30X10093
This ice maker assembly is used to make ice in your refrigerator. The ice maker receives water from the water inlet valve and will freeze until ice cubes are formed. Once the water has been frozen the cubes will be ejected from the mold into the ice bucket. The ice maker will continue the process until the ice bucket has reached the limit. If your ice maker is not making ice you may need to replace this part. This kit includes the fill cup, 4-pin wire harness adapter, and a tube. Disconnect the power and water supply before starting your repair. This ice maker is a genuine OEM part.
Push-to-Start Switch Kit – Part Number: 279173
No Longer Available
Push-to-Start Switch Kit
★★★★★
★★★★★
(2)
Part #279173
This includes the switch, brackets and hardware.
Range Installation Screw – Part Number: WP3400882
$9.85
In Stock
Range Installation Screw
Part #WP3400882
This screw is sold individually.
Timer Knob – Part Number: WP3957750
$74.85
In Stock
Timer Knob
Part #WP3957750
This knob accepts a D-shaped shaft.
Washer Screw 818 X 1/2 – Part Number: WP3390631
$10.40
In Stock
Washer Screw 818 X 1/2
Part #WP3390631
This screw is sold individually.
Spray Paint - 12 oz. - White – Part Number: 350930
No Longer Available
Spray Paint Flo-Coat - Gray - 12 ounces – Part Number: 350938
$92.48
In Stock
Spray Paint Flo-Coat - Gray - 12 ounces
Part #350938
Can be used to re-coat dryer drums.
Water Level Pressure Switch – Part Number: WP3362987
$174.40
In Stock
Water Level Pressure Switch
Part #WP3362987
This part is able to sense the water level in the tub. When the water reaches the desired level, this switch stops the water from flowing in the tub and then the washing program begins.
Icemaker Motor Gear – Part Number: WR29X5153
$21.12
Special Order
Icemaker Motor Gear
Part #WR29X5153
Dryer Knob Push-To-Start (White) – Part Number: WP3957800
$60.45
Special Order

Common Symptoms of the 363WR30X0318

How this model fails, and the parts that fix it.

Watch our pros, then fix it yourself.
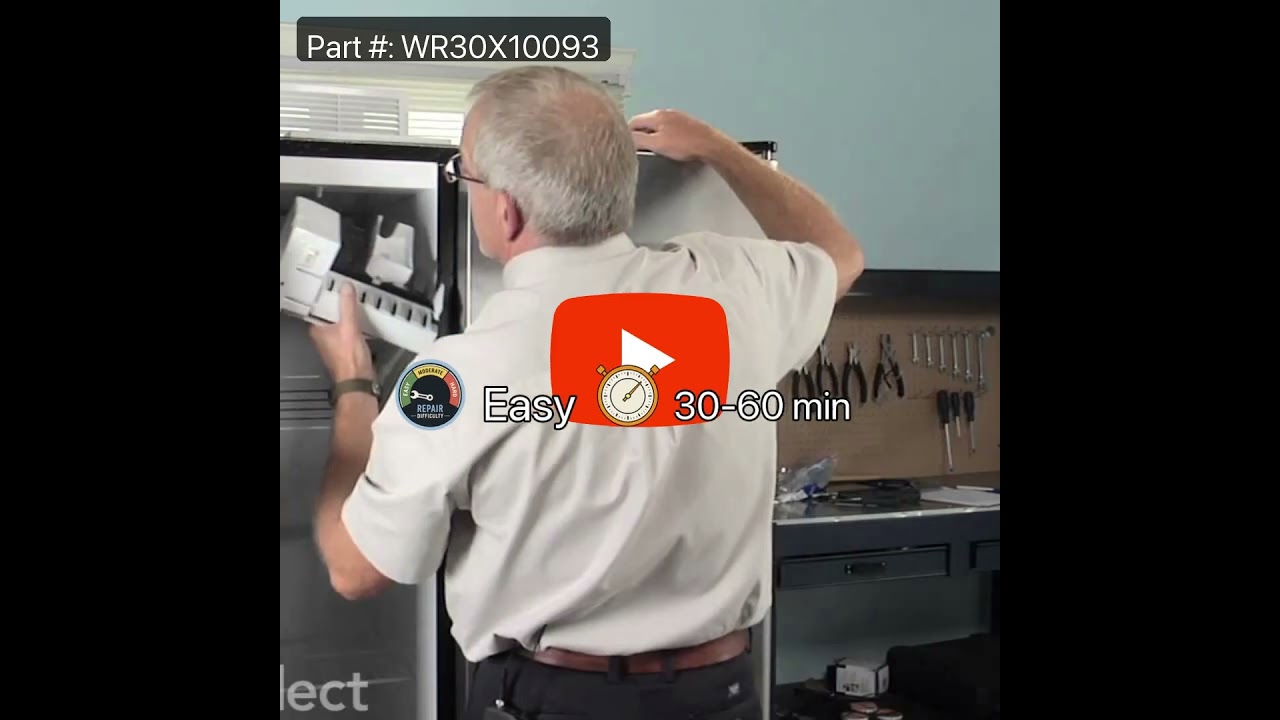
See how others fixed this model. Time, tools, difficulty, and steps that lead to victory! View More

Search repair tips from other customers using simple keywords like "replace", "fit", "remove", "inspect". DIY doesn't mean you have to do it alone!

Search filter:
Clear Filter
Your search term must have 3 or more characters.
ice stalactites were drooling out of the icemaker and gumming up the cubes in the receiving tray.
91 of 132 people found this instruction helpful.
  • Gerald from Benicia, CA
  • Easy
  • 15 - 30 mins
  • Nutdriver, Screw drivers
I first shut off water flow to the fridge. Examination of the package (which was not exact in appearance to the original) demonstrated that the electrical connectors were well-insulated so I arrogantly and successfully proceded without disconnecting the power. My fridge is old enough that the model doesn't appear exactly on anyone's list so I wasn't alarmed that it took an extra 10 minutes or so to noodle out how to adapt the slightly different inlet cowling and electrical cord with extension, but the device is pretty simple.
Soon I loosened the two mounting screws with a nut driver, used a screwdriver to pry away the plastic snap-in housing over the electrical socket on the fridge inner wall and pulled away the electrical plug. The original water fill tube remained in its cavity, ready for re-use.
The new unit's mounting points matched the original screw locations perfectly, as did the fill cowling - which on the replacement icemaker has two possible attachment points. The new unit's electrical connector required an extension pigtail to adapt to my socket, but it was included in the package. The extra cable posed a minor cosmetic issue because it hangs in the collection basket a bit, but that will soon be remedied with a tie wrap.
After the water was restored and an anxious wait of a few hours, we had well-formed ice cubes that weren't all stuck together and the stalactites haven't reappeared.
Was this helpful?
Thank you for voting!
Ice maker stopped working
84 of 117 people found this instruction helpful.
  • Dan from West Bloomfield, MI
  • Really Easy
  • Less than 15 mins
  • Nutdriver
I unplugged the electrical connection. Then I removed the 2 screws holding the icemaker in place. I lifted out the old icemaker unit and put the new one in place. Then put the 2 screws back in and plugged in the new unit.

The icemaker started making ice very soon after turning the unit on.
Was this helpful?
Thank you for voting!
broken ice maker part
78 of 107 people found this instruction helpful.
  • Laura Beth from Mandeville, LA
  • Really Easy
  • Less than 15 mins
  • Screw drivers
used a screwdriver to remove screw and unplugged part. Plugged in new one and secured with a screw.
Simple
Was this helpful?
Thank you for voting!