This 40-Watt light bulb is sold individually.
It is specially designed to withstand extreme temperatures, so this bulb is compatible with a variety of appliance types including refrigerators, ranges,...
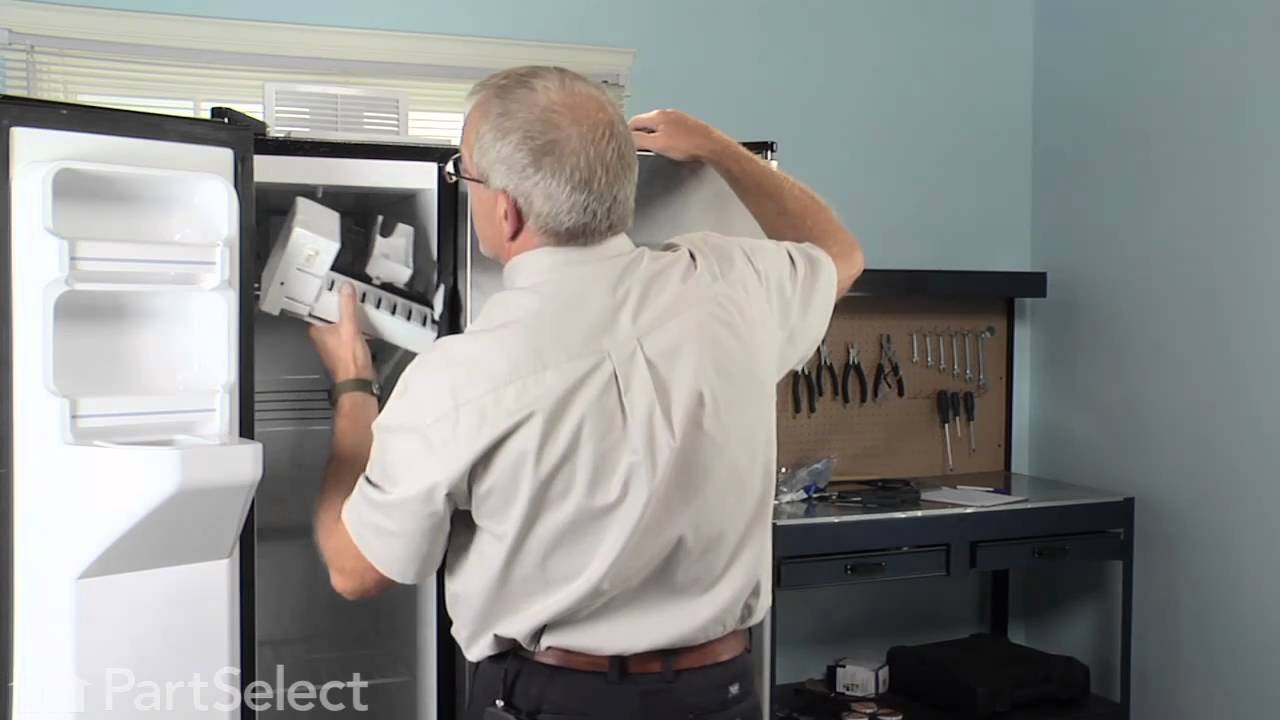
This ice maker assembly is used to make ice in your refrigerator. The ice maker receives water from the water inlet valve and will freeze until ice cubes are formed. Once the water has been frozen the...
Ask our experts a question about this model and we'll get back to you as soon as possible!
1 question answered by our experts.
< Prev
1
Next >
Sort by:
Search filter:
Clear Filter
Your search term must have 3 or more characters.
Keep searches simple. Use keywords, e.g. "leaking", "pump", "broken" or "fit".
Sorry, we couldn't find any existing answers that matched.Try using some different or simpler keywords, or submit your new question by using the "Ask a Question" button above!
Karen
October 10, 2023
Water under both bins bottom of refrigerator. Can't find drain hole inside fridge to see if plugged
Tried you tube video to locate newer models..and saw i need to open back panel how no screws ? Is it fixable or too old...where do I look for drain tube with this older model
For model number 3639738581
Hi Karen, thank you for the question. Generally, the drain hole is located at the back wall of the refrigerator near the bottom. Also, based on our research, the back panel for your model is secured with the help of screws at either side on the bottom. To solve this issue, you may need to make sure that the drain hose is clear, located at the back of the refrigerator. If that is not causing the issue, then you may need to check the defrost timer, part number PS310869, as it is most likely faulty and may need to be replaced. We hope this helps!
I first shut off water flow to the fridge. Examination of the package (which was not exact in appearance to the original) demonstrated that the electrical connectors were well-insulated so I arrogantly and successfully proceded without disconnecting the power. My fridge is old enough that the model doesn't appear exactly on anyone's list so I wasn't alarmed that it took an extra 10 minutes or so to noodle out how to adapt the slightly different inlet cowling and electrical cord with extension, but the device is pretty simple. Soon I loosened the two mounting screws with a nut driver, used a screwdriver to pry away the plastic snap-in housing over the electrical socket on the fridge inner wall and pulled away the electrical plug. The original water fill tube remained in its cavity, ready for re-use. The new unit's mounting points matched the original screw locations perfectly, as did the fill cowling - which on the replacement icemaker has two possible attachment points. The new unit's electrical connector required an extension pigtail to adapt to my socket, but it was included in the package. The extra cable posed a minor cosmetic issue because it hangs in the collection basket a bit, but that will soon be remedied with a tie wrap. After the water was restored and an anxious wait of a few hours, we had well-formed ice cubes that weren't all stuck together and the stalactites haven't reappeared.
I unplugged the electrical connection. Then I removed the 2 screws holding the icemaker in place. I lifted out the old icemaker unit and put the new one in place. Then put the 2 screws back in and plugged in the new unit.
The icemaker started making ice very soon after turning the unit on.