














36394 Kenmore Refrigerator - Overview
Models starting with 36394
Click on the best match to narrow your results.
- 3639420510 Kenmore Refrigerator
- 3639420580 Kenmore Refrigerator
- 3639430510 Kenmore Refrigerator
- 3639430513 Kenmore Refrigerator
- 3639430580 Kenmore Refrigerator
- 3639430583 Kenmore Refrigerator
- 3639450410 Kenmore Refrigerator
- 3639450414 Kenmore Refrigerator
- 3639450416 Kenmore Refrigerator
- 3639450417 Kenmore Refrigerator
- 3639450480 Kenmore Refrigerator
- 3639450484 Kenmore Refrigerator
- 3639450486 Kenmore Refrigerator
- 3639450487 Kenmore Refrigerator
- 3639452410 Kenmore Refrigerator
- 3639452480 Kenmore Refrigerator
- 3639452510 Kenmore Refrigerator
- 3639452514 Kenmore Refrigerator
- 3639452515 Kenmore Refrigerator
- 3639452580 Kenmore Refrigerator
- 3639452584 Kenmore Refrigerator
- 3639452585 Kenmore Refrigerator
- 3639454280 Kenmore Refrigerator (Kenmore Refrigerator Model 363.9454280 (3639454280, 363 9454280) Parts)
Exact Part matches for your search term
[Viewing 1 of 1]
MC30 HANDLE BACKING PANE
This part number matches the current model number 36394
PartSelect #: PS4262719
Manufacturer #: 36394
$20.33
Special Order
Keep searches simple, eg. "belt" or "pump".

Door Closing Cam
PartSelect #: PS297995
Manufacturer #: WR2X4901
Ensure your refrigerator or freezer door opens and closes smoothly with this door hinge cam riser. Positioned on the door itself, this component helps align and pivot the door for proper sealing and q...
$31.52
Special Order

Light Bulb - 40W
PartSelect #: PS217532
Manufacturer #: 40A15
This 40-Watt light bulb is sold individually.
It is specially designed to withstand extreme temperatures, so this bulb is compatible with a variety of appliance types including refrigerators, ranges,...
$19.10
Special Order

Bottom Hinge Assembly
PartSelect #: PS290199
Manufacturer #: WR13X10020
Comes with both cam risers. This hinge kit is suitable for the bottom of either the freezer door or the refrigerator door of some refrigerators.
$79.98
Special Order

Ice Maker
PartSelect #: PS1993870
Manufacturer #: WR30X10093
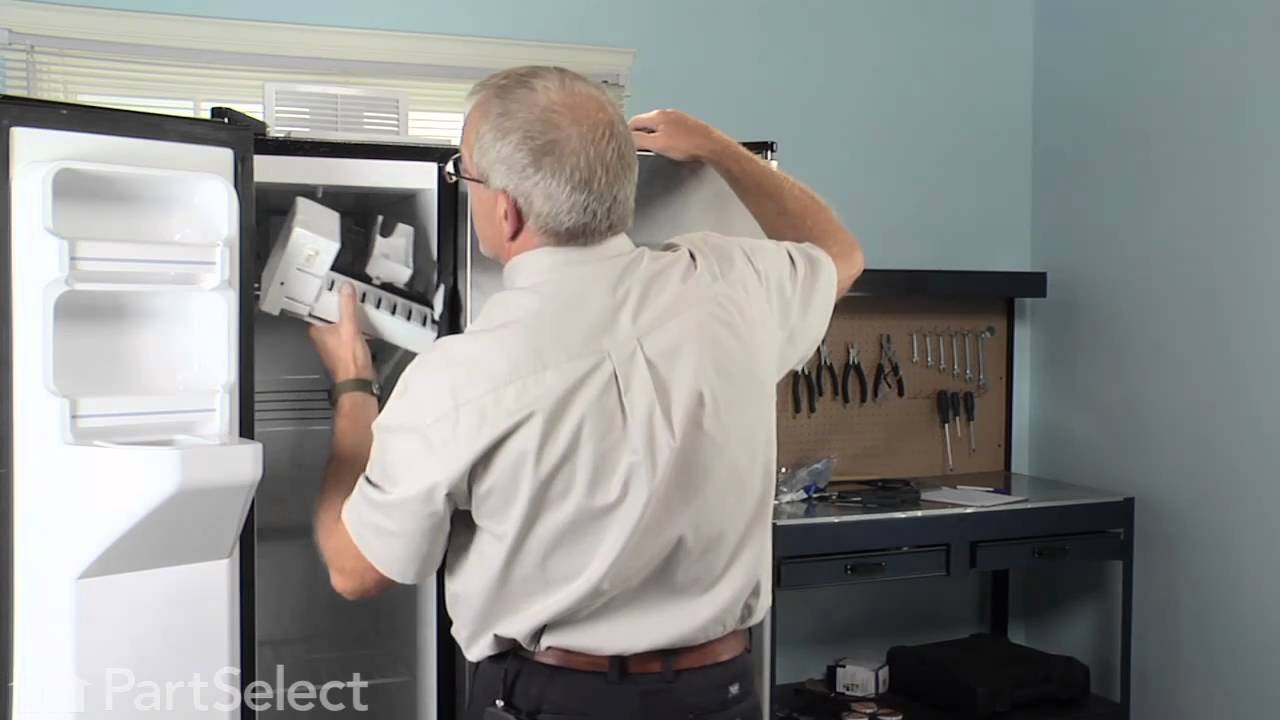
This ice maker assembly is used to make ice in your refrigerator. The ice maker receives water from the water inlet valve and will freeze until ice cubes are formed. Once the water has been frozen the...
$267.74
Special Order

Drawer Slide Rail - Right Side
PartSelect #: PS306944
Manufacturer #: WR72X240
This replacement drawer slide rail is for the right-hand side of your refrigerator. You will need a Phillips screwdriver to complete this repair.
$104.10
Special Order

Drawer Slide Rail - Left Side
PartSelect #: PS306911
Manufacturer #: WR72X207
This drawer track supports the left hand side of the sliding drawer.
No Longer Available

Drawer Slide Rail - Left Side
PartSelect #: PS306943
Manufacturer #: WR72X239
When looking inside the fridge, this white drawer slide rail is located on the left side of the refrigerator. This part includes the rail only.
$122.90
Special Order

Drawer Slide Rail - Right Side
PartSelect #: PS306910
Manufacturer #: WR72X206
This drawer track supports the right hand side of the sliding drawer.
No Longer Available

Drawer Slide Rail - Left Side
PartSelect #: PS306913
Manufacturer #: WR72X209
The drawer slide rail in your refrigerator allows the door bin to slide in and out efficiently. If the slide rail is broken or missing it will need to be replaced. This slide rail is sold individually...
No Longer Available

Drawer Slide Rail - Right Side
PartSelect #: PS306912
Manufacturer #: WR72X208
This is a replacement drawer slide rail for your refrigerator. The slide rails allow the crisper pans to slide in and out efficiently. If the slide rail is broken or missing, the crisper pan will not ...
No Longer Available

Defrost Heater with Thermostat
PartSelect #: PS303933
Manufacturer #: WR51X442
This part assembly has 2 functions: The defrost heater keeps the cooling coils from frosting over and the thermostat senses that the heat near the cooling coils has reached the desired temperature. Us...
$160.86
Special Order

Light Socket
PartSelect #: PS299782
Manufacturer #: WR2X9391
This part is a replacement light socket for your refrigerator. It connects to the power source, and holds the light bulb. If the light in your refrigerator is not working, you could have a faulty sock...
$23.24
Special Order
Common Symptoms of models starting with 36394
[Viewing 19 of 19]Ice maker not making ice
Fixed by
these parts
these parts


Show All
Door won’t open or close
Fixed by
these parts
these parts


Show All
Fridge too warm
Fixed by
these parts
these parts


Show All
Leaking
Fixed by
these parts
these parts

Show All
Light not working
Fixed by
these parts
these parts

Show All
Freezer not defrosting
Fixed by
these parts
these parts
Show All
Freezer section too warm
Fixed by
these parts
these parts
Show All
Ice maker won’t dispense ice
Fixed by
these parts
these parts
Show All
Door Sweating
Fixed by
these parts
these parts

Show All
Fridge runs too long
Fixed by
these parts
these parts
Show All
Not dispensing water
Fixed by
these parts
these parts

Show All
Clicking sound
Fixed by
these parts
these parts
Show All
Frost buildup
Fixed by
these parts
these parts
Show All
Freezer too cold
Fixed by
these parts
these parts
Show All
Ice maker dispenses too little ice
Fixed by
these parts
these parts
Show All
Ice maker dispenses too much ice
Fixed by
these parts
these parts
Show All
Won’t start
Fixed by
these parts
these parts
Show All
Fridge and Freezer are too warm
Fixed by
these parts
these parts
Show All
Noisy
Fixed by
these parts
these parts
Show All

Keep searches simple. Use keywords, e.g. "leaking", "pump", "broken" or "fit".
Door would not automatically close.
Symptom: Door did not close automatically. Also had found small chunks of black plastic on the floor. Refrigerator door was slightly lower than the freezer door.
One false start because I did not realize both of the door-closing cams had disintegrated and I had only ordered the cam without the hinge.
Purchased part 290199 Hinge Assembly. It came with matching door-closing cam. (Had not known so I also purchased the cam 297995 separately). Next time I will know to only purchase the Hinge Assembly.
Replacement procedure took about 20 minutes including removing and replacing door shelves and their contents. Two people involved.
1. Remove all door shelves with contents and other contents on door.
2. Remove the top Phillips head screw holding the decorative plastic on the top.
3. Remove the two top hinge screws on top of refrigerator using metric #8 socket wrench. Second person made sure door did not fall off.
4. Lift the door off the bottom hinge pin. Second person holds door on it’s side.
5. Take off the bottom refrigerator cover
6. Remove the bottom hinge assembly screws using metric #8 socket wrench.
7. Mount the replacement bottom hinge assembly and tighten the two screws.
8. On the door bottom, remove the outer screw and loosen the inner screw using metric #8 socket wrench.
9. Replace the door-closing cam (or what is left of it) with the cam in line with the door and cam bumps away from the door.
10. Place the door back on the hinge pin (one person holds while the other person maneuvers the door bottom).
11. Replace the top hinge and reinsert the screws on top of the refrigerator. Dress the door so that it does not press hard on the rubber door gaskets (or the door will fail to shut automatically). Tighten the screws.
12. Replace the decorative plastic over the top hinge.
13. Open the door and replace the bottom refrigerator cover.
14. Replace the door shelves and all contents.
15 Close the door.
One false start because I did not realize both of the door-closing cams had disintegrated and I had only ordered the cam without the hinge.
Purchased part 290199 Hinge Assembly. It came with matching door-closing cam. (Had not known so I also purchased the cam 297995 separately). Next time I will know to only purchase the Hinge Assembly.
Replacement procedure took about 20 minutes including removing and replacing door shelves and their contents. Two people involved.
1. Remove all door shelves with contents and other contents on door.
2. Remove the top Phillips head screw holding the decorative plastic on the top.
3. Remove the two top hinge screws on top of refrigerator using metric #8 socket wrench. Second person made sure door did not fall off.
4. Lift the door off the bottom hinge pin. Second person holds door on it’s side.
5. Take off the bottom refrigerator cover
6. Remove the bottom hinge assembly screws using metric #8 socket wrench.
7. Mount the replacement bottom hinge assembly and tighten the two screws.
8. On the door bottom, remove the outer screw and loosen the inner screw using metric #8 socket wrench.
9. Replace the door-closing cam (or what is left of it) with the cam in line with the door and cam bumps away from the door.
10. Place the door back on the hinge pin (one person holds while the other person maneuvers the door bottom).
11. Replace the top hinge and reinsert the screws on top of the refrigerator. Dress the door so that it does not press hard on the rubber door gaskets (or the door will fail to shut automatically). Tighten the screws.
12. Replace the decorative plastic over the top hinge.
13. Open the door and replace the bottom refrigerator cover.
14. Replace the door shelves and all contents.
15 Close the door.
Parts Used:
-
Gary from North eastham, AL
-
Difficulty Level:Really Easy
-
Total Repair Time:15 - 30 mins
-
Tools:Screw drivers, Socket set
180 of 194 people
found this instruction helpful.
Was this instruction helpful to you?
Thank you for voting!
Drawer slide broke due to overloading with beer.
First I took a beer out and opened it then took a sip. Then I went into my garage and searched for my Black and Decker power drill with a phililps head on it. Failure to locate a phillips head bit i took another sip of beer and took out one of those old fashion screw drivers. I went back into the kitchen and much to my dismay the fridge didnt fix itself. After another sip of beer I took the old slide out and took it to the outside garbage. On my way around the house my neighbor started to mock my home fix-it skills and his back yard became the new home for the broken slide. I put the new slide in, reinstalled the drawer, and filled it with beer.
Parts Used:
-
Ashley from Brandon, MS
-
Difficulty Level:Really Easy
-
Total Repair Time:Less than 15 mins
-
Tools:Screw drivers
103 of 123 people
found this instruction helpful.
Was this instruction helpful to you?
Thank you for voting!
ice stalactites were drooling out of the icemaker and gumming up the cubes in the receiving tray.
I first shut off water flow to the fridge. Examination of the package (which was not exact in appearance to the original) demonstrated that the electrical connectors were well-insulated so I arrogantly and successfully proceded without disconnecting the power. My fridge is old enough that the model doesn't appear exactly on anyone's list so I wasn't alarmed that it took an extra 10 minutes or so to noodle out how to adapt the slightly different inlet cowling and electrical cord with extension, but the device is pretty simple.
Soon I loosened the two mounting screws with a nut driver, used a screwdriver to pry away the plastic snap-in housing over the electrical socket on the fridge inner wall and pulled away the electrical plug. The original water fill tube remained in its cavity, ready for re-use.
The new unit's mounting points matched the original screw locations perfectly, as did the fill cowling - which on the replacement icemaker has two possible attachment points. The new unit's electrical connector required an extension pigtail to adapt to my socket, but it was included in the package. The extra cable posed a minor cosmetic issue because it hangs in the collection basket a bit, but that will soon be remedied with a tie wrap.
After the water was restored and an anxious wait of a few hours, we had well-formed ice cubes that weren't all stuck together and the stalactites haven't reappeared.
Soon I loosened the two mounting screws with a nut driver, used a screwdriver to pry away the plastic snap-in housing over the electrical socket on the fridge inner wall and pulled away the electrical plug. The original water fill tube remained in its cavity, ready for re-use.
The new unit's mounting points matched the original screw locations perfectly, as did the fill cowling - which on the replacement icemaker has two possible attachment points. The new unit's electrical connector required an extension pigtail to adapt to my socket, but it was included in the package. The extra cable posed a minor cosmetic issue because it hangs in the collection basket a bit, but that will soon be remedied with a tie wrap.
After the water was restored and an anxious wait of a few hours, we had well-formed ice cubes that weren't all stuck together and the stalactites haven't reappeared.
Parts Used:
-
Gerald from Benicia, CA
-
Difficulty Level:Easy
-
Total Repair Time:15 - 30 mins
-
Tools:Nutdriver, Screw drivers
91 of 132 people
found this instruction helpful.
Was this instruction helpful to you?
Thank you for voting!