




















22307 (1988) Kenmore Range - Overview
Sections of the 22307
[Viewing 1 of 1]
Exact Part matches for your search term
[Viewing 1 of 1]
Stand
This part number matches the current model number 22307
PartSelect #: PS10203827
Manufacturer #: 22307
No Longer Available
Keep searches simple, eg. "belt" or "pump".

Range Grease Filter
PartSelect #: PS11743846
Manufacturer #: WP707929
This grease filter is almost fourteen inches long and almost twelve inches wide. This filter is intended for use with some downdraft cooktops and ranges.
$40.65
In Stock
Surface Burner Switch - 240V
PartSelect #: PS12347301
Manufacturer #: W11120791
This surface burner switch, also known as an infinite switch, is a key electrical component that controls the heat output of your stovetop burners. When you turn the control knob, the switch adjusts t...
$110.26
In Stock
Screw
PartSelect #: PS12349731
Manufacturer #: W11233072
This is a multi-use and multi-appliance screw. It can be used on a microwave, refrigerator, range/oven, air conditioner, dehumidifier, washer, or dryer. The measurements of this screw are 8 x 1/2 inch...
$28.95
In Stock
Door Hinge
PartSelect #: PS11744215
Manufacturer #: WP74008014
This hinge is located on each side of the oven door. The hinges control the rate that the oven door opens and closes, and allows the door to stay open at an angle. This hinge can be used on either the...
$172.03
In Stock
Cartridge 4 Spades - Stainless Steel
PartSelect #: PS8769936
Manufacturer #: JEA7000ADSA
This electric coil element cartridge is designed for use with compatible cooktops and ranges, offering a reliable replacement for worn or malfunctioning modules. Housed in durable stainless steel, the...
$462.95
In Stock
Radiant Smoothtop Cartridge Assembly
PartSelect #: PS8768540
Manufacturer #: A122BA
Restore your range’s cooking capability with this burner module assembly, which replaces two surface burners in a single, compact unit. The black housing contains the heating elements and is built for...
$744.10
In Stock
Stove Cartridge Assembly
PartSelect #: PS9491819
Manufacturer #: JEA7000ADBA
This stove cartridge assembly, also known as a cooktop module, is a manufacturer-approved replacement part for your stove. It is black in color and comes complete with burner elements. Make sure to sh...
$460.91
In Stock
One Piece Electric Cartridge Cover
PartSelect #: PS2104802
Manufacturer #: A341
*** May not be exactly as shown.
No Longer Available
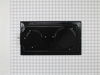
Black Radiant Element Cartridge
PartSelect #: PS9491822
Manufacturer #: JEA8120ADBA
This two-burner cooktop cartridge is a quick and easy way to replace a worn-out heating module. It plugs right into compatible cooktops and features a smooth glass-ceramic surface with fast-heating ra...
$1297.41
In Stock
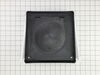
Wall Vent Cap Kit - 5 Inch duct - with Gray Cover
PartSelect #: PS2105196
Manufacturer #: A405
This wall vent cap kit comes with a spring loaded damper. This part can be painted.
No Longer Available

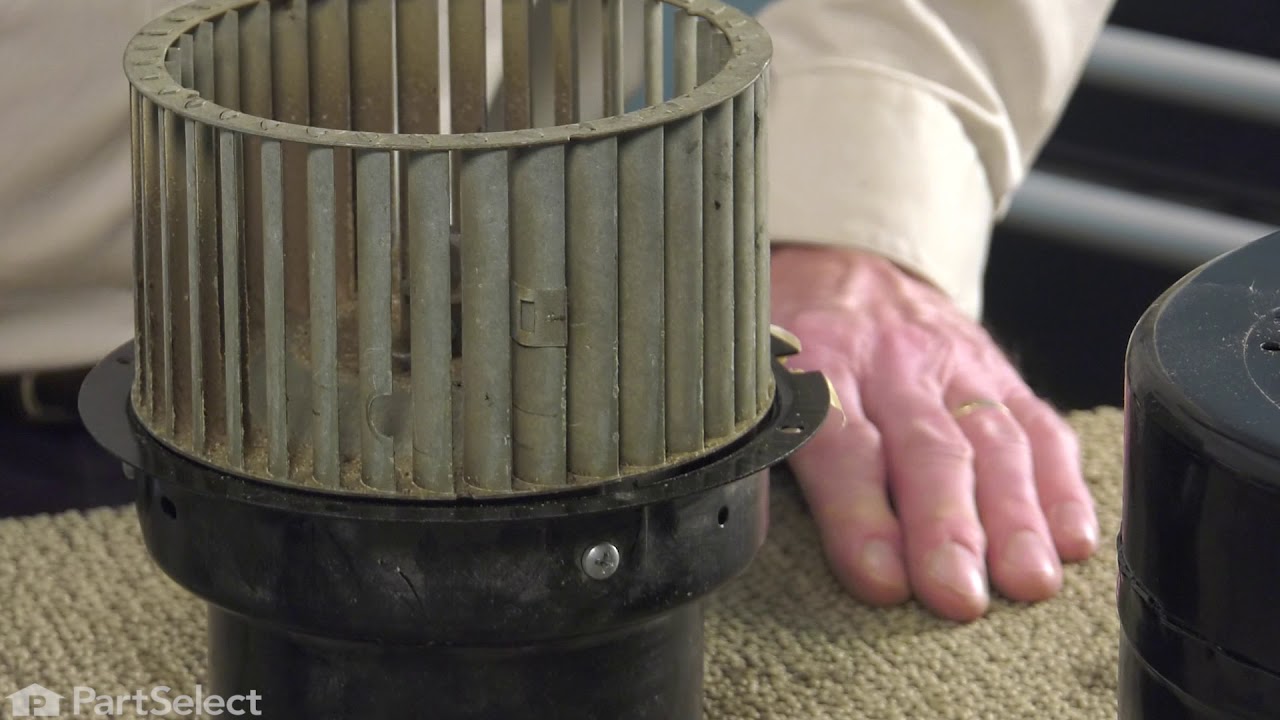
Range Exhaust Vent Blower Wheel
PartSelect #: PS11757592
Manufacturer #: WPY707985
This blower wheel attaches to the ventilation motor to draw in and exhaust smoke, steam, and cooking vapors, helping maintain clean airflow in your kitchen. Built from durable metal for heat resistanc...
$158.55
In Stock
Common Symptoms of the 22307
[Viewing 5 of 5]Element will not heat
Fixed by
these parts
these parts


Show All
Door won’t close
Fixed by
these parts
these parts

Show All
Will Not Start
Fixed by
these parts
these parts


Show All
Touchpad does not respond
Fixed by
these parts
these parts
Show All
Oven is too hot
Fixed by
these parts
these parts
Show All
Keep searches simple. Use keywords, e.g. "leaking", "pump", "broken" or "fit".
replaced filter
-
ELOISE from MILFORD, OH
-
Difficulty Level:Really Easy
-
Total Repair Time:Less than 15 mins
486 of 513 people
found this instruction helpful.
Was this instruction helpful to you?
Thank you for voting!
Old grease filter that I actually did not know I had to change
Removed the old grease screen and cleaned the entire area thoroughly and replaced the screen
Parts Used:
-
deborah from fort pierce, FL
-
Difficulty Level:Really Easy
-
Total Repair Time:Less than 15 mins
451 of 540 people
found this instruction helpful.
Was this instruction helpful to you?
Thank you for voting!
Burner had one temperature--hot, regardless of setting
1. Killed power and removed the regulator's knob, noted the position of the old control.
2. Took off the cover for the center vent and loosened the two screw holding the housing in place--the screws didn't have to come out completely as it is a U-shaped friction hold.
3. Unscrewed the two screws holding the old control switch in place--lifted the housing enough to get at the old switch and carefully pulled it loose--it was a front burner so the control switch was about as far back as it could be but still wasn't that hard to get at.
4. Turned the new switch to orient the wire connectors, then, using a needle-nose pliers, removed each friction connector, one at a time, and fitted them on the new switch (note: one of the wires fitted best if it went under as opposed to around the base of the new switch).
5. Replaced the control back through the housing and screwed it in place, making sure the orientation of the control matched the way it looked originally.
6. Slide the housing back over the two screws and tightened, replace vent.
7. Replaced the knob and turned on the power.
(The above took me about twice as long to write as it did to make the repair and I write professionally but am not a professional electrician.)
Also, I bought a second control switch because, given the age of the unit, I'm sure another one will go. The second one will assure that it won't happen :-).
2. Took off the cover for the center vent and loosened the two screw holding the housing in place--the screws didn't have to come out completely as it is a U-shaped friction hold.
3. Unscrewed the two screws holding the old control switch in place--lifted the housing enough to get at the old switch and carefully pulled it loose--it was a front burner so the control switch was about as far back as it could be but still wasn't that hard to get at.
4. Turned the new switch to orient the wire connectors, then, using a needle-nose pliers, removed each friction connector, one at a time, and fitted them on the new switch (note: one of the wires fitted best if it went under as opposed to around the base of the new switch).
5. Replaced the control back through the housing and screwed it in place, making sure the orientation of the control matched the way it looked originally.
6. Slide the housing back over the two screws and tightened, replace vent.
7. Replaced the knob and turned on the power.
(The above took me about twice as long to write as it did to make the repair and I write professionally but am not a professional electrician.)
Also, I bought a second control switch because, given the age of the unit, I'm sure another one will go. The second one will assure that it won't happen :-).
Parts Used:
-
James H from Oxford, NY
-
Difficulty Level:Really Easy
-
Total Repair Time:Less than 15 mins
-
Tools:Pliers, Screw drivers
110 of 131 people
found this instruction helpful.
Was this instruction helpful to you?
Thank you for voting!