




















22304 (1988) Kenmore Range - Overview
Sections of the 22304
[Viewing 1 of 1]
Exact Part matches for your search term
[Viewing 1 of 1]
Washer Flat 1/2 Zinc
This part number matches the current model number 22304
PartSelect #: PS16702992
Manufacturer #: 22304
No Longer Available
Keep searches simple, eg. "belt" or "pump".

Range Grease Filter
PartSelect #: PS11743846
Manufacturer #: WP707929
This grease filter is almost fourteen inches long and almost twelve inches wide. This filter is intended for use with some downdraft cooktops and ranges.
$40.65
In Stock
Surface Burner Switch - 240V
PartSelect #: PS12347301
Manufacturer #: W11120791
This surface burner switch, also known as an infinite switch, is a key electrical component that controls the heat output of your stovetop burners. When you turn the control knob, the switch adjusts t...
$110.26
In Stock
Door Hinge
PartSelect #: PS11744215
Manufacturer #: WP74008014
This hinge is located on each side of the oven door. The hinges control the rate that the oven door opens and closes, and allows the door to stay open at an angle. This hinge can be used on either the...
$172.03
In Stock

Dryer Screw
PartSelect #: PS11746840
Manufacturer #: WP90767
This screw is sold individually.
$9.85
In Stock
Wall Vent Cap Kit - 5 Inch duct - with Gray Cover
PartSelect #: PS2105196
Manufacturer #: A405
This wall vent cap kit comes with a spring loaded damper. This part can be painted.
No Longer Available

Range Exhaust Vent Blower Wheel
PartSelect #: PS11757592
Manufacturer #: WPY707985
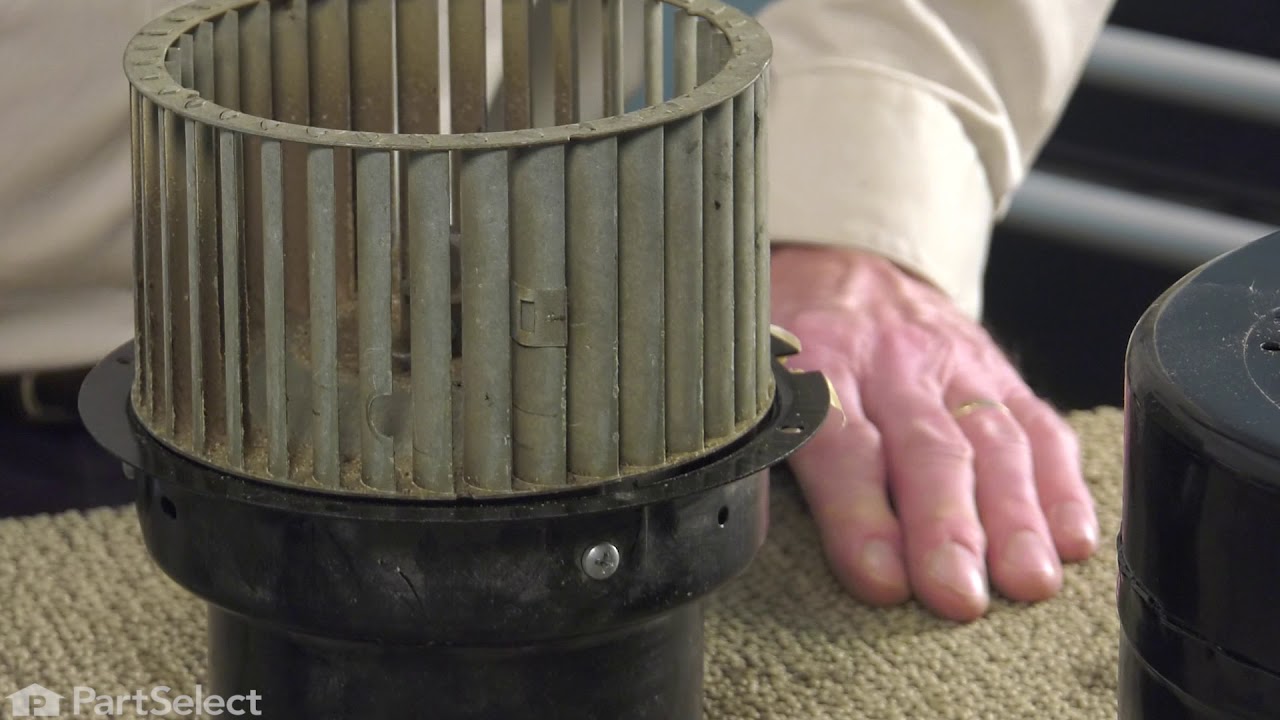
This blower wheel attaches to the ventilation motor to draw in and exhaust smoke, steam, and cooking vapors, helping maintain clean airflow in your kitchen. Built from durable metal for heat resistanc...
$158.55
In Stock
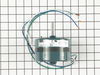
Blower Motor
PartSelect #: PS2076843
Manufacturer #: 707704K
This part is used with down-draft models. It helps draw the steam and odors through the vent when the fan switch is activated.
$434.76
In Stock
Range Motor Isolator
PartSelect #: PS11743903
Manufacturer #: WP71003558
This motor isolator is less than an inch long.
$17.95
In Stock

Range Hex Nut
PartSelect #: PS11742711
Manufacturer #: WP488130
Part may differ in appearance, but functions same as original.
$12.05
Special Order

Range Grill Element
PartSelect #: PS11742861
Manufacturer #: WP5700M426-60
If your oven’s grill isn’t heating up or cooking evenly, this grill element could be the fix. It’s the part that gives off high heat for grilling and fits many brands like Whirlpool, Maytag, and Kitch...
$358.76
In Stock
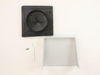
Wall Vent Cap Kit - 6 Inch duct
PartSelect #: PS2105233
Manufacturer #: A406
This wall vent cap kit comes with a spring loaded damper and instructions. It is designed for a 6" diameter outside vent.
No Longer Available
Common Symptoms of the 22304
[Viewing 5 of 5]Element will not heat
Fixed by
these parts
these parts


Show All
Door won’t close
Fixed by
these parts
these parts

Show All
Will Not Start
Fixed by
these parts
these parts


Show All
Touchpad does not respond
Fixed by
these parts
these parts
Show All
Oven is too hot
Fixed by
these parts
these parts
Show All
Keep searches simple. Use keywords, e.g. "leaking", "pump", "broken" or "fit".
replaced filter
-
ELOISE from MILFORD, OH
-
Difficulty Level:Really Easy
-
Total Repair Time:Less than 15 mins
486 of 513 people
found this instruction helpful.
Was this instruction helpful to you?
Thank you for voting!
Old grease filter that I actually did not know I had to change
Removed the old grease screen and cleaned the entire area thoroughly and replaced the screen
Parts Used:
-
deborah from fort pierce, FL
-
Difficulty Level:Really Easy
-
Total Repair Time:Less than 15 mins
451 of 540 people
found this instruction helpful.
Was this instruction helpful to you?
Thank you for voting!
Burner had one temperature--hot, regardless of setting
1. Killed power and removed the regulator's knob, noted the position of the old control.
2. Took off the cover for the center vent and loosened the two screw holding the housing in place--the screws didn't have to come out completely as it is a U-shaped friction hold.
3. Unscrewed the two screws holding the old control switch in place--lifted the housing enough to get at the old switch and carefully pulled it loose--it was a front burner so the control switch was about as far back as it could be but still wasn't that hard to get at.
4. Turned the new switch to orient the wire connectors, then, using a needle-nose pliers, removed each friction connector, one at a time, and fitted them on the new switch (note: one of the wires fitted best if it went under as opposed to around the base of the new switch).
5. Replaced the control back through the housing and screwed it in place, making sure the orientation of the control matched the way it looked originally.
6. Slide the housing back over the two screws and tightened, replace vent.
7. Replaced the knob and turned on the power.
(The above took me about twice as long to write as it did to make the repair and I write professionally but am not a professional electrician.)
Also, I bought a second control switch because, given the age of the unit, I'm sure another one will go. The second one will assure that it won't happen :-).
2. Took off the cover for the center vent and loosened the two screw holding the housing in place--the screws didn't have to come out completely as it is a U-shaped friction hold.
3. Unscrewed the two screws holding the old control switch in place--lifted the housing enough to get at the old switch and carefully pulled it loose--it was a front burner so the control switch was about as far back as it could be but still wasn't that hard to get at.
4. Turned the new switch to orient the wire connectors, then, using a needle-nose pliers, removed each friction connector, one at a time, and fitted them on the new switch (note: one of the wires fitted best if it went under as opposed to around the base of the new switch).
5. Replaced the control back through the housing and screwed it in place, making sure the orientation of the control matched the way it looked originally.
6. Slide the housing back over the two screws and tightened, replace vent.
7. Replaced the knob and turned on the power.
(The above took me about twice as long to write as it did to make the repair and I write professionally but am not a professional electrician.)
Also, I bought a second control switch because, given the age of the unit, I'm sure another one will go. The second one will assure that it won't happen :-).
Parts Used:
-
James H from Oxford, NY
-
Difficulty Level:Really Easy
-
Total Repair Time:Less than 15 mins
-
Tools:Pliers, Screw drivers
110 of 131 people
found this instruction helpful.
Was this instruction helpful to you?
Thank you for voting!