














20231 - Overview
Models starting with 20231
Click on the best match to narrow your results.
- 20231 (1988) Kenmore Range (Kenmore Range/Stove/Oven Model 20231(1988) Parts)
- 202312-0100-B1 Briggs and Stratton Engine (Engine)
- 202312-0100-E9 Briggs and Stratton Engine (Engine)
- 202312-0112-B1 Briggs and Stratton Engine (Engine)
- 202312-0112-E9 Briggs and Stratton Engine (Engine)
- 202312-0145-B1 Briggs and Stratton Engine (Engine)
- 202312-0145-E9 Briggs and Stratton Engine (Engine)
- 202312-0147-B1 Briggs and Stratton Engine (Engine)
- 202312-0147-E9 Briggs and Stratton Engine (Engine)
- 202312-0155-B1 Briggs and Stratton Engine (Engine)
- 202312-0155-E9 Briggs and Stratton Engine (Engine)
- 202312-0159-B1 Briggs and Stratton Engine (Engine)
- 202312-0159-B9 Briggs and Stratton Engine (Engine)
- 202312-0179-B1 Briggs and Stratton Engine (Engine)
- 202312-0179-E9 Briggs and Stratton Engine (Engine)
- 202312-0196-B1 Briggs and Stratton Engine (Engine)
- 202312-0196-E9 Briggs and Stratton Engine (Engine)
- 202312-0199-B1 Briggs and Stratton Engine (Engine)
- 202312-0199-E9 Briggs and Stratton Engine (Engine)
- 202312-0205-B1 Briggs and Stratton Engine (Engine)
- 202312-0205-E9 Briggs and Stratton Engine (Engine)
- 202312-0218-B1 Briggs and Stratton Engine (Engine)
- 202312-0218-B9 Briggs and Stratton Engine (Engine)
- 202312-0434-B1 Briggs and Stratton Engine (Engine)
- 202312-0434-B9 Briggs and Stratton Engine (Engine)
- 202312-1157-B1 Briggs and Stratton Engine (Engine)
- 202312-1157-E9 Briggs and Stratton Engine (Engine)
- 202317-0204-B1 Briggs and Stratton Engine (Engine)
- 202317-0204-E9 Briggs and Stratton Engine (Engine)
- 202317-0225-B1 Briggs and Stratton Engine (Engine)
Exact Part matches for your search term
[Viewing 1 of 1]
ROD ENDS-STUD #10-32
This part number matches the current model number 20231
PartSelect #: PS18907559
Manufacturer #: 20231
No Longer Available
Keep searches simple, eg. "belt" or "pump".

Light Bulb - 40W
PartSelect #: PS217532
Manufacturer #: 40A15
This 40-Watt light bulb is sold individually.
It is specially designed to withstand extreme temperatures, so this bulb is compatible with a variety of appliance types including refrigerators, ranges,...
$19.10
Special Order

Bake Element - 220V 2300W
PartSelect #: PS249466
Manufacturer #: WB44X5082
This closed, hinged style bottom bake element with screw in terminals is 15-1/4" long and 18-1/4" wide. The depth of the terminals is 2-1/2".
$88.69
Special Order

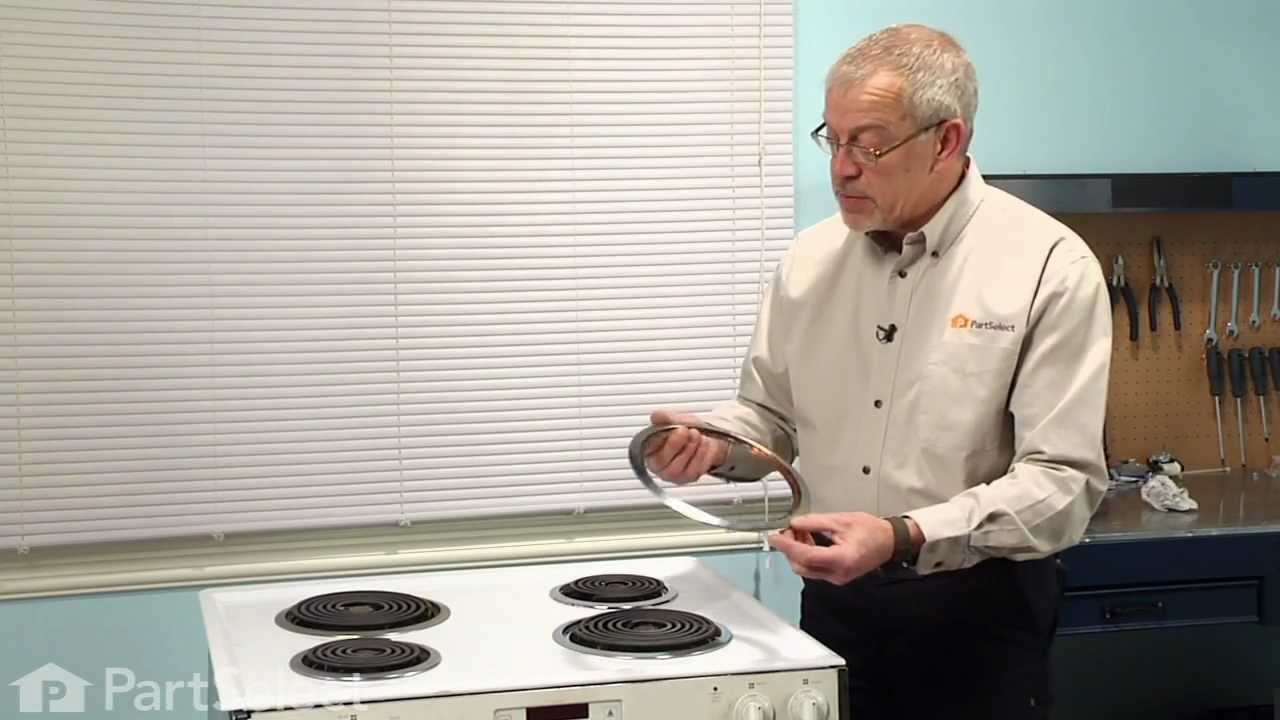
Trim Ring - 6 Inch
PartSelect #: PS244475
Manufacturer #: WB31X5013
This 6 inch high rise burner trim ring is intended for use with detached style low rise tilt lock surface mount burners on ranges.
$13.95
Special Order

Trim Ring - 8 Inch
PartSelect #: PS244479
Manufacturer #: WB31X5014
This 8 inch high rise burner trim ring is intended for use with detached style low rise tilt lock surface mount burners on ranges.
$15.95
Special Order

Range Infinite Heat Switch Kit
PartSelect #: PS16216966
Manufacturer #: WB21X36771
The infinite switch controls the stove top surface burner. This switch will work with most of the electrical range models with coil burner elements.
No Longer Available

Broiler Pan - Large
PartSelect #: PS1517612
Manufacturer #: WB48X10056
Includes the pan and grate.
$68.19
Special Order

Drip Bowl - 8 Inch
PartSelect #: PS244680
Manufacturer #: WB32X10013
This eight inch chrome drip bowl is intended for use with with tilt lock style surface mount burner element units.
$26.95
Special Order

Power Terminal Block Kit
PartSelect #: PS232636
Manufacturer #: WB17X5095
This kit comes with the terminal block, nuts and wires.
$128.87
Special Order


Puller-flywheel
PartSelect #: PS8905120
Manufacturer #: 19203
This flywheel puller is designed for servicing larger small engines by safely removing tightly seated flywheels without stressing the crankshaft or damaging ignition components. Constructed from heavy...
$33.95
Special Order

Key-flywheel
PartSelect #: PS8925657
Manufacturer #: 222698S
This is a Genuine OEM replacement part used on a variety of Lawn and Garden equipment. The key helps to secure Flywheel in place. This is a Metal Key and it is Sold Individually. You would need Plier...
$5.95
In Stock
Order within the next 1 hr and 4 mins and your part ships today!

Starter Pawl-Ratchet
PartSelect #: PS8942598
Manufacturer #: 281505S
This Genuine OEM ratchet pawl is a critical component designed to engage the recoil starting system with the engine, ensuring smooth and reliable starts. Manufactured from durable plastic, this replac...
$5.95
Special Order
Common Symptoms of models starting with 20231
[Viewing 7 of 7]Little to no heat when baking
Fixed by
these parts
these parts

Show All
Element will not heat
Fixed by
these parts
these parts

Show All
Oven not heating evenly
Fixed by
these parts
these parts
Show All
Oven is too hot
Fixed by
these parts
these parts
Show All
Will Not Start
Fixed by
these parts
these parts


Show All
Little to no heat when broiling
Fixed by
these parts
these parts
Show All
Cannot pull starter cord out or engine will not turn over
Fixed by
these parts
these parts

Show All
Keep searches simple. Use keywords, e.g. "leaking", "pump", "broken" or "fit".
element quit working
Unhooked electrical wiring from unit and rehooked new unit to electrical wiring.
Parts Used:
-
Wilbur from Taylorville, IL
-
Difficulty Level:Really Easy
-
Total Repair Time:15 - 30 mins
-
Tools:Screw drivers
574 of 616 people
found this instruction helpful.
Was this instruction helpful to you?
Thank you for voting!
Bottom heating element went out
This repair took between 15 and 30 minutes BUT ONLY because my 10 year old son did the repair. He couldn't wait for his father to come home from work. His only complaint was the tight fit to reach the back of the oven (he wanted to take the oven door off but I said no). He removed the 2 screws that held the element in place and then pulled it from the oven until he could remove the screws that held the wires in place. He was concerned that a little of the insulation came out with the wires, but this was no issue. The new element hooked right up (we figured out that we had to use the 2 new screws for the wires because the old ones did not fit very well). We used the same 'old' screws to attach the element back to the oven. Plugged the oven back in and it works fine. My son was so proud and I didn't have to help any more than shining a flashlight for him.
Parts Used:
-
Michael from Saint Paris, OH
-
Difficulty Level:Really Easy
-
Total Repair Time:15 - 30 mins
-
Tools:Screw drivers, Wrench (Adjustable)
518 of 542 people
found this instruction helpful.
Was this instruction helpful to you?
Thank you for voting!
Oven heating element was broken.
The heating element in the lower oven of my 18 year-old GE double oven broke into two pieces and would not heat. Because of the age of the oven, a replacement part was unavailable through GE. I came across PartSelect.com through an Internet search and ordered the part online. Total cost was $33.50, counting s/h. FedEx delivered the new element less than 48 hours after I placed the order online.
IMPORTANT: FLIP the BREAKER to stop electricity from going to the oven. Replacing the heating element is a two step process: 1. Remove the old element. 2. Install the new element in its place. (NOTE: This job is much simpler if you lift and remove the oven door BEFORE you begin. NOTE also: There are no slots in the screws, so you must use a small socket wrench--not a screwdriver-- to remove the screws.) STEP 1: Two screws go through the small metal plate attached to the element prongs. These screws hold the element to the back oven wall. Remove the screws, then pull the element forward a few inches to gain access to two screws which hold the element prongs to wires that come through the back oven wall. (One wire and one screw for each of the two prongs.) Remove the two screws. Remove and discard the old element. STEP 2: Install the new element by doing Step 1 in reverse. Oven is now repaired! (It took more time to type these instruction than it took to repair the oven.)
IMPORTANT: FLIP the BREAKER to stop electricity from going to the oven. Replacing the heating element is a two step process: 1. Remove the old element. 2. Install the new element in its place. (NOTE: This job is much simpler if you lift and remove the oven door BEFORE you begin. NOTE also: There are no slots in the screws, so you must use a small socket wrench--not a screwdriver-- to remove the screws.) STEP 1: Two screws go through the small metal plate attached to the element prongs. These screws hold the element to the back oven wall. Remove the screws, then pull the element forward a few inches to gain access to two screws which hold the element prongs to wires that come through the back oven wall. (One wire and one screw for each of the two prongs.) Remove the two screws. Remove and discard the old element. STEP 2: Install the new element by doing Step 1 in reverse. Oven is now repaired! (It took more time to type these instruction than it took to repair the oven.)
Parts Used:
-
Phyllis from Fisk, MO
-
Difficulty Level:Really Easy
-
Total Repair Time:Less than 15 mins
-
Tools:Socket set
341 of 428 people
found this instruction helpful.
Was this instruction helpful to you?
Thank you for voting!