This 18 ml bottle of white appliance touch-up paint is used to cover scratches or marks on your appliance. The white touch-up paint can be used on refrigerators, microwaves, ranges, clothes dryers, an...
This door strike is a crucial safety component in top-load washing machines, designed to engage with the door latch and keep the lid securely closed during operation. Located along the door frame, it ...
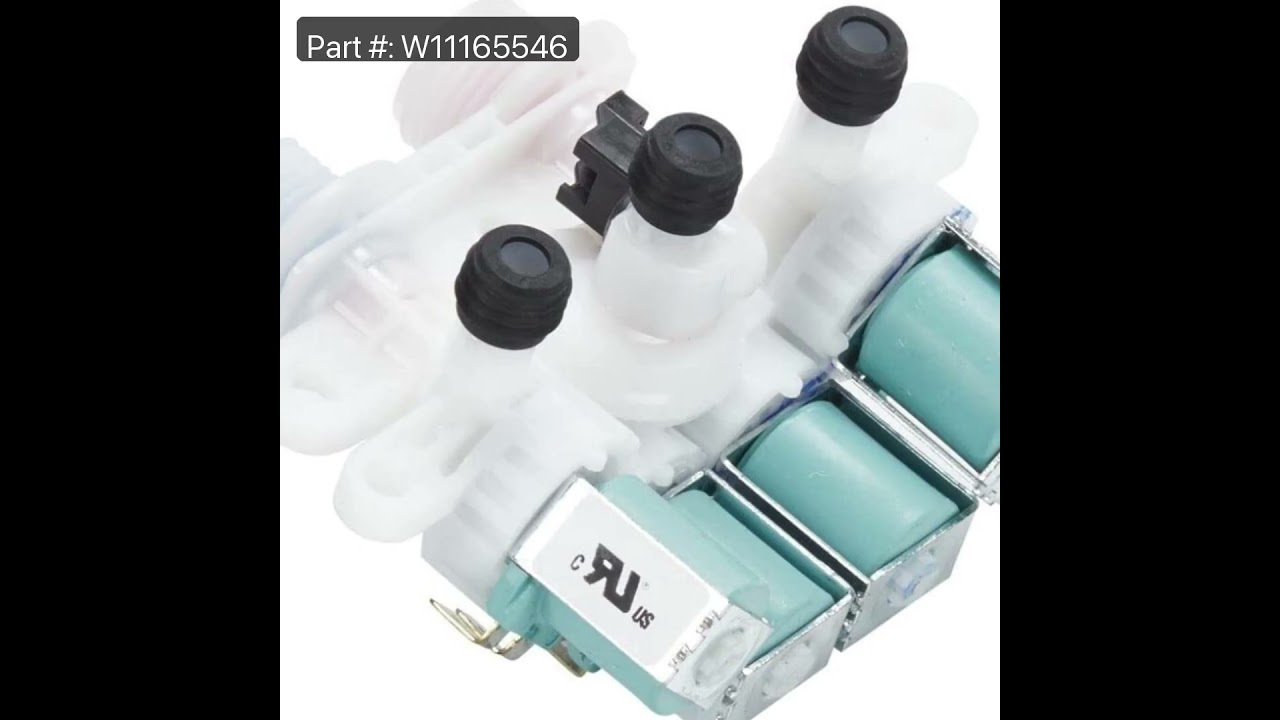
This washing machine inlet valve is a genuine OEM replacement part designed to regulate water flow during the fill cycle. Controlled by an internal solenoid, the valve opens and closes as needed to al...
Keep your top-load washer running safely and smoothly with this replacement lid lock assembly. It’s designed to secure the lid during active cycles, preventing interruptions and ensuring the machine o...
This clutch slider kit is part of the transmission system in select washing machines, helping control the movement and speed of the agitator during wash and spin cycles. The kit includes a clutch band...
This clutch assembly is designed for use in top-load washing machines, where it plays a crucial role in engaging the transmission during both the agitation and spinning cycles. If your washer is exper...
This part is used to extend washing machine drain hose approximately 4 feet. You may also require the connector (PartSelect Number PS334663) to connect the extension to the existing drain hose.
$44.45
In Stock
Questions And Answers for 11031652020
Be the first to ask our experts a question about this model!
✖
Ask a Question
Ask our experts a question on this model and we'll respond as soon as we can.
Pushed in on door strike and rotated it counterclockwise, removed broken strike and installed new strike. NOTE: when removing the old strike (turning counterclockwise) it felt like it might break and/or was attached with an screw that I didn't see but it came right out.
Did troubleshooting after code LF showed on indicator window. Did troubleshooting; checked hoses for obstructions and small filters on inlets. All good. Ordered new fill valve. Came in a few days, good service. Removed control panel top by removing screws on back of control panel, then by pushing putty knife under each side to release spring clips. Carefully lifted cover and set onto lid. Photographed fill valve at left side as you are standing in front of machine. Removed screws with small ratchet. Carefully removed wires via clips. Lifted out valve. Attached wires to new, set back into its place, replaced screws, tightened but not too tight so as to break part. Replaced control panel, pushing downward to engage spring clips, then replace screws on back. Re attached hoses, ensuring they were on the correct sides, plugged machine into power, ran through cycle and VIOLA!! Worked perfectly!! After a couple weeks, still working perfectly! Was VERY happy it was only fill valve and not mother board as the cost was a fraction. I found trouble shooting videos to be very helpful. Your service quite good.