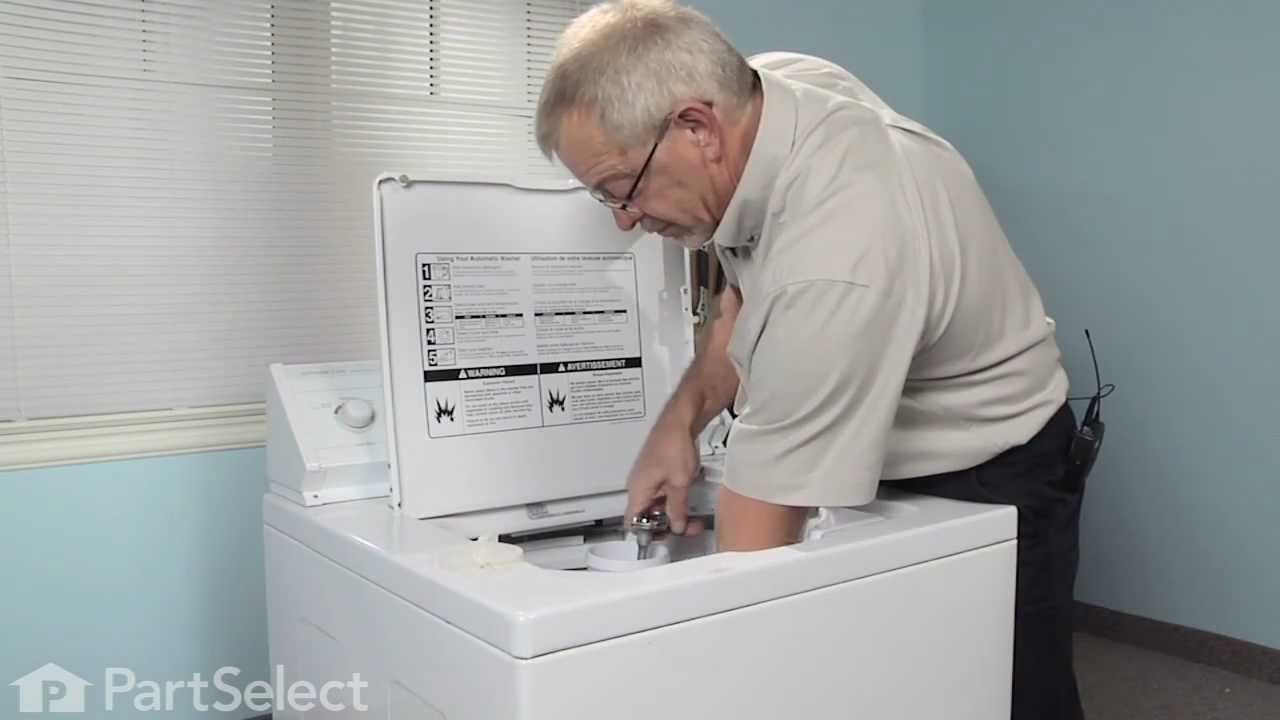
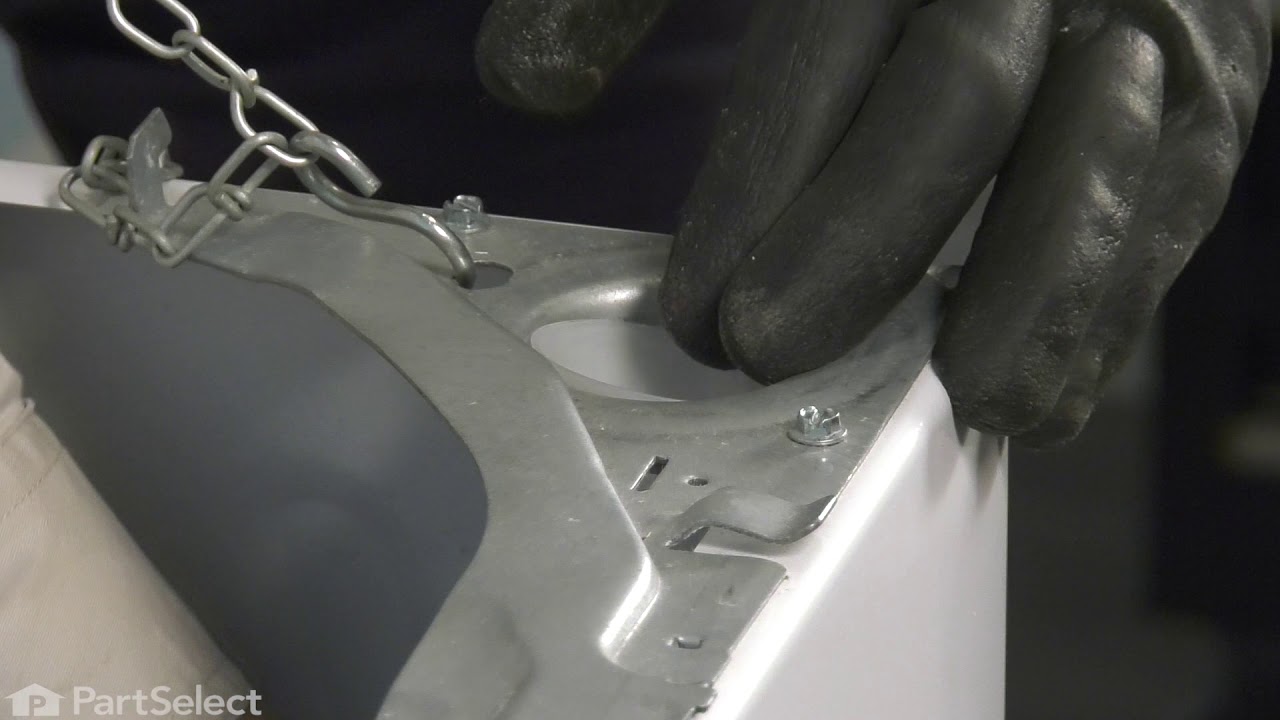
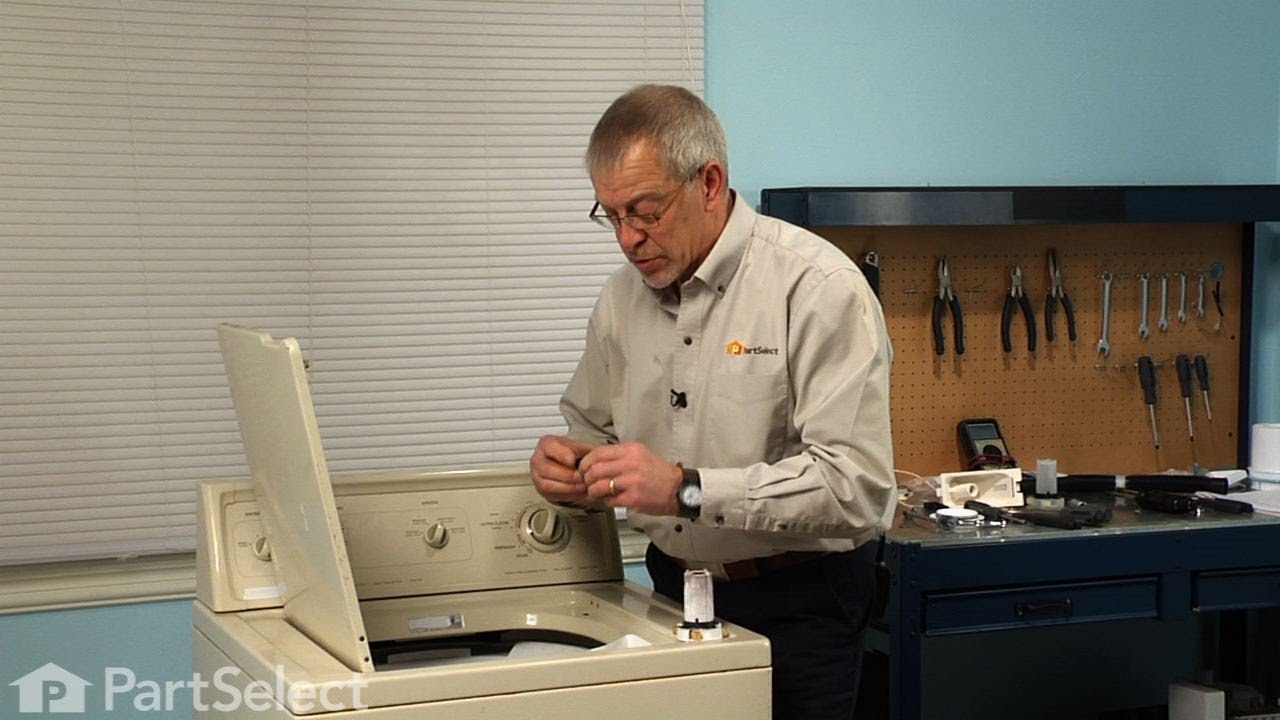
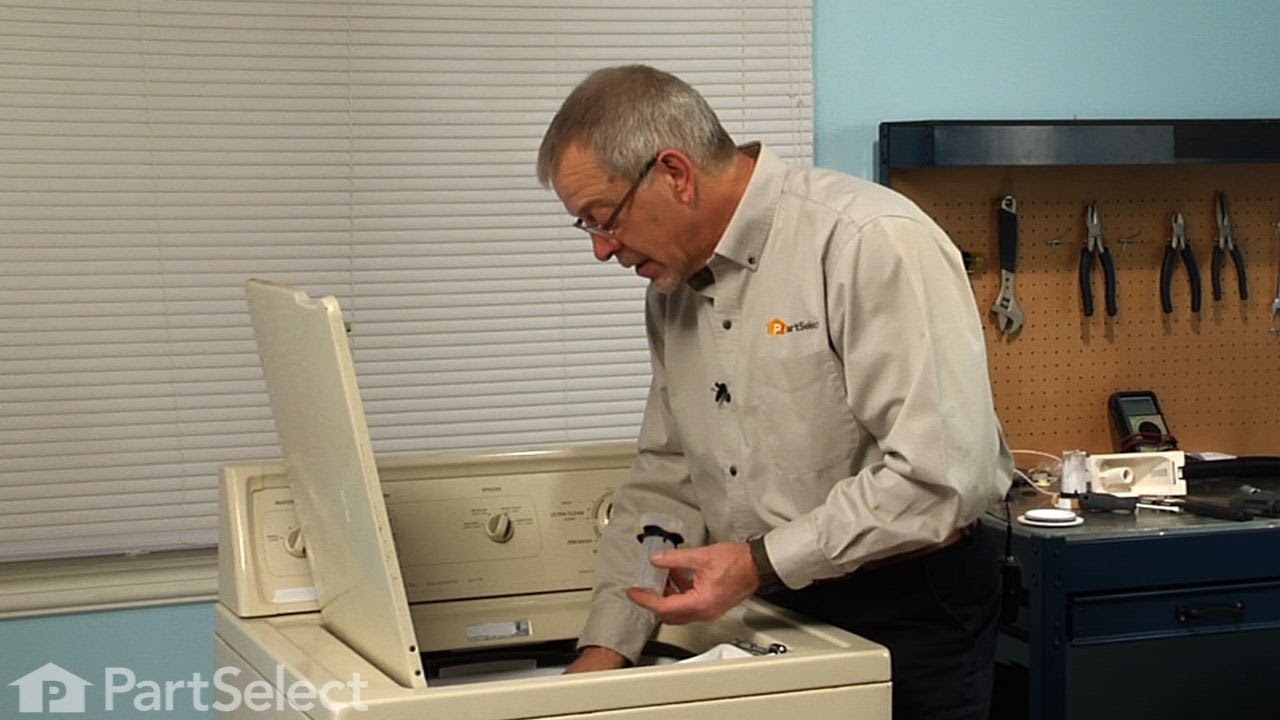
These agitator directional cogs are commonly referred to as dog ears. They come four to a package and are usually used with direct drive washing machines.
The point of the lid switch is for the tub to stop spinning when the washer lid is opened. It is a safety precaution just in case someone decides to stick their hand inside the washer while the tub is spinning.
This washing machine suspension rod kit includes 4 suspension rods, 4 suspension balls, and 4 bushings to stabilize the washer tub and minimize vibrations during operation. If the washer shakes or vibrates excessively, replacing the suspension rods may resolve the issue. Installation requires safety precautions, such as unplugging the appliance and wearing work gloves.
This white thrust spacer is made of plastic and is also commonly referred to as a retainer ring. It is used in the agitator assembly of many direct drive washing machine models. This is the retaining ring for inside of agitator. May need agitator grease for repair.
This agitator repair kit comes with a long cam, a thrust spacer and four dogs ears (agitator cogs). This repair kit is used to move the upper agitator and it connects the base of the agitator with the agitator top (mover). This part has been updated by the manufacture.
These parts are the replacement suspension rod supports for your washer. They are made of plastic and are approximately 1 ½ inches in diameter. This package will come with an 8-piece set of suspension rod supports. There are 4 of each type. Be sure to consult the parts diagram for your washer for the complete list of parts included. The s...Read moreuspension rod supports help secure the suspension rods, so your washer operates smoothly. If your dryer shakes, moves, or is noisy during operation, you may need to replace the suspension rod supports. These are OEM parts sourced directly from the manufacturer.
This part is the replacement lid latch or latch assembly for your top-load washer. The lid latch holds your washer door closed, and allows the washer to run its cycle. If the lid latch is damaged, your washer door may not close properly and you may not be able to run your washer. The latch is found under the lid and can be screwed out and...Read more replaced. You will need a Phillips-head screwdriver for this repair. This part is sold individually and is and OEM part from the manufacturer.
Ask our experts a question about this model and we'll get back to you as soon as possible!
We may have answered a similar question already! Search questions and answers left by others using simple keywords like "fit", "broken", "easy", or "quality" to find questions that match.
Search filter:
Clear Filter
Your search term must have 3 or more characters.
Sort by:
Prev
1
2
3
Next
Sorry, we couldn't find any existing answers that matched.Try using some different or simpler keywords, or submit your new question by using the "Ask a Question" button above!
Greg - For model number 11020022013
September 7, 2021
My Kenmore model 110.20022013 washer has worked great and been reliable for many years. It continues to work great but now when it goes through the final spin cycle, my clothes are still soggy and wet. Could it be a switch and/or what is your recommendation? Thank you.
Hello Greg, thank you for your question. If the washer is not spin drying your clothes make sure the drain hose is not bent and restricting water from draining out. It is also a good idea to remove the hose from the drain pump and check the pump and drain hose for any blockages. Your washer has a filtering device down and near the pump called a drain filter, check this filter for debris. You can test the drain pump with a multimeter. Unplug the appliance from the electrical outlet before you begin. Touch a probe to each of the terminals on the pump. A reading of zero or infinity, means the pump requires replacement. Part number: PS11751719. The belt on the pump or motor may also be worn or stretched. This causes wet clothes after a wash cycle is completed. If there are visible signs of wear, replace the belt. Part number: PS11747978. It could also be the timer, which is part of the electric control board. Part number: PS4704631. Good luck with your repair!
Hi there,
My issue is that while the washer transitions between spin and rinse the tub shakes to the point that it bangs against the walls of the machine. It hits so hard that it sounds like it may knock itself over. It’s violent and kind of scary. Any advice would be greatly appreciated!
Hi Erik,
Thank you for your question. If your washer is shaking and moving, there are some parts that you will need to check to see which one is causing the issue. You will need to check the suspension rods, the suspension rod supports, the thrust spacer, the washer tub ring, the leveling legs and the agitator repair kit. We have included a link that you may reference on how check these parts. We hope this helps! Good luck with the repair!
Machine continues to repeat the cycles after they're finished. What could be the problem or what is the best way to fix this?
Hello Caitlin, Thank you for writing. The most common reason is because it is stuck in a test mode. One way to test if this is the issue is to unplug the washer for ten seconds, then plug it back in and run the cleaning cycle. If the washing machine tries to repeat the cycle again, then chances are it is in “Continuous Test Mode.
Make sure the washing machine is completely off.
Using the main knob, make the following motions:
Turn knob counterclockwise to reset the machine.
Turn knob clockwise until you hear a click and then wait .05 seconds.
Turn knob clockwise until you hear a click and then wait .05 seconds.
Turn knob clockwise until you hear a click and then wait .05 seconds.
Turn knob clockwise until you hear a click and then wait .05 seconds.
Turn the main knob clockwise until you hear one click, then wait. This method should stop your unit from recycling. Good luck with your repair.
2 peoplefound this instruction helpful.
Was this helpful?
Thank you for voting!
Matthew - For model number 11020022013
June 16, 2025
when ever my washer goes into spin cycle it gets loud. like a bearing is worn out. will replacing the agitator cam bearing also fix the spin cycle bearing? or are there 2 different bearings. thank you
Hello Matthew, thank you for your inquiry. The agitator cam bearing provides a smooth surface for the agitator cam to rotate on. If your washer is making loud noise during spin cycle, it could indicate an issue with the transmission. We would recommend checking the transmission, part number PS16220913, to solve the problem. We hope this helps!
See how others fixed this model. Time, tools, difficulty, and steps that lead to victory!View More
Search repair tips from other customers using simple keywords like "replace", "fit", "remove", "inspect". DIY doesn't mean you have to do it alone!
Search filter:
Clear Filter
Your search term must have 3 or more characters.
washer wouldn't agitate
956 of 1058 peoplefound this instruction helpful.
mike from Kent, WA
Easy
15 - 30 mins
Screw drivers, Socket set
First pry off the cap of the agitator. Then using a socket remove the bolt that holds the plastic cup in place. Remove this cup by prying it loose from the two tabs that hold it in place. Once this cup is removed you can get to the broken cogs. Slip the new cogs into the underside of the cup, and slide the cup back down in the a
... Read moregitator housing using the slots on the side for a guide. (You may want to remove the entire agitator and assemble everything upside down, then flip it all back over to mount, so the cogs don't fall out). Tighten the bolt, snap the cap back in place on top of the agitator and your'e done. Easy repair.
Read less
Was this helpful?
Thank you for voting!
Washer not agitating
646 of 684 peoplefound this instruction helpful.
Craig from Polk City, FL
Really Easy
Less than 15 mins
Socket set
On top of the agitator is a flat cap that is held in place by the friction of an o-ring, there are no fasteners. I would imagine one could get under the lip with a small screwdriver or butter knife to pop it off but I chose simply using my fingernails so as to not disfigure the cap. Under the cap you will find the head of the only bolt
... Read morethat holds the assembly together it is a 7/16 head and because it is in a 4" deep well your will need a 6" extension for your ratchet. Once the bolt is out the top of the agitator, the assembly with the cogs removes by hand. Set the assembly upside down on the counter, slide the black plastic ring off, pull the cogs out with your fingertips, install the new cogs put a new black ring on and set the assembly back in the agitator. Reinstall bolt. As the bolt is down in a tube, you cannot set it in place with your fingers and it will fall out of the socket. To hold the bolt in the socket during positioning you can either put a gob of Vaseline on the bolt head to hold it in the socket or form a small piece of paper over the bolt head and set it into the socket, the friction of the paper will hold the bolt into the socket. Took me less then 10 minutes, good luck
top half of agitator did not move during wash cycle
288 of 337 peoplefound this instruction helpful.
dennis from new stanton, PA
Really Easy
Less than 15 mins
Socket set
pull off softner dispenser, pop off agitator cap by inserting straight screw driver into small slot, remove bolt inside agitator with socket wrench and long extension, pull agitator straight up off shaft, place agitator on floor, with feet holding bottom half pull top half apart from bottom half by pulling straight up, note direction of o
... Read moreld cogs remove and replace with new, reassemble



 My Orders