This is a genuine OEM approved replacement. The Crisper Drawer with Humidity Control allows you to adjust the humidity within the crisper. This can extend the life of your produce.
The lower door closing cam is used in refrigerator doors, it can be located on the fresh food side or the freezer side. It helps hold the door open. This cam is made out of plastic, so it might crack or wear down over time. If your door will not open and close properly you may need to replace the door closing cam. To successfully install ...Read morethis part, you will need a 5/16 nut driver and a small flat blade screwdriver. Before you begin, unplug your appliance and disconnect the water supply. Lubricating this part may help with installation. This replacement part is sold individually. This part will fit both the left and right side of your refrigerator door. To make the repair, remove the top hinge cover, then the top hinge support. Lift the door from the bottom support and remove the old door cams. Replace the cams, using a little lubricant if necessary, and place the door back on the lower hinge support. Replace the top hinge support and your repair is complete!
This OEM, clear convertible meat drawer can be used to store meats or vegetables and is designed for the lower portion of your refrigerator, generally. It has its own cold air duct to allow cold air from the freezer to flow into the drawer. You could have a broken or faulty drawer if you find that the food is kept within is spoiling or dr...Read moreying out quickly. The drawer should slide open and closed with ease. If your drawer will not easily slide open or closed, check the tracks that the drawer slides on. If the tracks are not damaged, the drawer itself could be at fault and should be replaced. Inspect it for visible damage like cracking or warping, which should be obvious. This part measures approximately 16 7/16 inches wide x 14 5/16 inches deep x 7 5/8 inches high and is a genuine OEM replacement part. It is sold individually. Note that there are several different types and options for the lower vegetable and meat drawers for your refrigerator, and you should check your user manual carefully to ensure that this is the drawer you are looking for.
This 18 ml bottle of white appliance touch-up paint is used to cover scratches or marks on your appliance. The white touch-up paint can be used on refrigerators, microwaves, ranges, clothes dryers, and freezers. This is a genuine OEM part and includes a brush applicator. Please remember to wear gloves to protect your hands when applying this paint.
This OEM glass shelf assembly is designed for use in a variety of refrigerator models, offering reliable support and visibility for stored food items. It features a sturdy white plastic frame measuring approximately 18 inches in length and 18 inches in width, with an integrated glass pane that provides a smooth, easy-to-clean surface. The...Read more shelf is intended to replace cracked, shattered, or weakened components that no longer support weight effectively. Installation is simple and tool-free: remove the existing shelf by sliding it out of the interior grooves, then align and insert the new shelf into the same position. This part is sold individually and does not include additional accessories.
Need a new shelf bin for your fridge door? This clear bin fits select Whirlpool, Kenmore, and Maytag models and snaps right into place—no tools needed. It’s made from strong, food-safe plastic and is perfect for storing bottles, jars, and even soda cans. If your old bin is cracked or broken, this replacement will help keep your fridge org...Read moreanized and looking fresh. Just check your model number to make sure it’s the right fit.
The snack pan in your refrigerator stores food and other items that you intend to keep cold. It is the top drawer in the refrigerator and is also the smallest of the three drawers in this model. It is made of clear plastic and slides into a drawer glide attached to the top glass shelf. The drawer measures 16 inches by 16-1/2 inches by 4-3...Read more/4 inches. If your snack pan is cracked or damaged, you may want to replace it. This drawer contains a series of ribs in the bottom of the drawer. Be sure to check the drawer glides and the glass shelf that correspond to the snack pan in your refrigerator if the pan will not slide in or out properly.
This mounting screw is a genuine OEM replacement part for the door handle in your refrigerator. If you are having trouble shutting the refrigerator door, or opening it, replacing this screw can help solve the issue. Replacing this part is easy and requires minimal disassembly of the refrigerator end cap handle. Your will need a screwdriver to complete this repair.
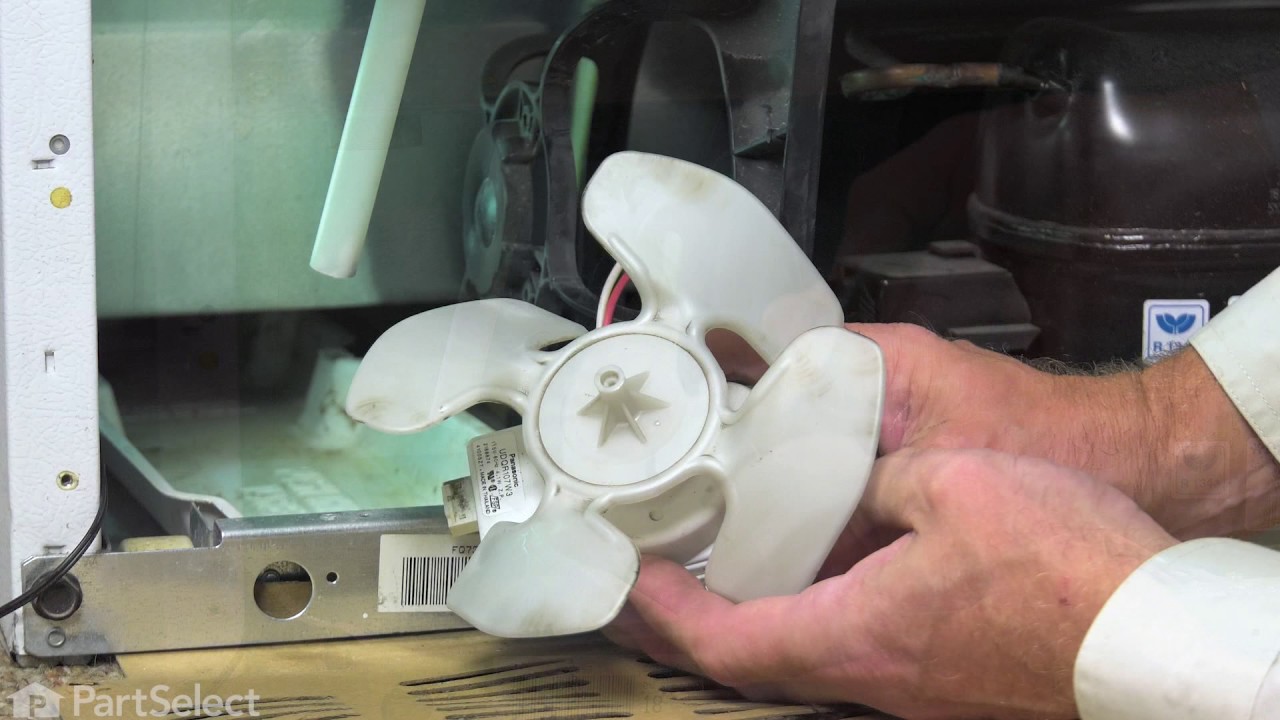
If your refrigerator or freezer is too warm, or making noises, you may need to replace the fan blade. The fan blade attaches to the evaporator motor, which is in the freezer section, to help circulate the cold air into the refrigerator and freezer sections. The fan blade is white in color and made from plastic. This is a genuine OEM part...Read more. Please be sure to disconnect the power to your refrigerator before starting your repair.
Ask our experts a question about this model and we'll get back to you as soon as possible!
We may have answered a similar question already! Search questions and answers left by others using simple keywords like "fit", "broken", "easy", or "quality" to find questions that match.
Search filter:
Clear Filter
Your search term must have 3 or more characters.
Sort by:
Prev
1
Next
Sorry, we couldn't find any existing answers that matched.Try using some different or simpler keywords, or submit your new question by using the "Ask a Question" button above!
Patricia - For model number 10641153210
November 18, 2022
Need a base grill accessory. Clip on one side broke off.
We find for the model number given, 2 grilles that are available. The White Grille is PS11754895, the Black Grille is PS11754896. We hope this information will help you.
The lights inside my refrigerator flash like a strobe. I have tried unplugging and plugging back in. It has not corrected the problem. It is my understanding that the main light in the refrigerator controls all the lights. How much and what is the part number/name i need? Am i correct on what you think i need?
Hello Jim and thanks for writing.
It sounds like a faulty door light switch PS11738900 and/or a faulty rocker switch test and replace if needed. We hope this helps. Please contact us anytime. It is recommended to replace both parts at the same time. We hope this helps. Please contact us anytime.
The light in the my fridge in flickering, what part do i need to fix it.
Hello Pa, thank you for your question. The replacement light assembly on the ceiling of the fridge section is Part #: PS11755867. I hope this helps!
Was this helpful?
Thank you for voting!
Puyong - For model number 10641153210
August 16, 2021
Is this a Kenmore energy Star refrigerator?
Hi Puyong,
Thank you for your question. This does not appear to be an Energy Star product. For more information, you will need to contact Kenmore. We hope this helps! If you have any questions, please let us know.
Was this helpful?
Thank you for voting!
Prev
1
Next
✖
Ask a Question
Ask our experts a question on this model and we'll respond as soon as we can.
See how others fixed this model. Time, tools, difficulty, and steps that lead to victory!View More
Search repair tips from other customers using simple keywords like "replace", "fit", "remove", "inspect". DIY doesn't mean you have to do it alone!
Search filter:
Clear Filter
Your search term must have 3 or more characters.
track of the pan become broken
426 of 450 peoplefound this instruction helpful.
Darrell from Cedar Bluff, VA
Really Easy
Less than 15 mins
Buy a new crisper pan,slide out old one ,slide in new one
Was this helpful?
Thank you for voting!
Drawer guides broken
318 of 414 peoplefound this instruction helpful.
Paula from Chesterfield, NJ
Really Easy
Less than 15 mins
Simply pulled out old drawer and replaced with new one. This broken drawer really bothered my wife so this simple repair earned me alot of points at home. Lord knows i can use all the extra points i can get. Thanks for the quick shipment of the part. 2 days from time of call to part on my door step. Thanks again
Was this helpful?
Thank you for voting!
Fridge was getting too warm, ice buildup on coils.
159 of 188 peoplefound this instruction helpful.
Cathy from Winter Park, FL
A Bit Difficult
15 - 30 mins
Nutdriver
WARNING: REPLACING THIS PART REQUIRES CUTTING AND SPLICING ELECTRICAL WIRES. RISK OF ELECTRICAL SHOCK OR FIRE. DO NOT ATTEMPT THIS REPAIR IF YOU ARE NOT EXPERIENCED WITH ELECTRICAL WIRING.
Part Info: The bi-metal strip is clipped onto the evaporator coils and is designed to regulate the defrost coil temperature. If it is n
... Read moreot functioning properly you may notice ice buildup preventing air flow (and preventing proper refrigeration), or more rarely the freezer side may get too warm during the defrost cycle.
1: UNPLUG THE FRIDGE! If there is ice buildup, wait until the ice has melted. A box fan blowing at the ice will help melt it more quickly.
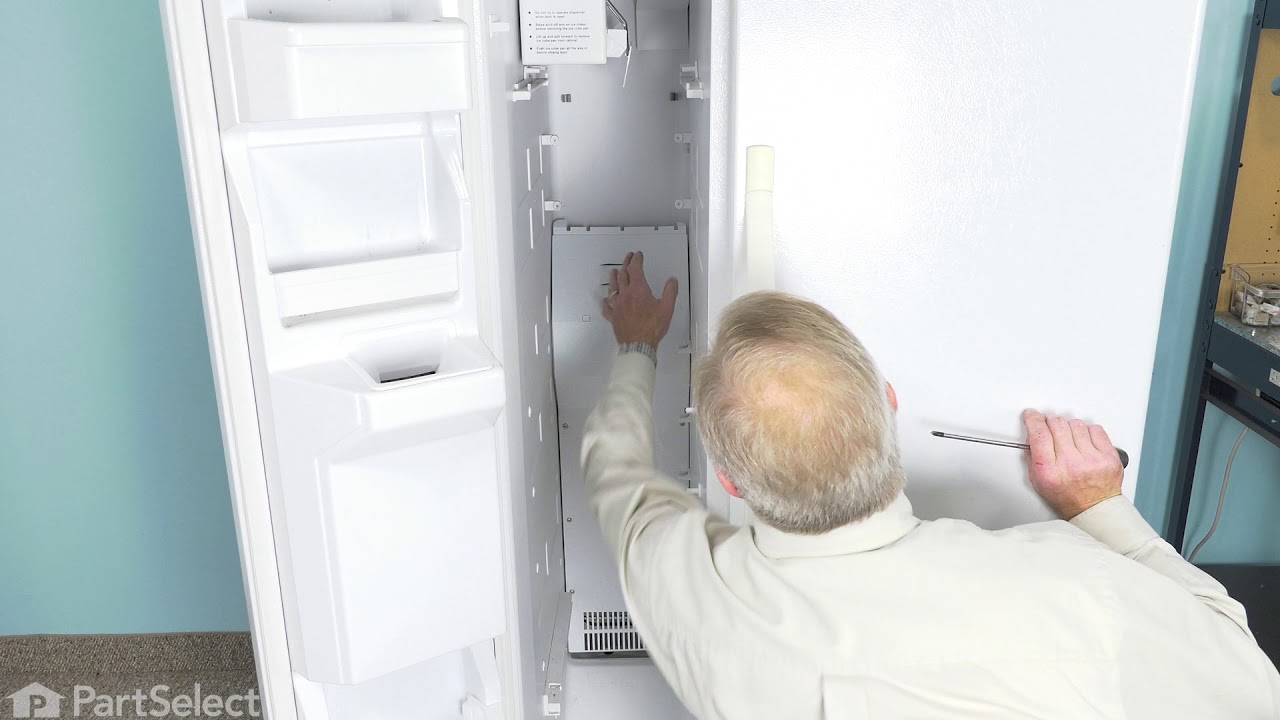
2: Remove the panel covering the evaporator coils. It's located inside the fridge, on the freezer side.
3: Un-clip the bi-metal strip from the evaporator coils.
4: Unplug the wires from the evaporator fan, defrost coil and bi-metal strip, then disconnect the main connector that is plugged into the rear wall.
5: Clip both wires to the old ( bad ) bi-metal strip. Cut close to the casing of the bi-metal strip so there are long wires to splice onto.
6: Strip 1/4 to 1/2 inches of insulation off of the ends of the wires ( depending on the size of the wire-nuts you use). Twist the bare wires slightly to prevent fraying.
7: Do the same for the ends of the wires on the (new) bi-metal strip.
8: Take the ends of the wires belonging to the (new) bi-metal strip and the wires coming from the main plug. Take the like-colored wires, and twist the bare metal ends together.
9: Twist on wire nuts, for both sets of wires. Make sure they are snug, with no bare wire showing.
10: Tape over the wire nuts with electrical tape. Tape over the wires nuts in a spiral fashion, completely covering the nut and both wires that are now spliced together. This will prevent accidental shorting.
11: Plug the main plug back into the rear wall of the fridge. Also re-connect the connectors to the evaporator fan and defrost coil. Make sure the clips on the connectors are snug to ensure a good connection.
12: Clip the new bi-metal strip onto the coils, in the same spot as before. ( Usually just after the small incoming copper tubing that connects to the coils, known as the expansion valve. That is usually the coldest spot on the coils during operation).
13: Replace the panel that covers the coils.
14: Plug the fridge back in... Now you fridge should defrost correctly. If it does not, your defrost coil could be burned out, or the control board could be faulty.



 My Orders