


Get in touch, we're here to help!
1-866-883-8386
Monday to Saturday
8am - 8pm EST
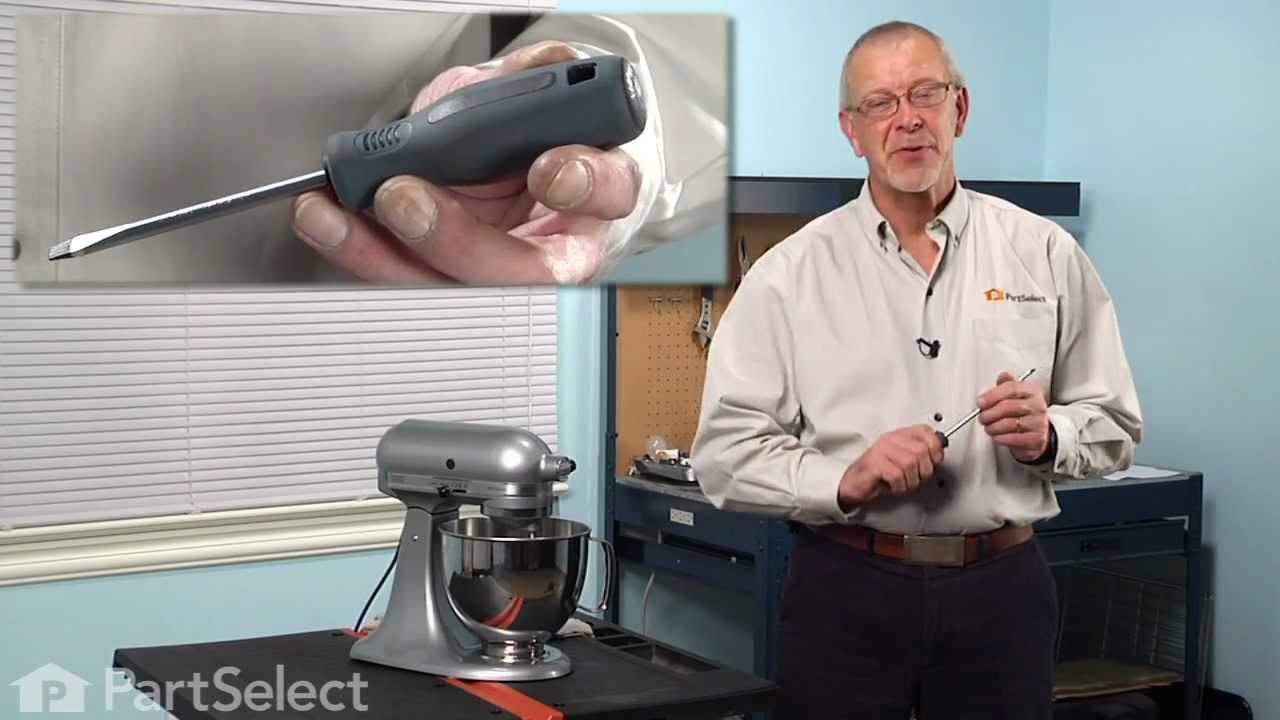
Mixer Phase Control Board WPW10325124
Does this part fit my model?
Need help finding your model number?Mixer Phase Control Board Specifications

How Buying OEM Parts Can Save You Time and Money
- < Prev
- 1
- Next >
- < Prev
- 1
- Next >
- < Prev
- 1
- 2
- Next >
Replace electronic speed control pcb. You will probably have to loosen the two screws holding the brass end plate assy to install new pcb.
Note the number of turns you loosen, so you get it back in the same position. Tighten locking nuts on screws.
-
Donald from Tampa, FL
-
Difficulty Level:Easy
-
Total Repair Time:15 - 30 mins
-
Tools:Pliers, Screw drivers


-
Michael from MONTROSE, CO
-
Difficulty Level:A Bit Difficult
-
Total Repair Time:1- 2 hours
-
Tools:Pliers, Screw drivers
It’s an incredible pleasure to work on something so well-made as this old Kitchen-Aid mixer. I just enjoyed handling it! Having achieved a proper repair was rather satisfying too. I just loved the entire experience!
-
Allen from NORTH STREET, MI
-
Difficulty Level:Very Easy
-
Total Repair Time:15 - 30 mins
-
Tools:Pliers, Screw drivers, Wrench set
Cleaning out the old grease was messy and time-consuming. I used a putty knife, screwdrivers (used them like small putty knives in the crevasses), paper towels, and finally, small cloths dampened with alcohol. After about a hour (maybe 90 minutes) everything actually looked like new.
I originally diagnosed the problem as the plastic gear loosening up from it's hub, so I ordered the complete gear tower assembly. It turned out not to be the problem- the gears were fine. With the gears removed to eliminate load, I applied power and saw that the original symptom was still there.
Further research turned up that this symptom is more likely a failed field coil, or possibly the phase control board. I ordered both from PartSelect. In the meantime, I tested the armature by measuring the resistance across the brushes as I slowly turned it by hand. At every angle, the resistance was about 7.5 ohms. Nothing lower, and no opens, so I'm pretty sure the armature is OK.
The phase control board arrived, but as of this writing, the field coil has been back ordered for almost a month. While I waited, I tried a partial reassembly of the head with the new board, and it worked! This weekend, I'll finish reassembly of the motor unit to the base/gearbox and calibrate the speed governor. In addition to the new gear tower and phase control board, it has new grease, seals, and both side levers (tilt and speed control) that had lost their knobs some time ago.
Hopefully it will be ready for another quarter century of use!


-
James from WEST NEWBURY, MA
-
Difficulty Level:A Bit Difficult
-
Total Repair Time:More than 2 hours
-
Tools:Pliers, Screw drivers
Googled internet to see how to best remove and replace Board-Phase as no instructions came with parts. Actual work replacing parts took only a few minutes. The main work was tearing down the working head to get to the parts and putting it back together. Also had to google how to adjust speed control plate to the correct speed. It helps to have patience and instructions.


-
Kenneth from MERRY HILL, NC
-
Difficulty Level:A Bit Difficult
-
Total Repair Time:30 - 60 mins
-
Tools:Pliers, Screw drivers, Wrench (Adjustable)
-
Douglas from FREEPORT, TX
-
Difficulty Level:Easy
-
Total Repair Time:30 - 60 mins
-
Tools:Nutdriver, Pliers, Screw drivers
Fixed the broken part of the seal with scotch tape). Installed all new parts with the help of the video's and put the cover back on. Even with the new parts, the mixer would not run. Come to find out, after I took it to an appliance repair person, that someone had pulled both brushes and put them back in improperly. I could not find a how-to video that showed me how to de-install/re-install the brushes properly. I assume that was because new brushes were no longer available for purchase. At any rate, when the brushes were put in properly, everything worked. The repair person also adjusted the (2) screws on the speed control plate so that when you change the speeds via the lever, it all works properly. I didn't find a how-to video covering those adjustments either.
-
Tom from MARTINEZ, CA
-
Difficulty Level:A Bit Difficult
-
Total Repair Time:1- 2 hours
-
Tools:Nutdriver, Screw drivers, Wrench (Adjustable)
-
Barry S. from OLIVE BRANCH, MS
-
Difficulty Level:Very Easy
-
Total Repair Time:30 - 60 mins
-
Tools:Screw drivers, Wrench (Adjustable)

-
E.F. from HUNTINGTN BCH, CA
-
Difficulty Level:Easy
-
Total Repair Time:30 - 60 mins
-
Tools:Screw drivers, Wrench set
-
marc from MOBRIDGE, SD
-
Difficulty Level:Very Easy
-
Total Repair Time:30 - 60 mins
-
Tools:Screw drivers
- < Prev
- 1
- 2
- Next >
We're sorry, but our Q&A experts are temporarily unavailable.
Please check back later if you still haven't found the answer you need.
- < Prev
- 1
- 2
- Next >

4 people found this helpful.
2 people found this helpful.
2 people found this helpful.
2 people found this helpful.
1 person found this helpful.

1 person found this helpful.

1 person found this helpful.
1 person found this helpful.
1 person found this helpful.
1 person found this helpful.
- < Prev
- 1
- 2
- Next >


Manufacturer Part Number: WPW10325124
Get in touch, we're here to help!
1-866-883-8386
Monday to Saturday
8am - 8pm EST