This is a large dual haliant element with a limiter or sensor for glass cooktops and freestanding ranges. It is a 2500-watt part. The inner diameter measures 9 inches, while the outer diameter measures 10 inches. If there is no heat generated from your element, you may need to replace this part. You may also need to check your socket or infinite switch. It is located under the glass cooktop of your appliance. Be sure to unplug or cut the circuit breaker to your appliance before starting this repair. Before replacing this part, be sure your appliance is getting enough power. If it is receiving less than the required 220 volts of alternating current, the surface element will not work.
Keep searches simple. Use keywords, e.g. "leaking", "pump", "broken" or "fit".
Sorry, we couldn't find any existing reviews that matched. Try using some different or simpler keywords.
★★★★★
★★★★★
Don D - September 29, 2020
Verified Purchase
Very good service, part was exactly as described shipping was reliable and quick
The part was in good condition exactly as described, prompt shipping and tracking
★★★★★
★★★★★
Emmy H - June 19, 2025
Verified Purchase
Great part that came well packaged and arrived very quickly
Very easy to repair myself and my stove works like a charm again!
< Prev
1
Next >
Customer Repair Stories
Average Repair Rating: 4.0 / 5.0, 27 reviews.
What's this?
< Prev
1
2
3
Next >
Sort by:
Search filter:
Clear Filter
Your search term must have 3 or more characters.
Keep searches simple. Use keywords, e.g. "leaking", "pump", "broken" or "fit".
Sorry, we couldn't find any existing installation instruction that matched.
Large burner on dual element burned out
This was really easy, and pretty with no problems or issues It took me longer to write this than to do the actual installation. I used a digital camera to help me remember where things were, but a pen/paper works fine. Here's what I did:
1. Turn off the breaker for the cooktop.
2. Remove (2) 1/4" hex screws directly under cooktop. You may need to open oven door to reveal them.
2. Prop up cooktop. I used the box the replacement element came in.
3. The element is held in place with (3) brackets held in by a #2 philips screw each. Mark the location of each of the brackets. There are numbers on the element to help you do this.
4. Write down where each of the wires connects to the element. There's only a few of them, but I tend to forget that stuff. The wires have female spade-type connectors that connect to the male ends on the element.
5. Using a needle-nose or small pliers wiggle each wire off the element. Grab the wires by the end of the female connector when you do this. I found it helpful to use a small flat screwdriver to help pry them off. Mine were on pretty tight, so expect this to take a few mins. If you have problems getting to the wires, remove the brackets (next step) first and come back to this one. I let the element hang from the wires without any problems, but I still wouldn't recommend it.
6. Remove each of the screws with a #2 philips screwdriver. Support the element with your hand and gently pull each bracket away from the element. Once they're all gone, the element should just come out. I took a look at my old element and saw that the large burner wires were melted in a couple places, so it was definitely broken.
7. If necessary, clean the underside of the cooktop surface with a clean papertowel. There was a little dust from the old element on mine.
8. Connect the new element and test to make sure it works by turning on the breaker and turning on the burner for a second or two. Note: This will make the top of the element hot for some time, so test it and go away for a few mins. If it works OK, proceed. If not, disconnect and figure out what else may be wrong.
9. Using the old element, make copies of the marks you made for the bracket locations onto the new element. You'll have to punch through the insulation when re-attaching the screws.
10. Re-wire the new element, if necessary and re-attach the brackets over the marks you made. This may be a pretty tight fit because the new element was thicker than the old on mine. I opened up the brackets a bit to make it not so hard to re-attach. Hook the brackets on and squeeze them over the element. The holes in the brackets need to line up with the holes drilled into the bottom of the element. If they don't, spin the element around (or detach and re-attach the brackets) till they do.
11. Screw in the (3) screws over the brackets pushing them through the insulation on the element.
12. Close the cooktop and reattach the hex screws under it (1/4" hex).
13. Turn on the breaker and test again.
Thats it, works great now. Good Luck
Other Parts Used:
Scot from Oakland, FL
Difficulty Level:
Easy
Total Repair Time:
15 - 30 mins
Tools:
Pliers, Screw drivers, Wrench (Adjustable)
101 of 115 peoplefound this instruction helpful.
Was this instruction helpful to you?
Thank you for voting!
Two part burner, outer ring not working
The outer ring on the adjustable large haliant surface burner of our smooth top stove would not work. It would only work on the small (inner) size.
Found the part on this site, ordered, 3 days later, and it was fixing time.
2 screws removed to lift cooktop, 2 screws to remove old burner and disconnected 4 electric clips one at a time and placed them in same position on new burner. Replace the 4 screws and done.
VERY SIMPLE.
Other Parts Used:
JERALD from PHENIX CITY, AL
Difficulty Level:
Really Easy
Total Repair Time:
Less than 15 mins
Tools:
Nutdriver, Screw drivers
36 of 42 peoplefound this instruction helpful.
Was this instruction helpful to you?
Thank you for voting!
Inner element of dual burner died
-Turn off breaker -Undo the two screws that hold the top surface down -Prop up top surface with a board -Remove two screws/spring clips holding burner -Transfer electrical plugs to new burner (this was the most challenging part) -Screw new burner in place -Lower surface -Secure surface
Other Parts Used:
Van from Hyde Park, NY
Difficulty Level:
Easy
Total Repair Time:
15 - 30 mins
Tools:
Nutdriver, Pliers, Screw drivers
19 of 22 peoplefound this instruction helpful.
Was this instruction helpful to you?
Thank you for voting!
Center of large burner stopped working.
First and foremost, I am a 63 year old cooky baking GRANDMOTHER. I don't know anything about fixing appliances. I read the other repair stories pertaining to my burner and I thought, "why not." It was a snap!
My part arrived the very next day, bless you Parts Select! I just did what the others (see above) did: I removed 2 screws to release the stove top, then I took a few digital photos to be sure I would know where the wires went. I released the old burner, pulled out the thingamajigs that held the wires in the old burner, then pushed the new ones in their place, replaced the stove top, plugged it back in, turned it on and jumped for joy! If I can do this, anyone can.
Other Parts Used:
paula from East Grand Rapids, MI
Difficulty Level:
Really Easy
Total Repair Time:
15 - 30 mins
Tools:
Pliers, Screw drivers, Wrench (Adjustable)
15 of 16 peoplefound this instruction helpful.
Was this instruction helpful to you?
Thank you for voting!
Burner "burned out" so we replaced the one and replaced the other that seemed to be cooling down.
Basically removed the screws holding the op on and removed the vent from back. Just "figured it out" and now it works. Wish I could be more helpful. Recommend moderate experience and confidence.
1- opened oven door 2- unscrewed 2 screws underneath top with a socket wrench 3- unscrewed clips that held burner 4-used needle nose pliers to pull off wire clips off old burner 5- placed wires onto new burner 6- opened clips to make it easier to reinsert burner 7-reattached burner 8-Replaced top
The hardest part was unscrewing the 2 screws that held the top in place due to the position of the screws
Other Parts Used:
Barry from Bradenton, FL
Difficulty Level:
Really Easy
Total Repair Time:
Less than 15 mins
Tools:
Pliers, Screw drivers, Socket set
5 of 5 peoplefound this instruction helpful.
Was this instruction helpful to you?
Thank you for voting!
outside element burned out
. First I removed the two screws that hold the element in place. I then pulled the element out about 3 inches and disconnected the two plugs. plugged in the new element and screwed it in place
Other Parts Used:
peter from westfield, MA
Difficulty Level:
Really Easy
Total Repair Time:
Less than 15 mins
Tools:
Screw drivers
4 of 4 peoplefound this instruction helpful.
Was this instruction helpful to you?
Thank you for voting!
The front right outer element was defective.
My cooktop is a stand alone unit mounted in a counter top not associated with an oven. -Removed power to the cook top. Breaker off. -Lifted the cook top straight up from the counter top and placed two 24 inch board strips to support it above the counter top. This was very easy by pushing up from the bottom of the cook top. This is a two person job preferably. -Removed the six phillip screws below the glass surface edge. 3 in the front, three in the back. -Remove knobs and remove the glass top by lifting straight up. -Record the wire positions on the element on paper and remove the connections. -The element is mounted on two spring loaded studs that have spring clips as a retainer. Remove the two clips by pulling straight up with a plier or needlenose. -The replacement element did not come equipped with the two mounting ears that the original had. I removed the two ears from the defective element and installed them on the new element. Very easy. Two phillips screws. The elements have perferations in the correct areas to accommodate this. -Placed the new element in position and reinstalled the spring clips. -Install the wiring terminals in the correct positions. -Reinstalled the glass surface and the six phillips screws. Reinstall the knobs. -Lower the cook top back into its counter top position. -Return power to the cook top. -Installation complete. Very simple!
Other Parts Used:
Peter from Abbeville, LA
Difficulty Level:
Really Easy
Total Repair Time:
15 - 30 mins
Tools:
Pliers, Screw drivers
4 of 5 peoplefound this instruction helpful.
Was this instruction helpful to you?
Thank you for voting!
Burner element was burnt
It was very easy. First turn off the power. Remove two screws to pick up the hood then remove two screws holding the element. Tag the wires with number. Unplug the old burner attach the wires to new burner. Attach two screws with spring to hold the burner, put the hood down and put the screws holding the top hood.
Other Parts Used:
Chandra from Naugaeuck, CT
Difficulty Level:
Really Easy
Total Repair Time:
Less than 15 mins
Tools:
Screw drivers, Socket set
4 of 5 peoplefound this instruction helpful.
Was this instruction helpful to you?
Thank you for voting!
Inside burner would no longer heat
I went online and ordered the part after reading other people's repair experiences, confident that I could do it because the part was quite pricey. First, be sure you're circuit breaker to your range is off. Next, open the oven door and locate and remove two screws with a socket, that are just under the top surface which will allow you to lift up the glass top which is actually hinged...no need to pull the range out. Securely prop up the glass surface area and the burners are exposed. With a marker, mark where each color wire goes on the burner you are going to remove and also mark where the two holding brackets are. This way you can reference the locations to connect to the new one. Carefully remove the wires and brackets and install new burner with brackets and connections. Close up the top, replace two screws, turn on breaker, and if there were no other faulty components,it'll work great. P.S Be gentle getting the very snug wires off. Good Luck
Other Parts Used:
John from CHARLESTOWN, NH
Difficulty Level:
Easy
Total Repair Time:
15 - 30 mins
Tools:
Screw drivers, Socket set
3 of 3 peoplefound this instruction helpful.
Was this instruction helpful to you?
Thank you for voting!
< Prev
1
2
3
Next >
Questions and Answers
Ask our experts a question about this part and we'll get back to you as soon as possible!
7 questions answered by our experts.
< Prev
1
Next >
Sort by:
Search filter:
Clear Filter
Your search term must have 3 or more characters.
Keep searches simple. Use keywords, e.g. "leaking", "pump", "broken" or "fit".
Sorry, we couldn't find any existing answers that matched.Try using some different or simpler keywords, or submit your new question by using the "Ask a Question" button above!
Dave
May 11, 2023
Dual Radiant Element 9 " always turns on to highest heat. Replace Element and/ or Surface Element Switch ? Thanks
For model number JP350AOVIAA
Hi Dave, thank you for reaching out. Based on our understanding of the issue, we would suggest you replace the switch infinite control, part number PS12342205, to fix this issue. We hope this solves your issue!
1 person found this helpful.
Was this helpful?
Thank you for voting!
Skip
May 19, 2023
My front dual element burner is not heating at all while the other three elements on the stove top are working. The coils themselves have continuity, but there is a heat sensing element on these burners as well, and I don't know if that element is bad will it shut down the whole burner or not. How do I determine if it's the element that needs replacing or the switch that needs replacing?
For model number J P350T0C1WW
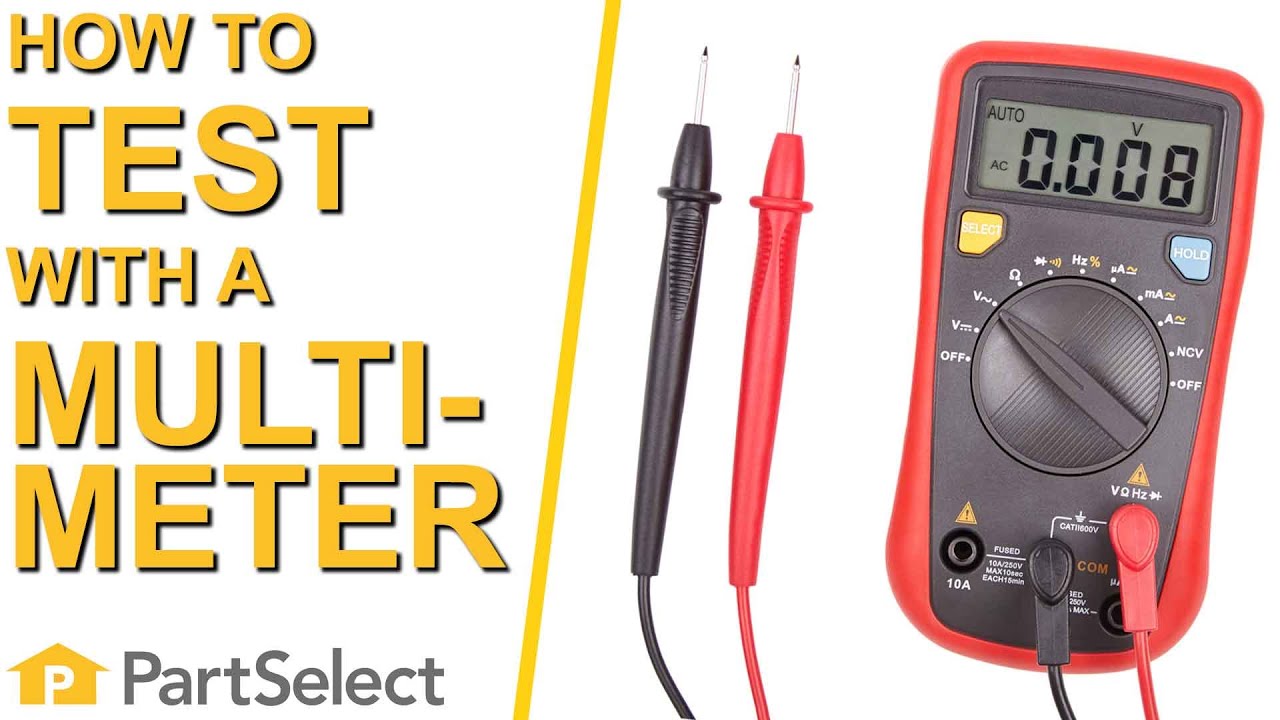
Hello Skip, Thank you for your inquiry. You can test both of these parts with a multimeter. If you are unfamiliar with how a multimeter functions, we have videos available to assist you. We hope this helps.
Was this helpful?
Thank you for voting!
Sharon
July 12, 2021
Will this fit a GE profile cooktop burner element for front right
Hello Sharon, thank you for contacting us, In order for us to locate the correct parts and repair information we will require the model number of the unit. Once you have located the model number please feel free to resubmit the question and we will be happy to help you. We are looking forward to hearing from you!
Was this helpful?
Thank you for voting!
Rich
November 22, 2021
What is the part number for the front rt dual burner? Has that part number changed.
For model number JP350B0C1BB
Hello Rich, Thank you for contacting us. We have researched the model you have provided and have found the part you are looking for is PartSelect Number PS16225972. If you need help placing an order, customer service is open 7 days a week. Please feel free to give us a call. We look forward to hearing from you!
Was this helpful?
Thank you for voting!
Ronald
October 4, 2022
Looking for the right front dual burner element can you give me the part no needed to replace it. Thanks
For model number JBP660K4CC
Hello Ronald, thank you for contacting us. We have researched the model you have provided and have found that the part you are looking for is part number PS1016539. If you would like assistance placing an order, please contact customer service. Good luck with your repair!
Was this helpful?
Thank you for voting!
Carol
October 31, 2022
The front right dual burner goes nuts. It will go high on low or just stay on high no matter where you set it.
For model number JP350w0v1ww
Hello Carol, thank you for your inquiry. According to our research, we would recommend checking the Surface Element Switch, part number PS236392. If it is faulty replace it with a new one. This switch cycles power to the element to control its heat. If that does not help, then the issue is likely to be with the Dual Radiant Element, part number PS1016539. We hope this solves your problem!
The large dual burner on the right side of the cook top doesn't heat correctly. The smaller inside burner works fine but the outside burner doesn't heat continually it comes on and goes off intermittently. This burner was replaced once before when it didn't work at all by an appliance repair guy. This time I want to do it myself to save money. Do I only need to replace the burner with part #PS1016539 or will I need additional parts to fix this problem?
For model number JP989BCBB
Hi Donna, thank you for your inquiry. According to our research, you only need to replace this burner to fix the issue. We hope this helps! If you need help placing an order, customer service is open 7 days a week. Thanks again for your great question.
Was this helpful?
Thank you for voting!
< Prev
1
Next >
✖
Ask a Question
Ask our experts a question on this part and we'll respond as soon as we can.
Fresh Flow Produce Preserver is made for your refrigerator to help keep produce fresh for longer by absorbing the chemical, ethylene, that causes your fruits and vegetables to ripen quicker. Your produce could be fresh f...
Having a problem with a funky-smelling washing machine, or one that just doesnt seem to clean your clothes as well as it used to? Say hello to the Affresh Washing Machine Cleaner by Whirlpool. This powerful washing helpe...
Affresh dishwasher Cleaner is specially formulated to help remove limescale and mineral build-up that can be unsightly and could affect your dishwasher's performance. Each tablet is designed to clean inside your machine ...
Make your cooktop shine with Frigidaire ReadyClean Glass and Ceramic Cleaner. Our scratch-free, streak-free formula removes smudges, grease, burnt-on food, dirt and oil, while protecting and polishing to repel dust and d...
[{"position":0,"name":"Home","title":"Home","url":"/"},{"position":1,"name":"Element or Burner","title":"Element or Burner","url":"/Range-Elements-and-Burners.htm"},{"position":2,"name":"WB30T10099","title":"WB30T10099","url":""}]