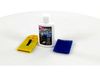
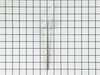
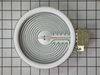
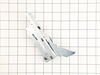
This 18 ml bottle of white appliance touch-up paint is used to cover scratches or marks on your appliance. The white touch-up paint can be used on refrigerators, microwaves, ranges, clothes dryers, an...
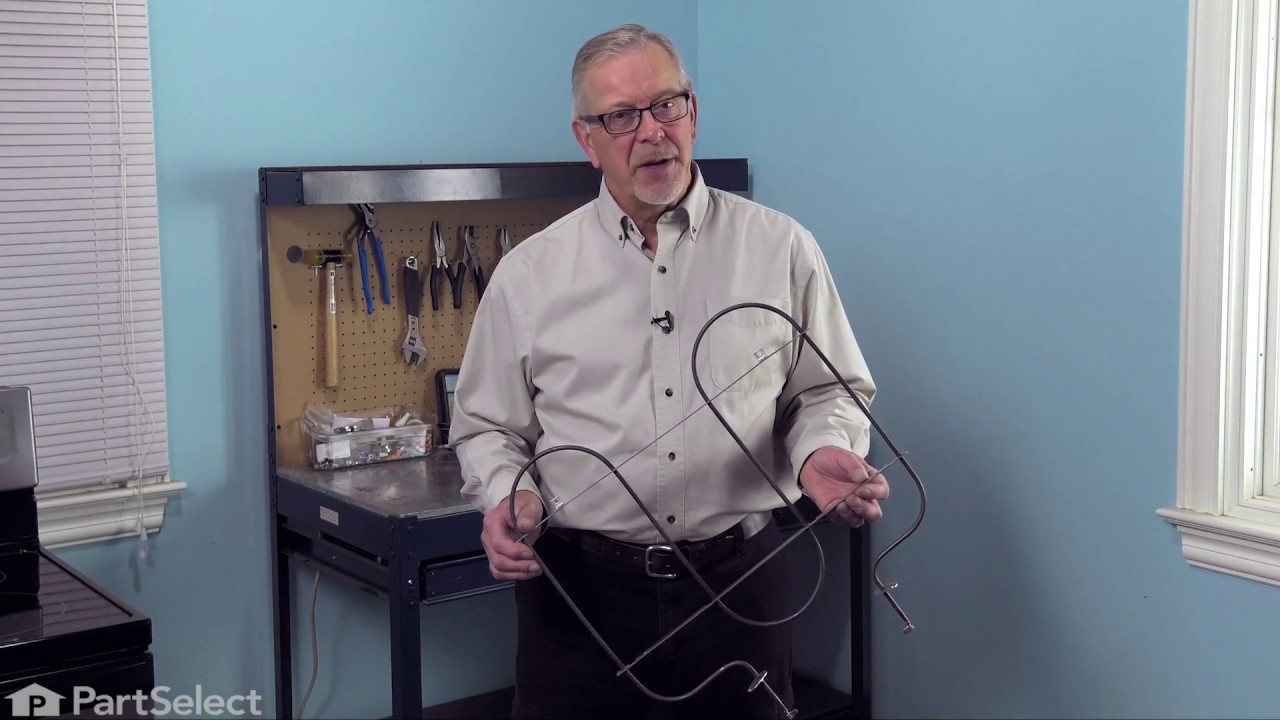
This broil element is a genuine replacement component located at the top of the oven cavity, designed to supply direct heat for broiling and high-temperature cooking. Engineered for select range model...
Use this scraper for your ceramic/glass cooktop. It has a retractable blade and is an all-purpose tool for cooktops, mirrors, windows and tile. Use it to also remove paint, paper, dirt, stickers and more.
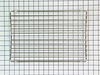
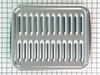
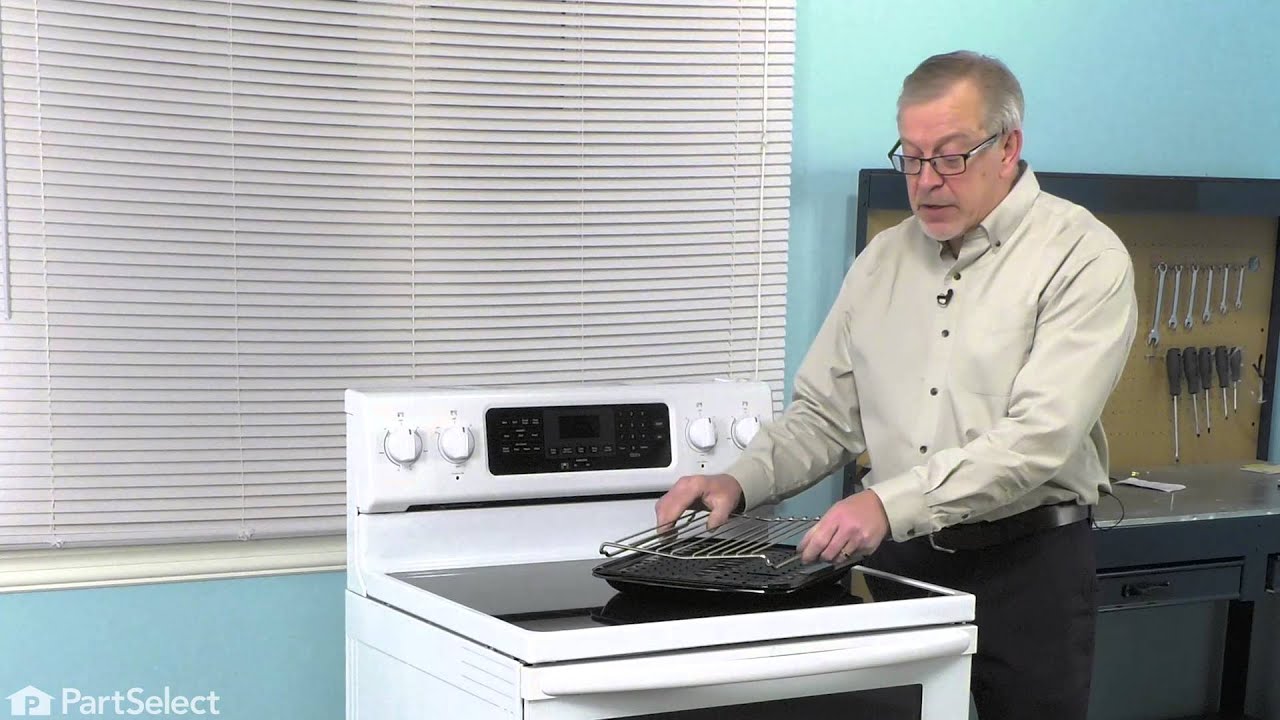
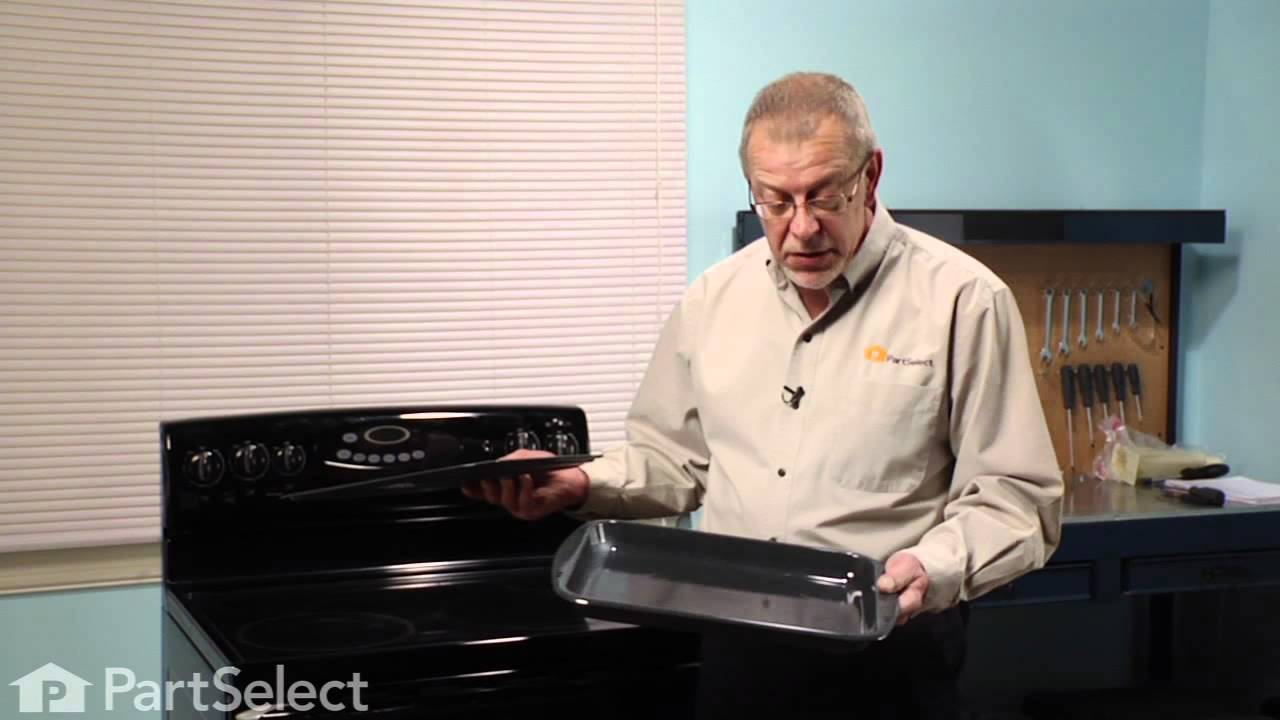
This broiler pan and roasting rack set features a two-piece design that allows fat to drain away for cleaner cooking and reduced splatter. Made with a durable, high-heat resistant porcelain finish, it...
This cooktop cleaner will cut through tough grease and baked-on residue. The cleaner will leave a protective coating of silicone on the cooktop surface as it cleans. This 10oz bottle is safe for all g...
If your oven door isn’t opening or closing like it should, this hinge might be the fix. It works on either side of the door and helps it move smoothly and stay open at the right angle. This part doesn...
$71.91
In Stock
Questions And Answers for WFE550S0LZ2
Ask our experts a question about this model and we'll get back to you as soon as possible!
1 question answered by our experts.
< Prev
1
Next >
Sort by:
Search filter:
Clear Filter
Your search term must have 3 or more characters.
Keep searches simple. Use keywords, e.g. "leaking", "pump", "broken" or "fit".
Sorry, we couldn't find any existing answers that matched.Try using some different or simpler keywords, or submit your new question by using the "Ask a Question" button above!
Jayne
January 3, 2025
Display is showing error code F3E0, for oven use, but burners work.
For model number WFE550S0LZ2
Hi Jayne,
Thank you for your question. The F3 E0 error code indicates that the temperature sensor may have shorted or the electronic control board has a bad display relay. The oven temperature sensor monitors the oven temperature and signals the electronic control board to turn the elements on and off. Before removing this part from the oven and testing it for continuity with a multimeter on the Rx1 setting, unplug the oven from the electrical outlet. This test needs to be done with the sensor at room temperature to produce accurate results. The reading should be between 1080 and 1100 ohms. If you get any other reading, you need a replacement temperature sensor. If the sensor is fine, you will need to replace the electronic control board. We hope this helps with the repair!
I numbered every part. ex: 1 L., for first part removed left side. I used a magic marker to circle the holes and wrote the number of screws used on the part, set the srews in a separete place, so that I new where these screws went to. The cleanup was pretty time consuming, but I was able to keep my stove, when every repairman I called to fix my stove told me I was better off buying a new stove. ($600.00 stove 2 years old)Please Note: The insulation blanket needed for the entire stove is two pieces, the sides and top are one part # and the bottom and back, are another part #. I did not know this. I just purchased the top and sides. I got lucky, the back and bottom were still in good shape. So I guess I should have read the description of the part more carefully to see what it covers, before I ordered it. It took two people two hours to do the work, it was really nice to have an extra set of eyes, to remember what direction pieces of metal from the stove went. I would do it all over in a heart beat instead of buying a new stove.
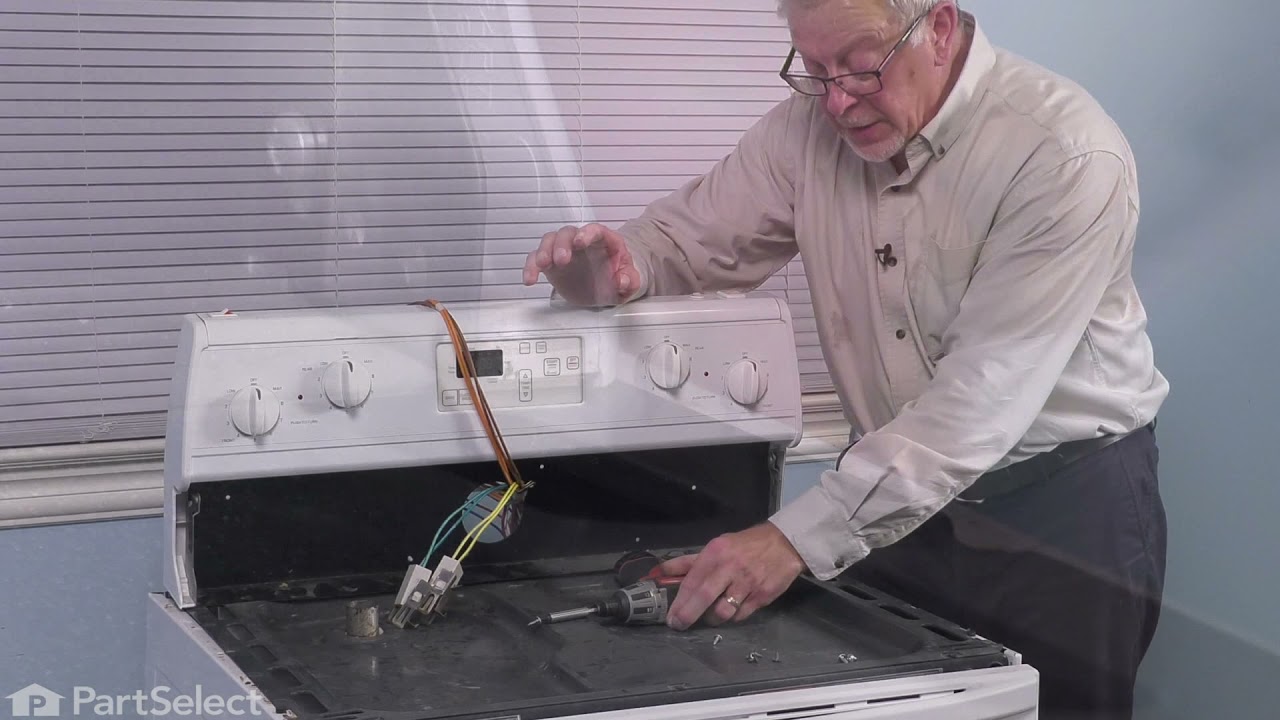
Took 2 screws under front edge of smooth top. Unscrewed ground wire from back of smooth top unit. Unplugged 2 wire bundles, from back. Took bad element out , put in new one. Put back together. About 10 min's tops. Easy peasy.
First we unplugged the range. My husband removed the old element using a screw driver. He also removed the back panel on the oven after pulling it out from the wall. He unplugged the broiler prongs and plugged in the new element, put it all back together using the screw driver. We plugged it back in, turned on the oven and it is working great! Simple and easy to do in a short amount of time. Cool!!