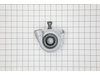
This wheel for the lower rack of your dishwasher, it includes the brushing you will need for installation; the axel is not included. You need to line the replacement wheel up with the axel, slide it i...
If your dishwasher isn’t cleaning well, won’t start, or is leaking, this heat pump assembly could be the fix. It’s designed to fit select Bosch, Thermador, and Gaggenau models and helps circulate and ...
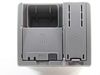
This part is a replacement tine row clip for your dishwasher. The tine row clip is adjustable, and it fits onto your dishrack to holds the tines into place. If your dishrack tine rows will not stay in...
This drain pump is designed for use in various dishwasher models and is responsible for efficiently removing water at the end of each cycle. It directs the water through the drain hose, which connects...
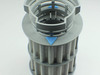
This replacement micro filter is designed to trap small food particles and debris during the wash and rinse cycles, helping to maintain optimal cleaning performance in your dishwasher. Positioned with...
If you’re seeing water puddles near your dishwasher or noticing louder wash cycles, the bottom door seal might be worn out. This part keeps water and steam inside during a wash and helps your dishwash...
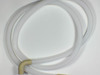
Keep your dishwasher or refrigerator draining properly with this replacement drain hose. It helps move used water out of the appliance and into your home’s plumbing system, preventing puddles and left...
If your dishwasher is leaking or not draining properly, this replacement drain hose might be the fix. It connects the dishwasher to your sink drain or garbage disposal, carrying away dirty water after...
Having trouble with your dishwasher? Let's help you solve that with the Bosch Dishrack Tine Row Holder. This is an original, high-quality part that helps your dishwasher work at full efficiency by sec...
$8.51
In Stock
Questions And Answers for SHXM4AY55N
Ask our experts a question about this model and we'll get back to you as soon as possible!
2 questions answered by our experts.
< Prev
1
Next >
Sort by:
Search filter:
Clear Filter
Your search term must have 3 or more characters.
Keep searches simple. Use keywords, e.g. "leaking", "pump", "broken" or "fit".
Sorry, we couldn't find any existing answers that matched.Try using some different or simpler keywords, or submit your new question by using the "Ask a Question" button above!
Leslie
February 13, 2025
IT GOES THRU jET DRY FAST. HOW TO REPLACE THE JET DRY CONTAINER AND GASKET?
For model number SHXM4AY55N
Hello Leslie, Thank you for asking. The Lid for the Jet dry comes with the gasket and they just snap into place. To remove the old one you can use a small flat head screwdriver to pry out one side of the old lid. Once one side isa release it will come off. Line one side of the new lid up with the peg and snap the new lid into place one side at a time. We hope this information helps!
When filling Jet Dry it seems to leak under the dispenser. Does it just need a new gasket and how do I replace it?
For model number SHXM4AY55N
Hi Leslie,
Thank you for your question. Here is a link to one of our YouTube videos that you may reference for information on how to remove and install the dishwasher detergent dispenser seal. The dishwasher and the detergent dispenser in the video may not be the same as yours, but it will give you a general idea on how to remove and install the seal. Good luck with the repair!
replacing the sensor was simple, just unplug and turn it out, but didn't solve the problem, it's a float sensor that doesn't show up on the tech sheet in the dishwasher or anywhere in troubleshooting on the internet I could find.
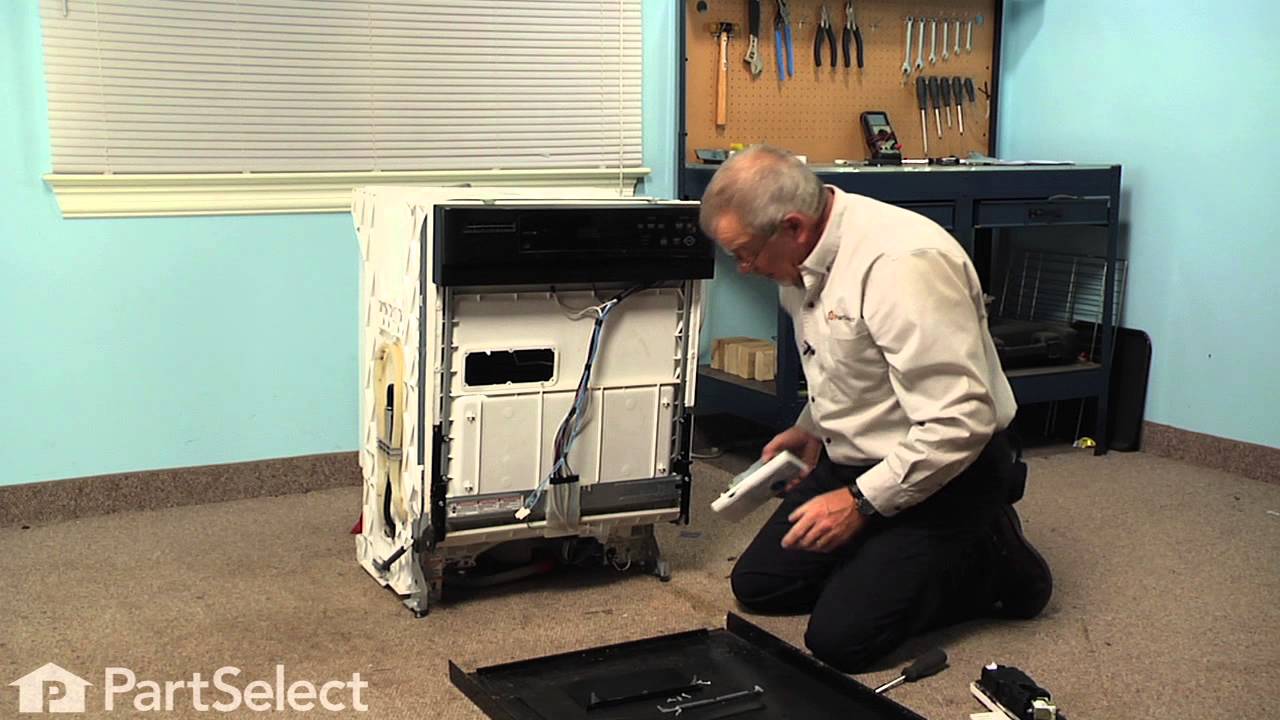
Remove the dishwasher from under the counter. Remove door springs. On the inside of the lip of the door remove the 6 screws that hold the outer door panel on, and remove panel. this will expose hinge screws. Remove the two screws per side holding the inner door to the hinge assembly. Take pictures of the way the gasket's grey plastic end cap assembles between the inner door frame and the hinge, and remove the inner door. The old gasket has a channel lip that sits on the plastic edge of the washer tub, pull it off this lip and discard. Install new gasket and put it all back together! Use this opportunity to clean the gunk out of the upper door seals.
I watch utube to assess the problem then took eveything apart and saw the build up on the filter, which i had never cleaned. I tried to clean it but was unsuccessful so order the filter from partselect and it came within a couple of days, installed very easily and began to clean as it always had.