This an authentic OEM 40-Watt replacement light bulb, used in a number of household appliances. It is specially designed to withstand extreme temperatures, which is why these replacement bulbs are mos...
$22.58
In Stock
Order within the next 12 hrs and your part ships today!
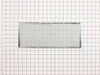
The filter is made of metal and is intended for use with ranges and cooktops. As per the manufacturer, this filter may be 1/2" slimmer than the original, but will still function the same.
$38.89
In Stock
Order within the next 12 hrs and your part ships today!
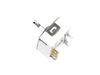
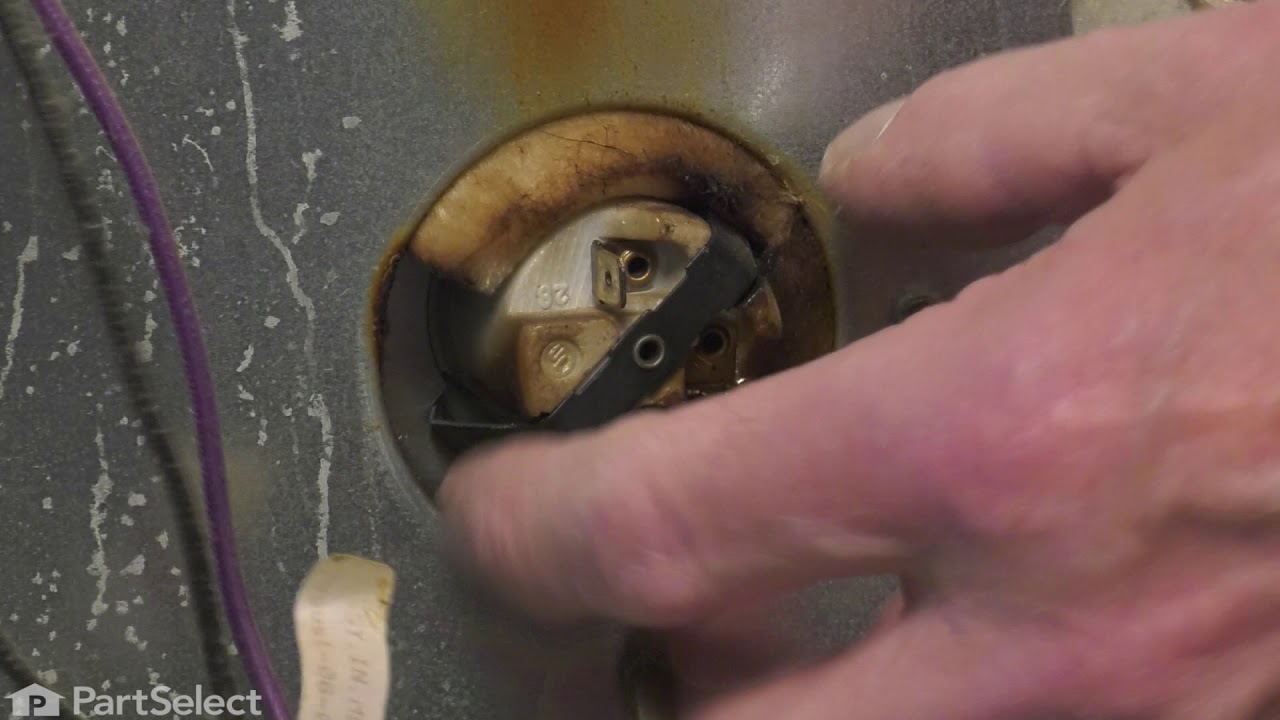
This surface burner switch, also known as an infinite switch, is a key electrical component that controls the heat output of your stovetop burners. When you turn the control knob, the switch adjusts t...
$115.24
In Stock
Order within the next 12 hrs and your part ships today!
This is a multi-use and multi-appliance screw. It can be used on a microwave, refrigerator, range/oven, air conditioner, dehumidifier, washer, or dryer. The measurements of this screw are 8 x 1/2 inch...
$28.95
In Stock
Order within the next 12 hrs and your part ships today!
Sold individually. Lock washers are used with screws when vibration from an appliance may cause the screw to loosen. Lock washers are also used in the electrical components of an appliance to ensure ...
$10.95
In Stock
Order within the next 12 hrs and your part ships today!
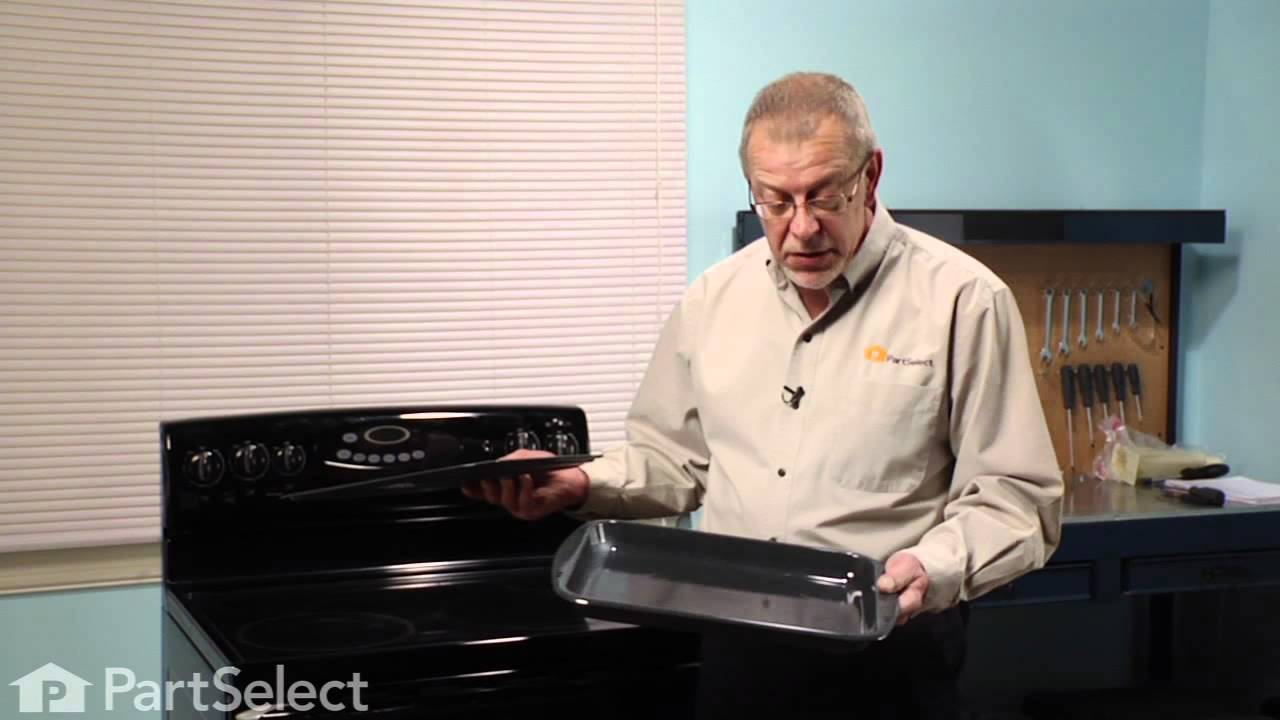
This broiler pan and roasting rack set features a two-piece design that allows fat to drain away for cleaner cooking and reduced splatter. Made with a durable, high-heat resistant porcelain finish, it...
$59.89
In Stock
Order within the next 12 hrs and your part ships today!
Order within the next 12 hrs and your part ships today!
Questions And Answers for S156
Ask our experts a question about this model and we'll get back to you as soon as possible!
2 questions answered by our experts.
< Prev
1
Next >
Sort by:
Search filter:
Clear Filter
Your search term must have 3 or more characters.
Keep searches simple. Use keywords, e.g. "leaking", "pump", "broken" or "fit".
Sorry, we couldn't find any existing answers that matched.Try using some different or simpler keywords, or submit your new question by using the "Ask a Question" button above!
Laurel
February 20, 2023
Does this model have a 3 prong plug or a 4 prong plug?
For model number S156
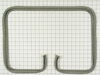
Hello Laurel, thank you for your question. It appears it has two flat, one round and two flats again for a total of 5. We have a photo of the plug for the Broil Element PS11742861 for you to view. We hope this helps.
Was this helpful?
Thank you for voting!
Tim
November 1, 2024
Coils will not heat,, but works when grill coils are plugged
For model number S156
Hello Tim, thank you for your question. The coils are part of the cartridge so they are independent of the grill. Check the Cartridge Receptacle PS11757565 as well as the Receptacle Wires. We hope this helps.
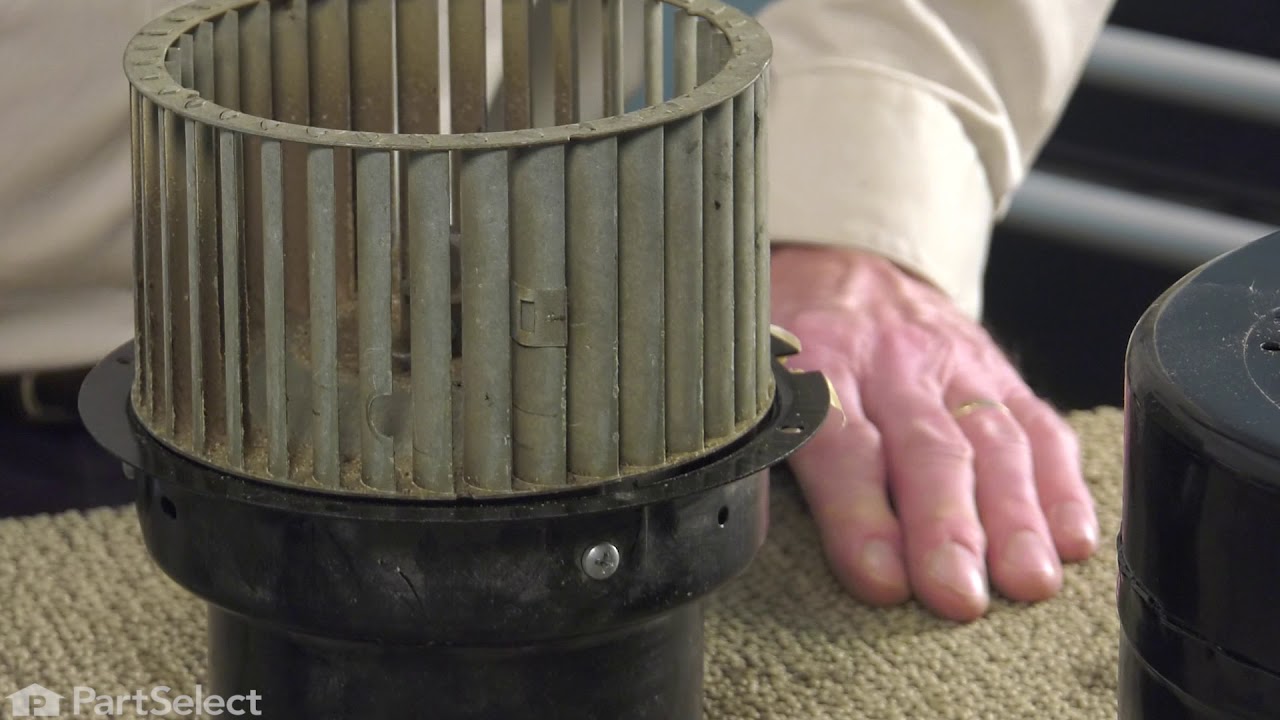
Most of the repair was obvious as I took the blower apart before ordering the parts. Unfortunately the new motor was significantly larger than the original motor so I had to um. Adjust the position of some of the other parts to fit it in. There was a sheet metal flange that was installed on the other side of the blower from the motor which was designed to focus the air flow into the blower. I used a hammer to ajust the angle of flange so it no longer extended as far into the blower housing.
It works just fine although its a bit louder than the old motor was.
1. Killed power and removed the regulator's knob, noted the position of the old control. 2. Took off the cover for the center vent and loosened the two screw holding the housing in place--the screws didn't have to come out completely as it is a U-shaped friction hold. 3. Unscrewed the two screws holding the old control switch in place--lifted the housing enough to get at the old switch and carefully pulled it loose--it was a front burner so the control switch was about as far back as it could be but still wasn't that hard to get at. 4. Turned the new switch to orient the wire connectors, then, using a needle-nose pliers, removed each friction connector, one at a time, and fitted them on the new switch (note: one of the wires fitted best if it went under as opposed to around the base of the new switch). 5. Replaced the control back through the housing and screwed it in place, making sure the orientation of the control matched the way it looked originally. 6. Slide the housing back over the two screws and tightened, replace vent. 7. Replaced the knob and turned on the power.
(The above took me about twice as long to write as it did to make the repair and I write professionally but am not a professional electrician.)
Also, I bought a second control switch because, given the age of the unit, I'm sure another one will go. The second one will assure that it won't happen :-).