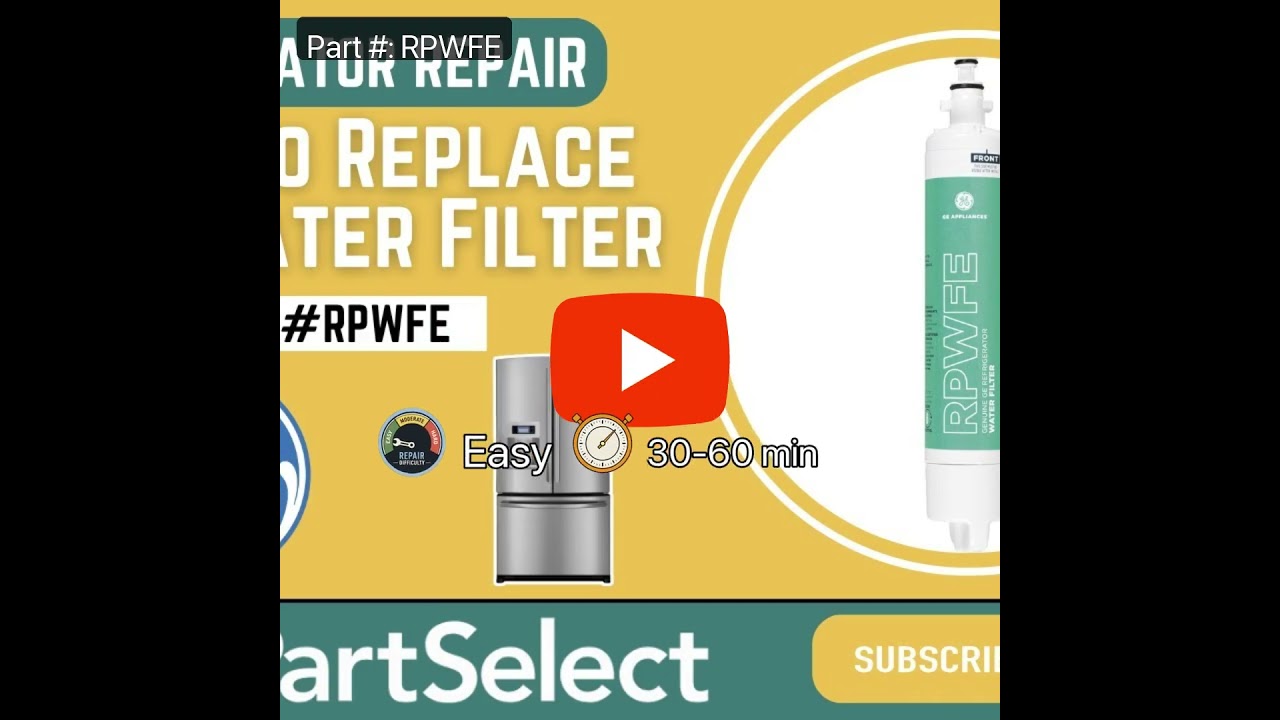
This NSF-certified refrigerator water filter is engineered to improve the taste, clarity, and safety of your drinking water by reducing contaminants such as mercury, lead, and trace pharmaceuticals. Designed for easy replacement, the filter should be changed every six months or after filtering approximately 300 gallons of water. A noticea...Read moreble decrease in water flow from the dispenser may also indicate the need for replacement. Installation is straightforward and does not require tools or disconnection of the water or power supply. Once installed, it is recommended to flush at least two gallons of water through the system before consumption to ensure optimal performance and water quality.
The interior light of your refrigerator is controlled by a switch that is activated when the door is opened and closed. If your refrigerator light will not turn on, there could be an issue with the switch. The switch is spring loaded and is a generally closed type of switch meaning there should be no continuity when the button is depresse...Read mored, and continuity through the switch when the button is not depressed. This plastic, white, OEM switch is sourced directly from the manufacturer, is sold individually and is easy to replace. The repair usually takes less than 15 minutes and requires a flat blade screwdriver and needle nose pliers.
This OEM-compatible screw is designed for use with many GE dishwashers. Measuring 8-16 HXW and 1/2" in length, this stainless steel screw secures the middle spray arm hub to the upper rack assembly, ensuring stable and effective spray arm performance.
Sold individually, this durable metal fastener requires a nutdriver for proper installation.
This is a door handle fastener to secure the handle to your refrigerator drawer. It is also known and a mounting bolt or screw. It is approximately 1 inch in total length, and is made of metal.
Fix a freezer door that won’t close properly with this genuine spring hinge mullion. It keeps the flipper seal tight, preventing warm air from entering and helping maintain the right temperature. If you notice frost buildup or a door that stays open, this part is the solution. Installation is simple with basic tools, and it quickly restores smooth door movement.
Need more space in your fridge door? This clear plastic bin is a great replacement for select GE, Hotpoint, and Café refrigerators. It’s gallon-sized, fits on the right-side door, and helps keep drinks and condiments organized. It’s easy to install—no tools needed—and some versions even come with a soda can organizer. Just make sure it matches your fridge model before ordering.
This LED light and cover assembly is designed for the fresh food compartment of compatible refrigerators, providing bright, energy-efficient illumination to help you easily see and access stored items. Built with durable materials, the clear cover protects the internal LED components from damage while maintaining a clean, modern look. Thi...Read mores assembly is a direct replacement for select refrigerator models and installs easily without the need for additional hardware. Some aftermarket versions may offer the LED and cover as separate components, but this genuine replacement provides a complete, ready-to-install solution.
This refrigerator door bin is a durable storage accessory designed to attach securely to the interior of the refrigerator door. It provides convenient space for organizing jars bottles and other small items helping to maximize usable storage and maintain a tidy layout. Constructed from high-quality plastic the bin is shaped to fit specifi...Read morec refrigerator models and installs easily by following the manufacturer’s instructions. A damaged or missing bin can reduce storage efficiency and lead to clutter. Replacement involves aligning the bin with the designated mounting slots and pressing it into place until secure.
Ask our experts a question about this model and we'll get back to you as soon as possible!
We may have answered a similar question already! Search questions and answers left by others using simple keywords like "fit", "broken", "easy", or "quality" to find questions that match.
Search filter:
Clear Filter
Your search term must have 3 or more characters.
Sort by:
Prev
1
Next
Sorry, we couldn't find any existing answers that matched.Try using some different or simpler keywords, or submit your new question by using the "Ask a Question" button above!
Dick - For model number PYE22PSHFSS
February 11, 2023
having problem with water leaking from ice maker. It occurs only when ice maker has ice. water appears at the front of refrigerator. have to empty ice maker and turn it off to prevent this from happening.
Hi Dick, thank you for reaching out. According to our research, the issue is most common with the following parts: the housing, part number PS11736926, and the ice maker, part number PS12583184. If that does not help, we would recommend checking the water filter, part number PS10063209. We hope this helps, good luck with this repair!
Temp Select Zone is freezing up. May be damper control
Hi Randy, thank you for contacting us. Before replacing the damper control, we would recommend checking the temperature sensor, part number PS304103. You may need to replace it to fix the issue. We hope this helps!
What is causing my fresh food department to freeze or get to warm
Hello Frank, thank you for your question. The most common cause would be faulty motors. Please test the Refrigerator Evaporator Fan Motor PS16226575 and the Freezer Evaporator Fan Motor PS12727431. We hope this helps.
See how others fixed this model. Time, tools, difficulty, and steps that lead to victory!View More
Search repair tips from other customers using simple keywords like "replace", "fit", "remove", "inspect". DIY doesn't mean you have to do it alone!
Search filter:
Clear Filter
Your search term must have 3 or more characters.
my refigerator was warm but the freezer was cold and working correcttly
305 of 405 peoplefound this instruction helpful.
michele from North Smithfield, RI
Really Easy
15 - 30 mins
Pliers
I went to a GE repair center to explain my problem, the service center reccomended that I have a techinician come out o look at it. $75.00 for the visit and what ever labor and materials wuld cost.
I went on line to see if there were others having this same problem and found that there were many with the same problem.
... Read more />After reading some of the ways that people found out what was wrong ...it became a matter of three components, the timer, heater or thermostat.
I tried the most common component and the less expensive one first , the thermostat switch I installed it very easily snipping two wires and attaching the news using wire nuts I used the diagram on this website to pinpoint the component and there has not been a problem since.
Read less
Was this helpful?
Thank you for voting!
refrigerator was getting too cold
149 of 219 peoplefound this instruction helpful.
Larry from Menomonie, WI
A Bit Difficult
15 - 30 mins
I removed the old temperature sensor by cutting the wires. I attached the wires of the new sensor with wire nuts and mounted it in the same bracket.
Was this helpful?
Thank you for voting!
Sticking Light Switch
122 of 178 peoplefound this instruction helpful.
Jonathan from Lilburn, GA
Really Easy
Less than 15 mins
Pliers, Screw drivers
I applied some tips learned by reading other reviews. So before I started I grabbed my trusty vise grip pliers and a small screw driver. I locked onto the switch actuator, the part that the refrigerator door pushes in, with the vise grips and pulled on it just hard enough to get the screw driver inserted in the right side to push in the c
... Read moreatch clip so the switch could be pulled out further each time the catch clip was depressed to the next detent. Then I used the screw driver on the left site to encourage the switch past the detents on the left and very quickly the switch was out of the mount. The wires from the refrigerator pulled out with the old switch. I unplugged the old switch from the wires and plugged in the new switch and shoved the new switch back into the mount, wiggled it a couple of times to make sure it was secure and the job was done. Once I applied the vise gripes at first, the whole job took less than a minute.



 My Orders