This 40-Watt light bulb is sold individually.
It is specially designed to withstand extreme temperatures, so this bulb is compatible with a variety of appliance types including refrigerators, ranges,...
This OEM water filter works with side-by-side and bottom freezer refrigerators. You will find this filter mounted in a vertical position in the back upper right-hand corner of the refrigerator compart...
This door recess spring or dispenser lever spring in your refrigerator is used to return the ice door to the closed position or the dispenser lever to the home position once released. You will find th...
This part is the replacement water line for your refrigerator. It is a long plastic tube, which is 5/16 of an inch in diameter. If your refrigerator is leaking, or will not dispense water or ice, you ...
This ice maker assembly is used to make ice in your refrigerator. The ice maker receives water from the water inlet valve and will freeze until ice cubes are formed. Once the water has been frozen the...
$267.74
Special Order
Questions And Answers for PSCS3RGXCFSS
Ask our experts a question about this model and we'll get back to you as soon as possible!
6 questions answered by our experts.
< Prev
1
2
Next >
Sort by:
Search filter:
Clear Filter
Your search term must have 3 or more characters.
Keep searches simple. Use keywords, e.g. "leaking", "pump", "broken" or "fit".
Sorry, we couldn't find any existing answers that matched.Try using some different or simpler keywords, or submit your new question by using the "Ask a Question" button above!
David
December 15, 2019
When you push button in door will not dispense water or ice, numbers and lights flash on display.
For model number PSCS3RGXCFSS
Hello David, thank you for your question. If the lights and numbers are flashing on the display and you aren't able to dispenser water or ice, the dispenser board should be replaced which is Part #: PS2340411. Good luck with your repair!
2 peoplefound this helpful.
Was this helpful?
Thank you for voting!
Melvin
January 10, 2020
How I change the lightbulbs? Thanks
For model number PSCS3RGXCFSS
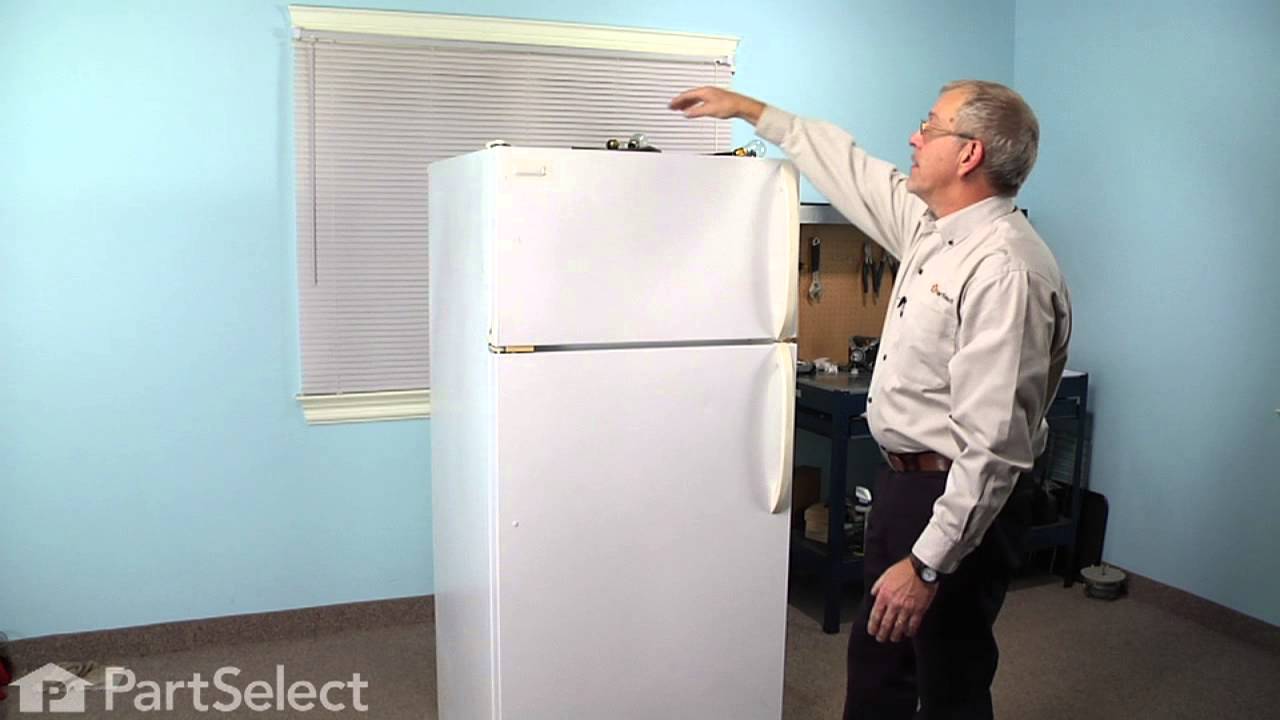
Hi Melvin. Please watch our video here: https://www.youtube.com/watch?v=7yE0ZZBNISU. Thank you for your question and good luck with your repair!
Was this helpful?
Thank you for voting!
Keith
November 27, 2019
When i go to get ice the ice turns on then off and the light flashes and the it gives ice out in spurts...what do i need to get it to work properly?????
For model number PSCS3RGXCFSS
Hello Keith,
Thank you for your question. We suggest replacing the dispenser door solenoid for your model under part PS1483583 to fix the issue. Hope this helps!
Hello Orlando, Thank you for the question. This model does not have a separate timer so it can not be manual initiated. The Defrost cycle is controlled by the control board and it does not have the circular notch that Defrost Timers have to trigger the cycle manually. We hope this helps.
Was this helpful?
Thank you for voting!
Charles
February 14, 2023
I need a Door Shelf Bin Basket (Right Side) clear plastic for part no. 200D5619P001. I just the the clear plastic insert if you have it? Thanks.
For model number PSCS3RGXCFSS
Hi Charles,
Thank you for your question. The part number listed under your model number for the module shelf insert is PS2323441. If you would like to place an order for it, please call our customer service line and anyone will be happy to assist you. We look forward to hearing from you!
After replacing the defrost heater, main board and thermistor I still had the same problem. Called a repair guy and he (with the help of GE on the phone) diagnosed that the temperature sensor was bad. So I ordered from partselect and installed it and it fixed the problem. Been good for a couple months (knocking on wood). To install I had to cut the 2 wires to the old sensor, crimp the 2 new wires on and snap the new sensor to the clip on the evaporator. Very easy. Make sure you seal the ends of the wire crimps so moisture doesn't get in and corrode the connection.
I went to a GE repair center to explain my problem, the service center reccomended that I have a techinician come out o look at it. $75.00 for the visit and what ever labor and materials wuld cost.
I went on line to see if there were others having this same problem and found that there were many with the same problem.
After reading some of the ways that people found out what was wrong ...it became a matter of three components, the timer, heater or thermostat.
I tried the most common component and the less expensive one first , the thermostat switch I installed it very easily snipping two wires and attaching the news using wire nuts I used the diagram on this website to pinpoint the component and there has not been a problem since.
My repair experience was a little more complicated than previous posts, but nothing major. And most importantly replacing the Fresh Food Air Inlet Cover did fix my problem. Here are the steps I followed: 1. You will need to remove a minimum of the top two shelves to get access to the Air Inlet Cover. It runs along the back of the fridge and connects to a hole to the freezer side. It has a little fan inside that sucks the cold air from the freezer and diverts to the top and bottom of the fridge. 2. As mentioned in other posts, there are four screws holding the Inlet Cover in place, 2 lower and 2 upper. To get access to the lower two screws,you simply pop off the lower duct assembly (squeeze the sides). Be careful when removing and installing these screws. If you drop one into the lower duct, you will add a few more steps to the installation to remove more shelves and take out the lower duct to get to where the screw fell. Obviously this happened to me. Not difficult to do, just adds more time. 3. To access the upper two screws I had to remove the top light cover (one screw) and then slide out the top duct/diffuser assy (my name, not GE's). 4. Finally to get clearance to pull out the Inlet Cover, I had to remove the water filter and cover. When you pull away the Inlet Cover, you will see the electrical connection that is simple to disconnect. 5. After I removed my Inlet Cover, it was obvious that it was broken because it rattled and I could peek inside to see that the plastic air diverter/flapper thingy was broken. 6. One final surprise was that the replacement Air Inlet Cover did not exactly match the one I removed. The replacement only had one upper air outlet, while my old one had three upper outlets, left, right and center. I noticed there was a plastic cover over one of the side outlets on the replacement, so I just popped that off and hoped for the best. 7. The replacement Air Inlet Cover Kit came with sticky back insulation that you attach to where the Inlet Cover meet the freezer access hole to make sure snug fit to limit extra cold air leaking into the fridge side. 8. Installation of the replacement Air Inlet Cover was fairly easy, just follow the above steps in reverse and make sure you don't drop any screws. It's been a couple of weeks since I performed this installation and my fridge has been maintaining temperature perfectly. No more frozen milk or lettuce. The wife is very happy.