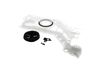
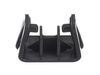
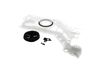
Sold individually. This part secures the upper side of the dishwasher to the underside of the counter or cabinet to prevent the dishwasher from moving, shaking, or tilting forward.
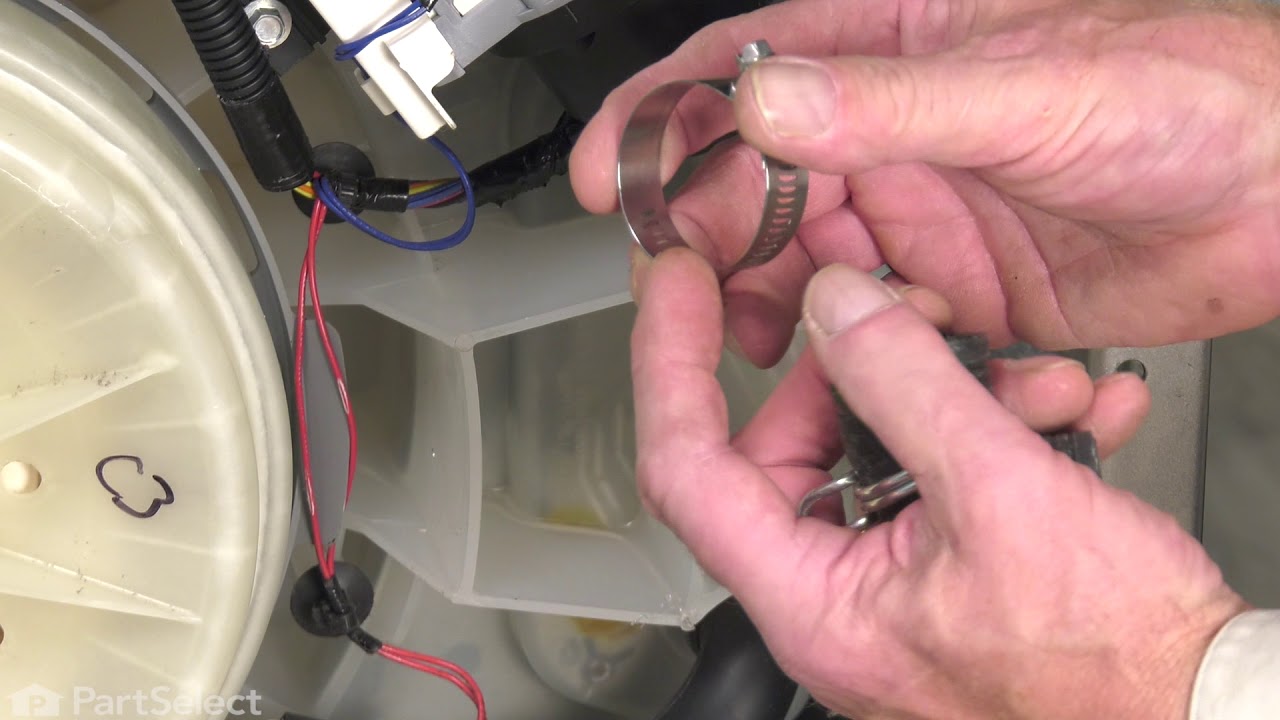
This hose clamp extends from half an inch to an inch in diameter. It is made entirely of metal and is intended for use with Maytag brand washing machines.
This part has a swivel gooseneck fitting and that allows it to be installed closer to the wall. This part has a 3/4" hose thread on one side and a 3/8" copper tubing on the other side.
This replacement heating element is designed to heat water during the wash and rinse cycles in compatible dishwasher models, helping to improve cleaning performance. Positioned at the bottom of the tu...
Deal with your kitchen tasks like a pro with the Whirlpool Dishwasher Drain Pump. This critical component makes sure the water quickly and efficiently exits your dishwasher tub every time you wash you...
This agitator assembly is a key component in many washing machines, designed to rotate back and forth during the wash cycle to help loosen dirt and stains from clothing. It features a central shaft wi...
Is your dishwasher not performing like it used to? It may be the water inlet assembly that needs replacing. We offer you the OEM Water Inlet Assembly direct from Whirlpool, a brand trusted for its hig...
If you're having problems with the dishrack of your dishwasher, we've got the perfect solution. Our genuine OEM Front Dishrack Stop Clip from Whirlpool ensures your dishrack won't slide off the rail, ...
$29.21
In Stock
Questions And Answers for MDB9979SKZ0
Ask our experts a question about this model and we'll get back to you as soon as possible!
1 question answered by our experts.
< Prev
1
Next >
Sort by:
Search filter:
Clear Filter
Your search term must have 3 or more characters.
Keep searches simple. Use keywords, e.g. "leaking", "pump", "broken" or "fit".
Sorry, we couldn't find any existing answers that matched.Try using some different or simpler keywords, or submit your new question by using the "Ask a Question" button above!
Eva
October 29, 2021
I put clean dishes in and the glasses and cups come out filled with little specks baked on the outside and inside of the cups. More the top than the bottom of of dishwasher. Had an technician here a few years ago didn't fix it.
For model number MDB9979SKZ0
Hello Eva, Thank you for your inquiry. We have researched the model number you have provided and recommend the following parts to fix your issue: the upper spray arm, the feed tube, the middle spray arm and manifold, the water inlet valve, and the water tubes. If you don't already do so, we also recommend using a rinse aid. We hope this helps.
I called an experienced plumber, who balanced and installed my new dishwasher properly, using the brackets I ordered from Parts Select, after an INEXPERIENCED plumber had tossed the factory-provided mounting brackets out with the shipping carton. Relief!
After pulling the dishwasher out, I was able to determine the leak was occurring around the plastic nuts on the end of the heating element. I removed the heating element and saw that even though there were washers on the ends that protruded through the backside of the machine, they really weren't sealing the holes the element was sticking through. Looking at YouTube videos on the installation procedure, I noticed the element being installed had a sort of metal grommet permanently affixed to each end and the rubber washers were between the grommet and the dishwasher body. I ordered the new part and saw this to be when I received the new part. This grommet allowed the washer to seal the hole, once the plastic nuts were installed on the backside of the dishwasher. This seems to have stopped the leak. I don't know how the original part ever worked correctly, since the washers freely sat on the element with nothing to force them up against the body of the dishwasher and seal the holes. It may have been leaking long before I discovered the problem.
- Shut off power to the washer - Removed cap on top of agitator - First, I tried using a ratchet set to remove the bolt that is inside the agitator at the baseplate. Tub would spin when I tried this method, so I used an air impact with long extensions. One press of the impact and the bolt loosened. - Tied a pair of shoelaces together and stuffed them inside the seam around the agitator baseplate. I put the shoelaces half way around the baseplate. Get it in the seam then with two hands, each with an end of the shoelace, pull up on the baseplate. Success!! - Installed the new agitator with base plate and then used the ratchet set to tighten the bolt. Didn’t want to take a chance on stripping the bolt inside the agitator with the air impact when tightening.