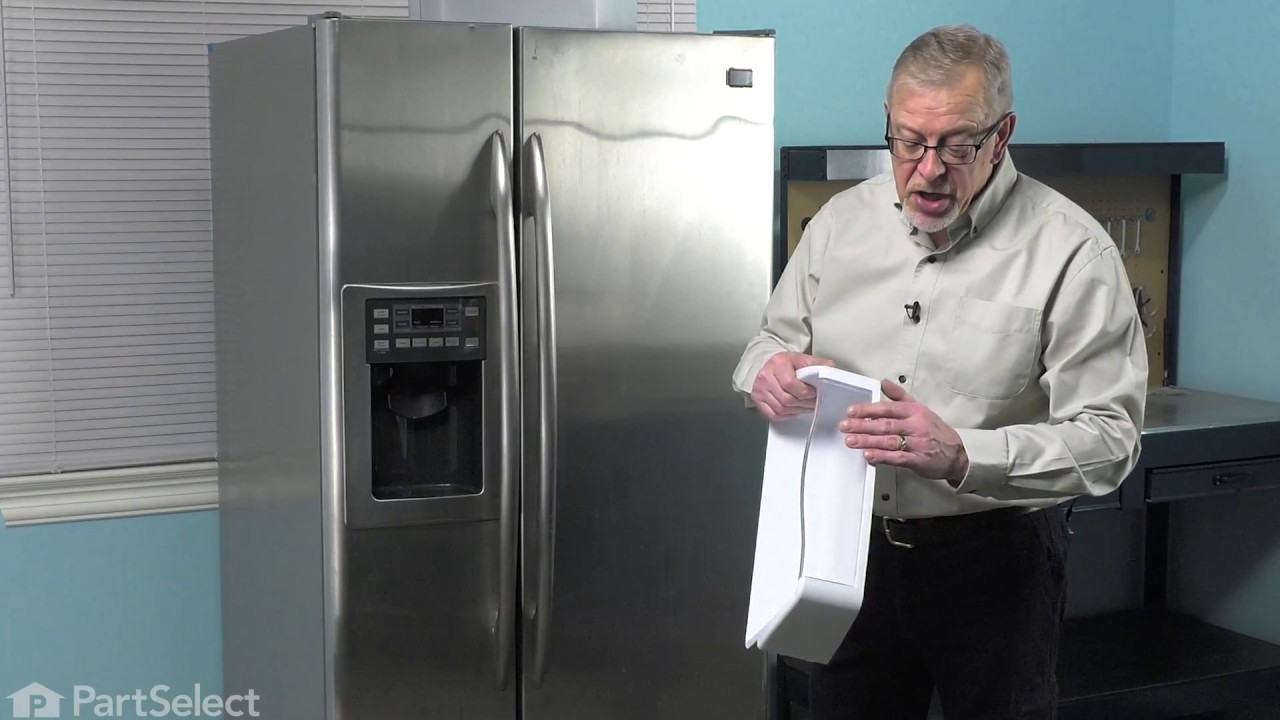
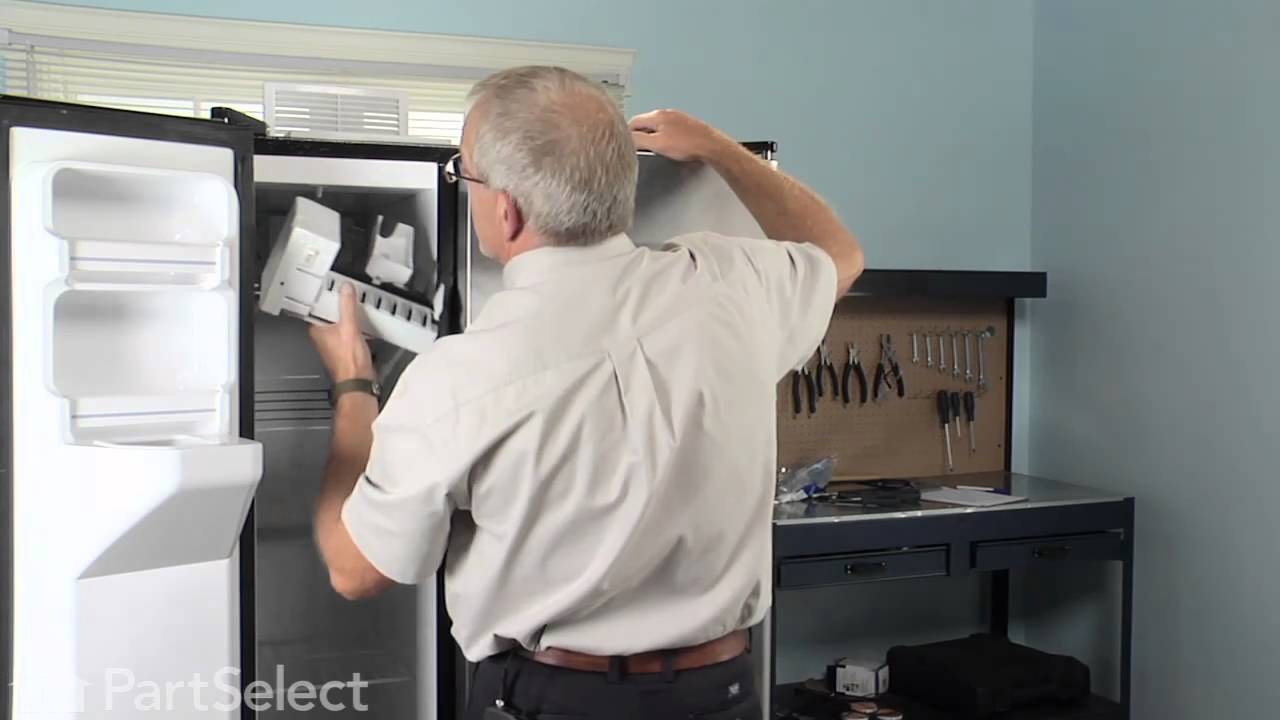
The Module Shelf Insert is a complete assembly for the module shelf. This repair is rated as "Easy" by users. Simply remove the old shelf insert and snap the new one into place using the locking tabs. This part is used to hold items in the fridge, and if broken it should be replaced. Refer to your user manual and model number to ensure this part is right for you.
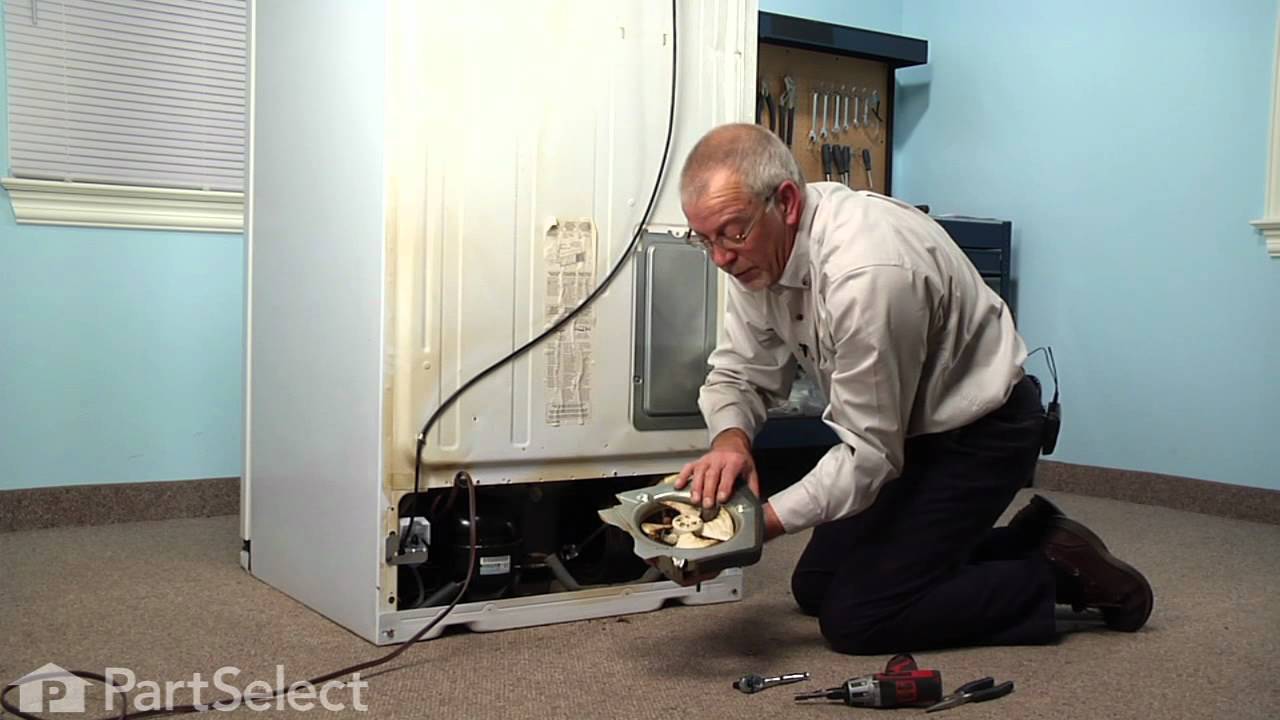
This electronic board (Main Control Board Assembly, Control Board, Motherboard) controls the temperature and defrost functions of the unit. This control board is located on the back of the refrigerator, and measures 8 inches by 5 inches. It’s constructed of metal and plastic, and comes in green. This kit includes one main control board wi...Read moreth built in defrost controls. If broken due to electrical surges or normal use, your fridge may experience temperatures that are too warm or too cold, or inconsistent defrost cycles. If this happens, the part should be replaced.
This 40-Watt light bulb is sold individually.
It is specially designed to withstand extreme temperatures, so this bulb is compatible with a variety of appliance types including refrigerators, ranges, microwaves, and dryers. It features a frosted glass bulb with a standard metal socket base, which allows you to easily unscrew the burnt-out light and twist the new bulb into place.
This evaporator fan motor grommet, or condenser fan grommet is built for refrigerators. It provides a cushion between the fan motor and the motor mounting bracket. It is made or round, black plastic and is approximately one inch in diameter. If your grommet is torn or damaged and you are getting noise from the fan motor, you may need to replace it. This is an OEM part sourced directly from the manufacturer.
This OEM water filter works with side-by-side and bottom freezer refrigerators. You will find this filter mounted in a vertical position in the back upper right-hand corner of the refrigerator compartment. If your model does not have an indicator light, remember to use the month and year stickers on the new cartridge to remind yourself to...Read more replace it in another 6 months. Replacement timelines can vary according to your local water conditions. To install the new filter, you will first match the threads with the corresponding threads on the holder. Position the top of the new cartridge up into the holder without pushing it upward. Carefully turn it to the right until it will no longer turn. Make sure you run water through the dispenser right after installation. This clears the system and prevents sputtering. If you have an LCD model, press the Filter Replaced button to reset. If you have a non-LCD model, press and hold the Reset Water Filter button on the dispenser for a few seconds. This filter filters down to 0.5-1 microns. The lower the micron the more toxins are caught and lessened.
This door recess spring or dispenser lever spring in your refrigerator is used to return the ice door to the closed position or the dispenser lever to the home position once released. You will find the spring in the water dispenser assembly, behind the main control panel. If the dispenser lever is malfunctioning or the dispenser ice door is not closing, you may need to replace this door recess spring.
Ask our experts a question about this model and we'll get back to you as soon as possible!
We may have answered a similar question already! Search questions and answers left by others using simple keywords like "fit", "broken", "easy", or "quality" to find questions that match.
Search filter:
Clear Filter
Your search term must have 3 or more characters.
Sort by:
Prev
1
Next
Sorry, we couldn't find any existing answers that matched.Try using some different or simpler keywords, or submit your new question by using the "Ask a Question" button above!
Sharen - For model number DSS26DHWCSS
February 2, 2023
Frig works fine, ice dispenser works great. Just no water will work. What part is needed?
Hello Sharen, Thank you for writing. We suggest checking the Water Lines first to make sure they are not frozen and blocking the water from getting through. If the Lines are clear you can test the Water Valve. Set your multitester to the R X 1 ohms setting to test for continuity. Place each of the multitester's leads on a terminal. Your multitester should display a reading between 200 and 500 ohms. Closely examine your water inlet valve. The exact ohm resistance rating you should test for may be marked on the valve. We hope this information helps!
See how others fixed this model. Time, tools, difficulty, and steps that lead to victory!View More
Search repair tips from other customers using simple keywords like "replace", "fit", "remove", "inspect". DIY doesn't mean you have to do it alone!
Search filter:
Clear Filter
Your search term must have 3 or more characters.
Fridge too warm, evaporator icing up
606 of 738 peoplefound this instruction helpful.
Gerald from San Clemente, CA
Easy
15 - 30 mins
Screw drivers
After replacing the defrost heater, main board and thermistor I still had the same problem. Called a repair guy and he (with the help of GE on the phone) diagnosed that the temperature sensor was bad. So I ordered from partselect and installed it and it fixed the problem. Been good for a couple months (knocking on wood). To install I
... Read morehad to cut the 2 wires to the old sensor, crimp the 2 new wires on and snap the new sensor to the clip on the evaporator. Very easy. Make sure you seal the ends of the wire crimps so moisture doesn't get in and corrode the connection.
The refrigerator made continous "whooing" sounds that increased and decreased in pitch. Sounded like a ghost. Would keep us up at night. Also noticed that the heater was not heating under the evaporator coils.
561 of 652 peoplefound this instruction helpful.
John from Holly Springs, NC
Really Easy
Less than 15 mins
Nutdriver
After checking the stories, the consensus of opinion was to change the mother board. I had a tremendous help from Tom Paone at [email protected]. He also told me to change the motherboard but to make sure that the coils were totally defrosted before starting up the refrigerator after changing the board.
Took off thr
... Read moreee nuts around the board at the back of the unit. Removed the input wires and you have to push in the plastic tabs holding the board in. Then just put the new board in place and push till the tabs click. Re-install the wires and put the cover back on.
Really simple task,
It is now a week since doing this and the unit is working perfectly. No soulds and good nights sleep. The ghost has moved on.
Read less
Was this helpful?
Thank you for voting!
Our Ice Damper was warped, which let warm air into the freezer and caused frost to form. Also, our ice and water dispensers stopped working.
333 of 410 peoplefound this instruction helpful.
ALBERT from RALEIGH, NC
Easy
Less than 15 mins
Nutdriver, Pliers, Screw drivers
Swapping out the ice dispenser damper door was pretty easy- just used a combination of screwdrivers to remove the dispenser assembly, popped the old damper off, put the new damper on. Replacing the control board was only a bit more complicated- unplugged the fridge, removed the control board metal cover (beware the somewhat sharp edges),
... Read more unhooked all the cables from the board, used needle-nose pliers to pinch each plastic spacer/fastener as to not damage them while removing the old board, mounted the new board where the old board was, and plugged in all the cables (they were all different enough from each other that I didn't have any trouble figuring out where they were supposed to connect). I now have my fridge plugged into a surge protector- hopefully that will protect this new board I've installed. Thanks a bunch,PartSelect.



 My Orders