This 18 ml bottle of white appliance touch-up paint is used to cover scratches or marks on your appliance. The white touch-up paint can be used on refrigerators, microwaves, ranges, clothes dryers, an...
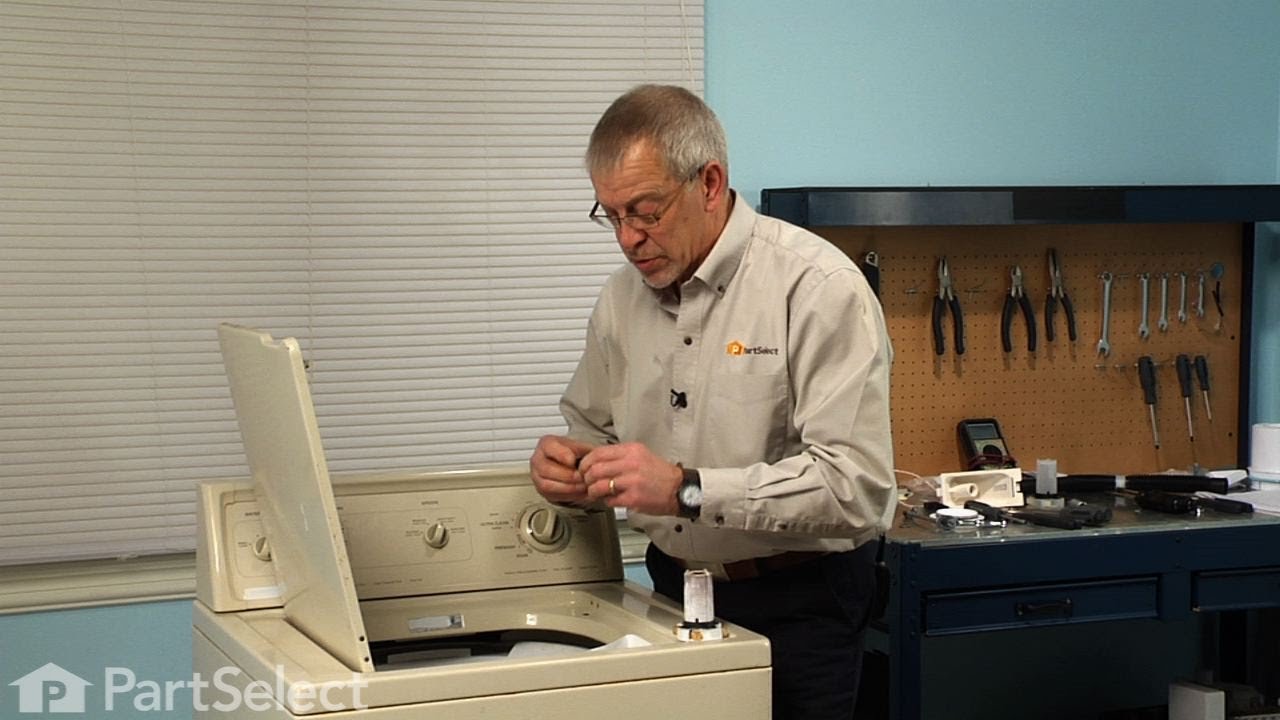
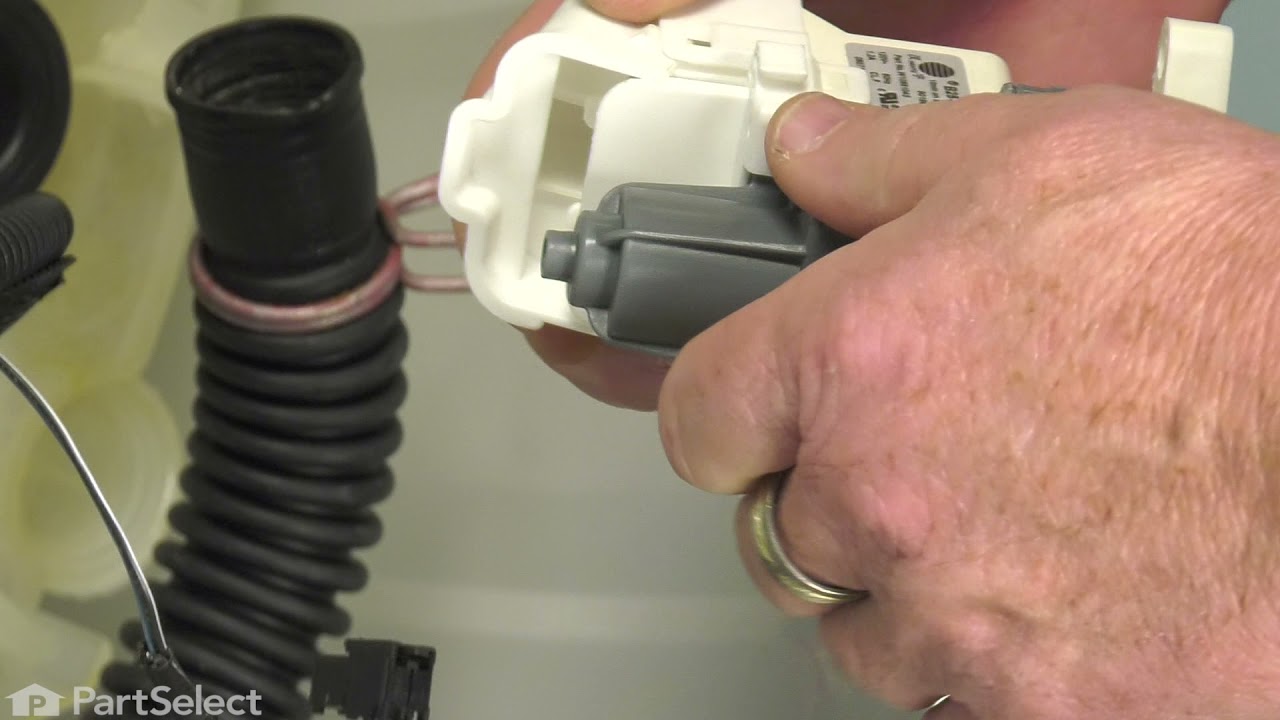
The point of the lid switch is for the tub to stop spinning when the washer lid is opened. It is a safety precaution just in case someone decides to stick their hand inside the washer while the tub is spinning.
If your washer is noisy, spins slowly, or leaves clothes soaking wet, this splutch cam kit might be the fix. It helps your machine switch between washing and spinning by connecting the motor to the ba...
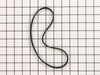
If your washer isn’t spinning or making strange noises, the drive belt might be worn out. This genuine replacement belt connects the motor to the drum, helping it spin and tumble your clothes properly...
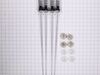
This suspension rod kit includes four rods that stabilize the wash tub, reducing vibrations and movement during cycles. It is compatible with a range of washing machines and helps improve performance ...
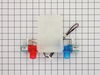
If your washer isn’t filling properly, keeps running water, or has a leak at the back, the water inlet valve might be the problem. This part controls how much hot and cold water enters the machine and...
Having a problem with a funky-smelling washing machine, or one that just doesnt seem to clean your clothes as well as it used to? Say hello to the Affresh Washing Machine Cleaner by Whirlpool. This po...
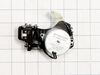
This shift actuator is an essential component in washing machines, responsible for switching the motor between spin and agitate modes while also communicating spin speed to the control board. A malfun...
This part is the replacement lid latch or latch assembly for your top-load washer. The lid latch holds your washer door closed, and allows the washer to run its cycle. If the lid latch is damaged, you...
$56.29
In Stock
Questions And Answers for CAW9244DW1
Ask our experts a question about this model and we'll get back to you as soon as possible!
1 question answered by our experts.
< Prev
1
Next >
Sort by:
Search filter:
Clear Filter
Your search term must have 3 or more characters.
Keep searches simple. Use keywords, e.g. "leaking", "pump", "broken" or "fit".
Sorry, we couldn't find any existing answers that matched.Try using some different or simpler keywords, or submit your new question by using the "Ask a Question" button above!
William
November 24, 2022
I have a 2" diameter drain that connect to a 4" field line. I can run water into drain with water hose and drain will never overflow. When My washer pumps water out the flow is so fast the drain pipe overflows. My question is there any way to set pump to slow down the flow of drain water.
For model number CAW9244DW1
Hello William, thank you for your question. There must be debris somewhere in the hose that is slowing down the water drainage. Clean out the hose from top to end to ensure it is cleared. Or, if this is a new installation, it may be that the 2" diameter drain hose is not large enough to handle the drainage. The speed of drainage is not able to be regulated. We hope this helps.
Was this helpful?
Thank you for voting!
< Prev
1
Next >
✖
Ask a Question
Ask our experts a question on this model and we'll respond as soon as we can.
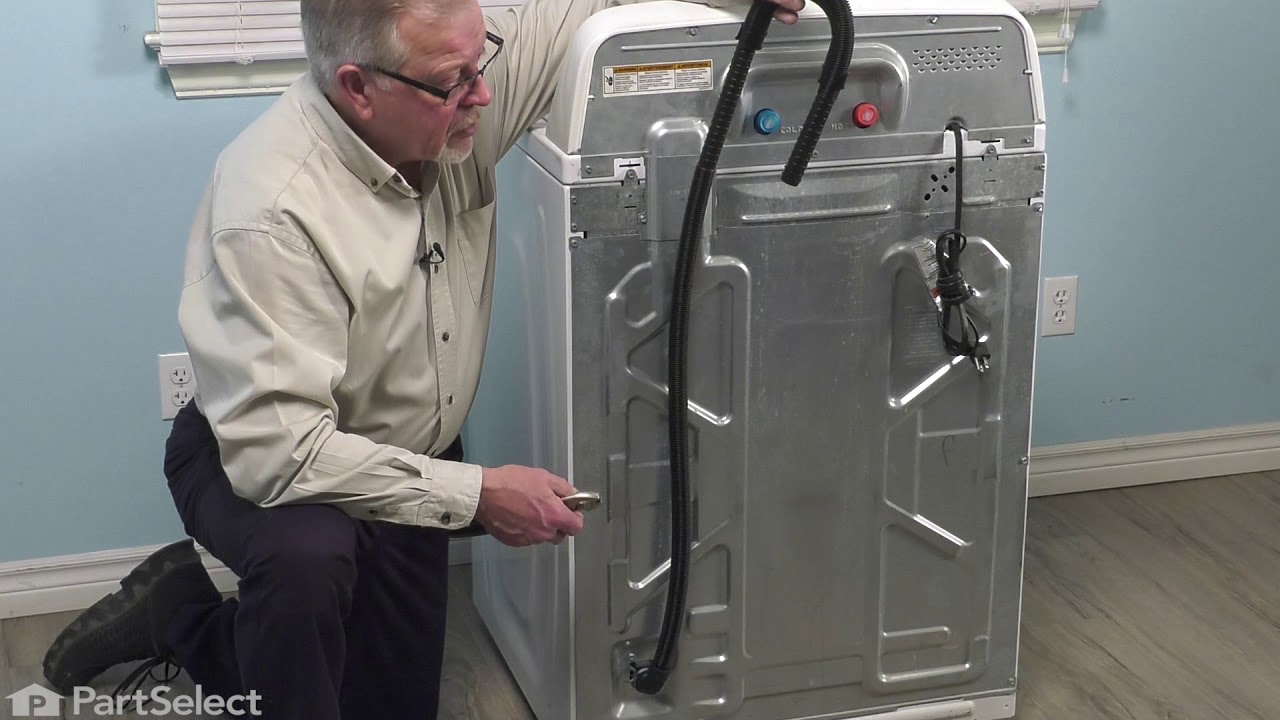
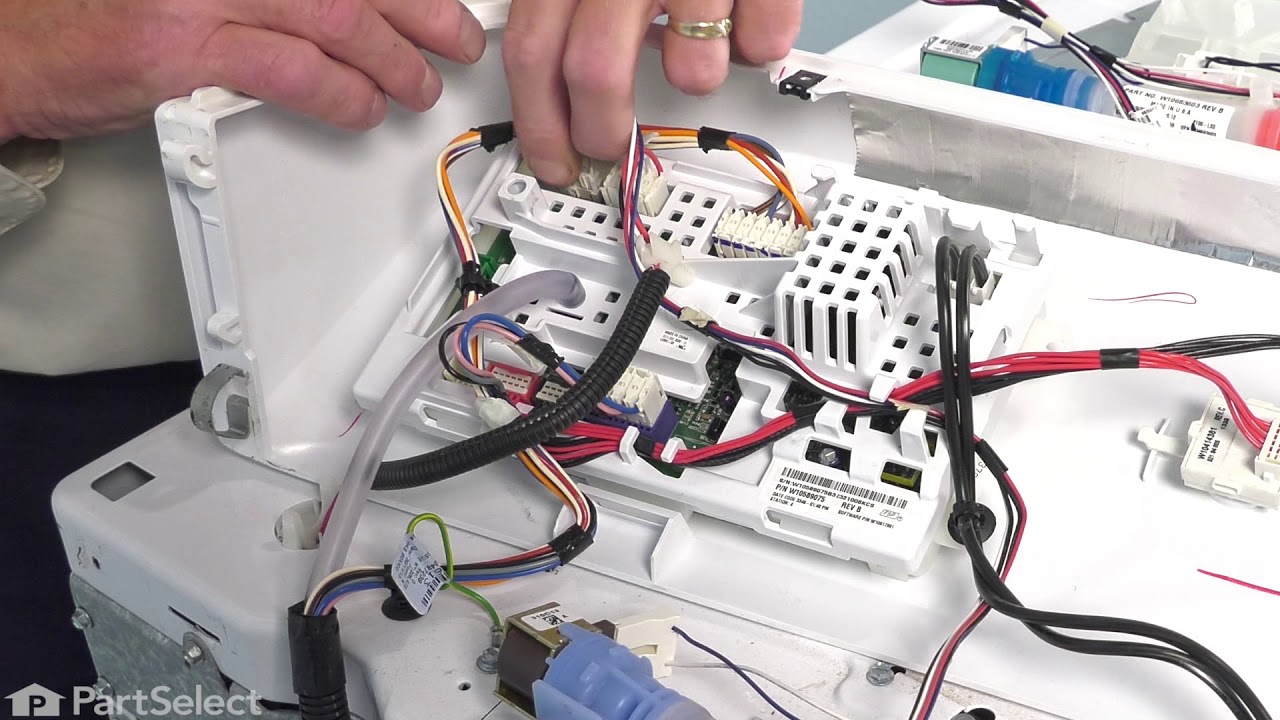
The instructions that came with the part were worthless. Essentially, unplug, put in new part, plug it back in. I spent a considerable amount of time on the internet and finally found a video showing how to open the top. Unlike other models, it is held down by clamps in the back rather than clips in the front. Once finding this information the installation was simple. Remove the clamps and the back of the console, slide the top forward and lift, remove and replace the lock and reassemble. You don't even have to remove the hoses.
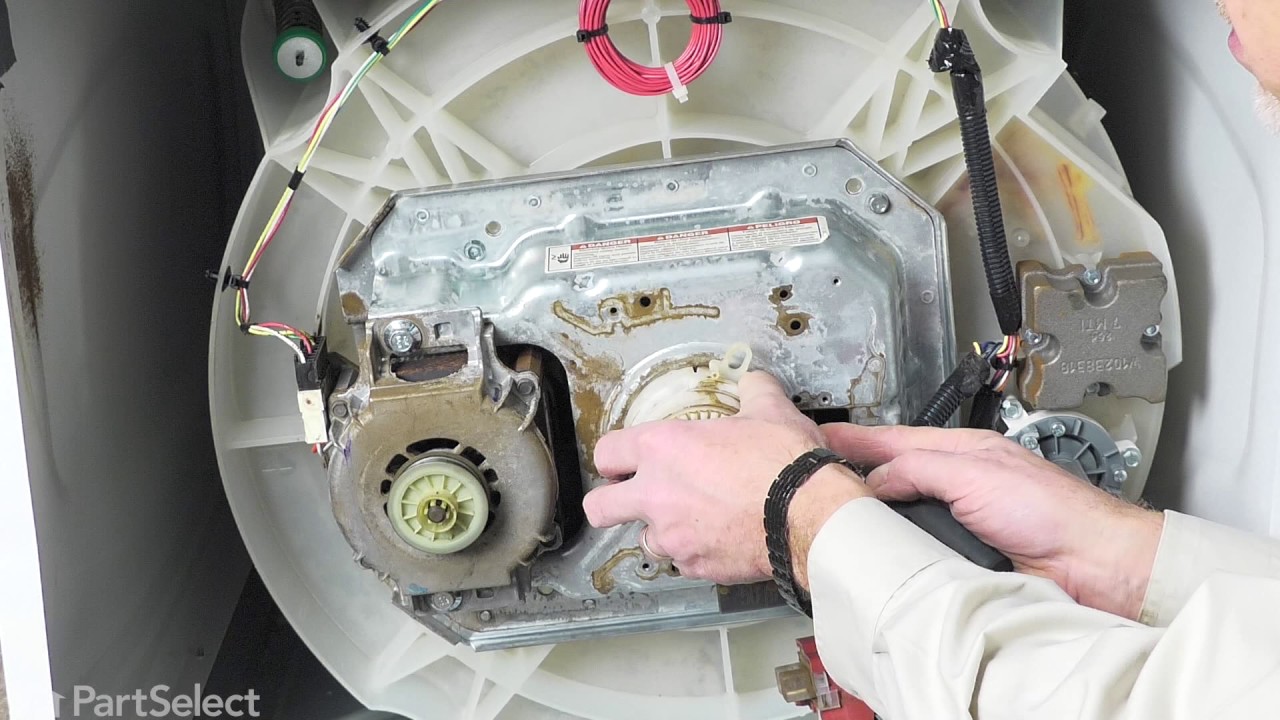
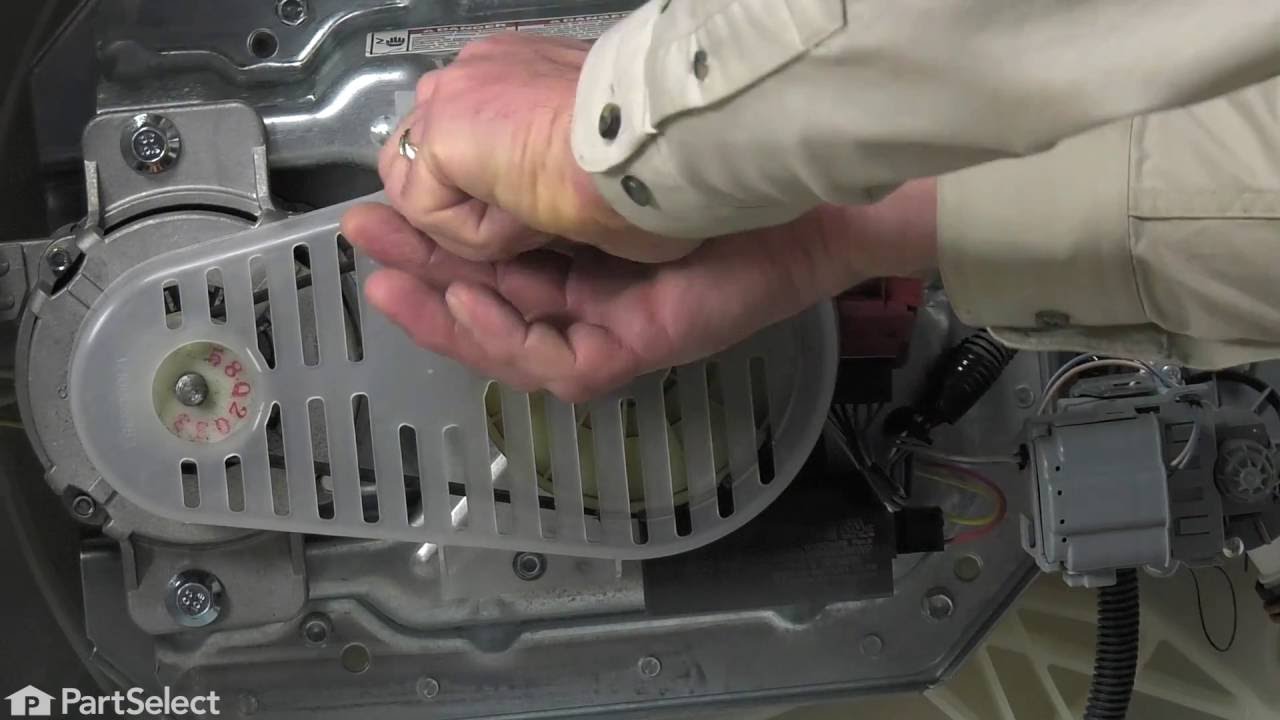
Well, first investigated and found loose nut on drive clutch. First take off the two screws with nut drive then cover off using a screwdriver blade to snap off the cover. Then socket ratchet to take off the nut on drive clutch. take off belt by slowly rotating the drive gear. two screws that hold the electronics to the upper drive clutch and put aside, so you can snap off the cover for drive clutch on upper part with screwdriver and off the parts come and install whole unit back as took it apart. Line up the new upper clutch so that is position as was before. (Using parts diagram helps a lot as www. partsselect.com has for you or Maytag.com.) Then put the electronic part board back on and the gear and nut. Make sure it is tight by several attempts to make sure it's snugged up good and then slowly roll belt back on the pulley and motor drive. Put your cover guard back on with two screws and done.