














11027172600 Kenmore Washer - Overview
Sections of the 11027172600
[Viewing 11 of 11]
Keep searches simple, eg. "belt" or "pump".

Agitator Directional Cogs
PartSelect #: PS388034
Manufacturer #: 80040
These agitator directional cogs are commonly referred to as dog ears. They come four to a package and are usually used with direct drive washing machines.
$6.55
In Stock

Washer Direct Drive Water Pump
PartSelect #: PS11741239
Manufacturer #: WP3363394
This pump is intended for use with washing machines that do not have belts. This drain pump has two ports for water to pass through: a large one, and a smaller one.
$60.45
In Stock

Suspension Spring
PartSelect #: PS11743345
Manufacturer #: WP63907
The suspension spring supports the outer tub and keeps the tub steady during loads that could cause an unbalance. If this part breaks, is worn down or has stretched out and lost its spring, it could c...
$16.15
In Stock

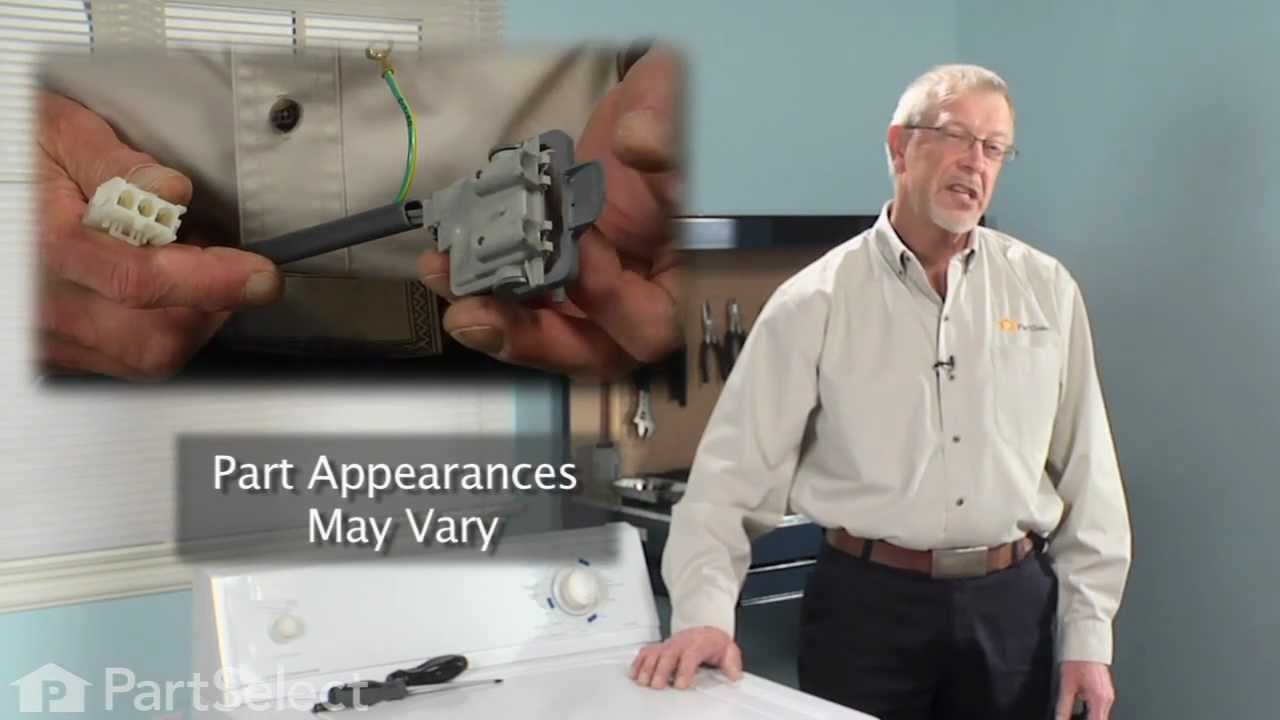
Lid Switch Assembly with Leads
PartSelect #: PS350434
Manufacturer #: 3949247
This switch (Lid Switch Assembly With Leads, Washer Lid Switch, Lid Switch Assembly, Washer Lid Switch) tells the washing machine that the lid is closed, which allows the wash cycle to begin. The lid ...
$60.45
In Stock

Washer Tub Spring
PartSelect #: PS11751118
Manufacturer #: WPW10250667
This part is used to balance the tub during spin cycle. Sold individually.
$12.95
In Stock

Touch-Up Paint - White
PartSelect #: PS385132
Manufacturer #: 72017
This 18 ml bottle of white appliance touch-up paint is used to cover scratches or marks on your appliance. The white touch-up paint can be used on refrigerators, microwaves, ranges, clothes dryers, an...
No Longer Available

Agitator Bolt
PartSelect #: PS11741866
Manufacturer #: WP358237
This kit contains one screw with rubber gasket and threaded sealant. The screw head is 7/16".
$15.56
In Stock

Thrust Spacer
PartSelect #: PS334562
Manufacturer #: 285587
This white thrust spacer is made of plastic and is also commonly referred to as a retainer ring. It is used in the agitator assembly of many direct drive washing machine models. This is the retaining ...
$9.85
In Stock

Washer Drain Hose
PartSelect #: PS11753688
Manufacturer #: WPW10358149
It connects from the pump to the back panel. The clamp is not included.
$49.45
In Stock

Tub Wear Pads - Package of 3
PartSelect #: PS334620
Manufacturer #: 285744
This package of pads contains three tub wear pads.
$21.54
In Stock

Centerpost Gasket
PartSelect #: PS11723081
Manufacturer #: W10814296
This main outer tub seal is a critical component that prevents water from leaking at the bottom of the tub during operation. Measuring approximately 2 inches in diameter, it is constructed from durabl...
$12.01
In Stock

Washer Front Leveling Foot
PartSelect #: PS11747965
Manufacturer #: WPW10001130
Sold Individually.
$9.85
In Stock
Common Symptoms of the 11027172600
[Viewing 19 of 19]Will not agitate
Fixed by
these parts
these parts


Show All
Leaking
Fixed by
these parts
these parts


Show All
Will not drain
Fixed by
these parts
these parts


Show All
Will Not Start
Fixed by
these parts
these parts

Show All
Shaking and Moving
Fixed by
these parts
these parts


Show All
Spins slowly
Fixed by
these parts
these parts

Show All
Spinning Issues
Fixed by
these parts
these parts
Show All
Noisy
Fixed by
these parts
these parts

Show All
Leaks water
Fixed by
these parts
these parts
Show All
Burning smell
Fixed by
these parts
these parts


Show All
Marks left on clothes
Fixed by
these parts
these parts
Show All
Draining Issues
Fixed by
these parts
these parts
Show All
Cycle Not Advancing
Fixed by
these parts
these parts
Show All
Does not dispense fabric softener or detergent
Fixed by
these parts
these parts
Show All
Lid or door won’t close
Fixed by
these parts
these parts

Show All
Not cleaning dishes properly
Fixed by
these parts
these parts
Show All
Not draining
Fixed by
these parts
these parts
Show All
Touchpad does not respond
Fixed by
these parts
these parts
Show All
Noisy and Marks Left on Clothes
Fixed by
these parts
these parts
Show All
Keep searches simple. Use keywords, e.g. "leaking", "pump", "broken" or "fit".
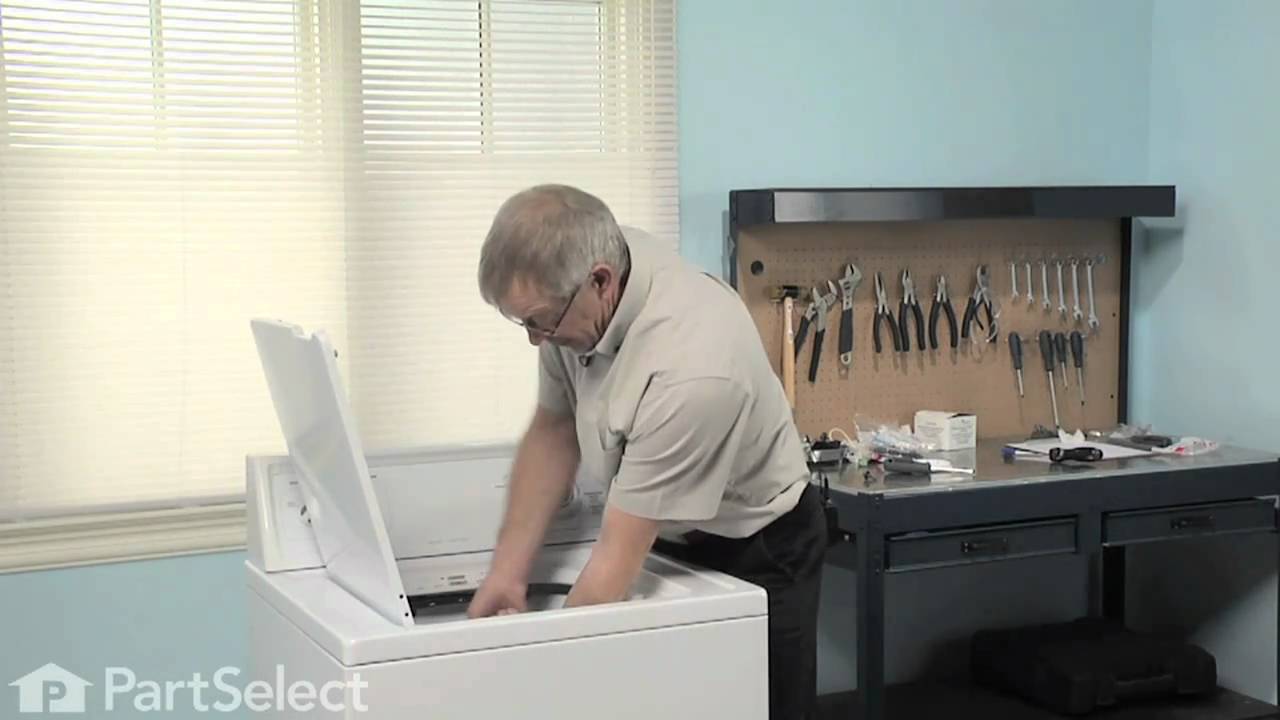
Washer stopped mid cycle
1. Unplug washer.
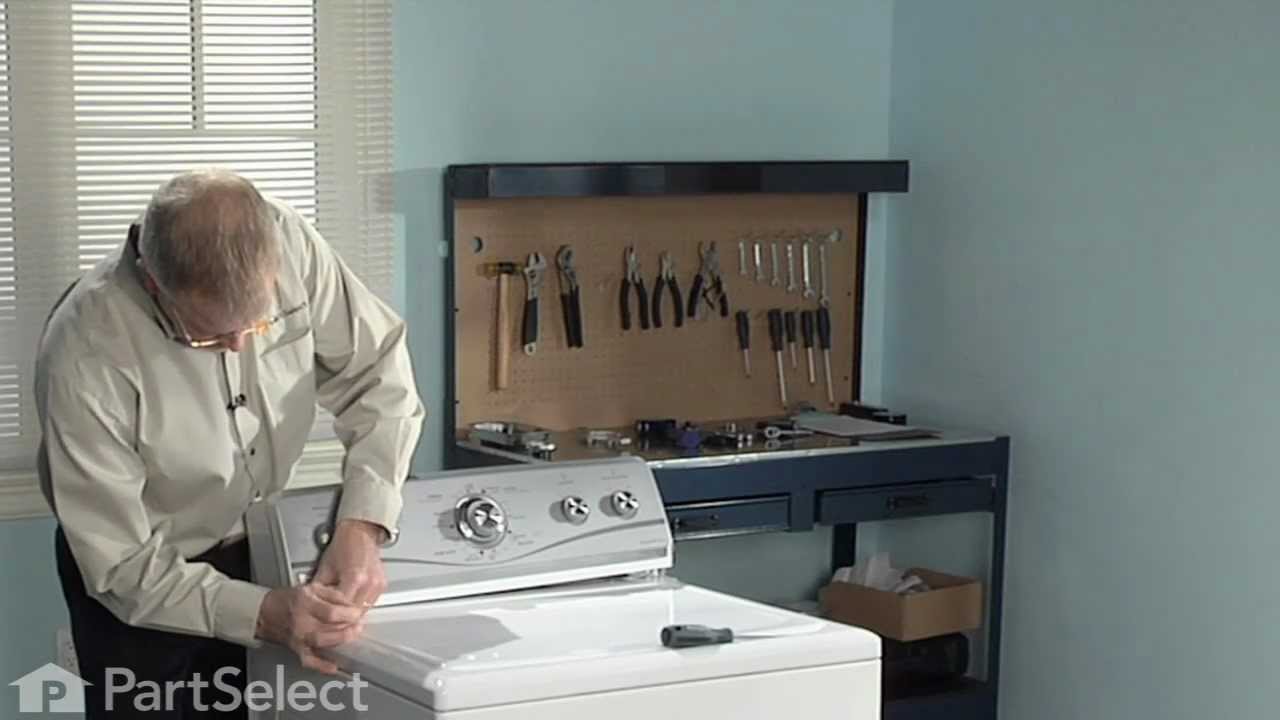
2. Remove screws at control panel end caps.
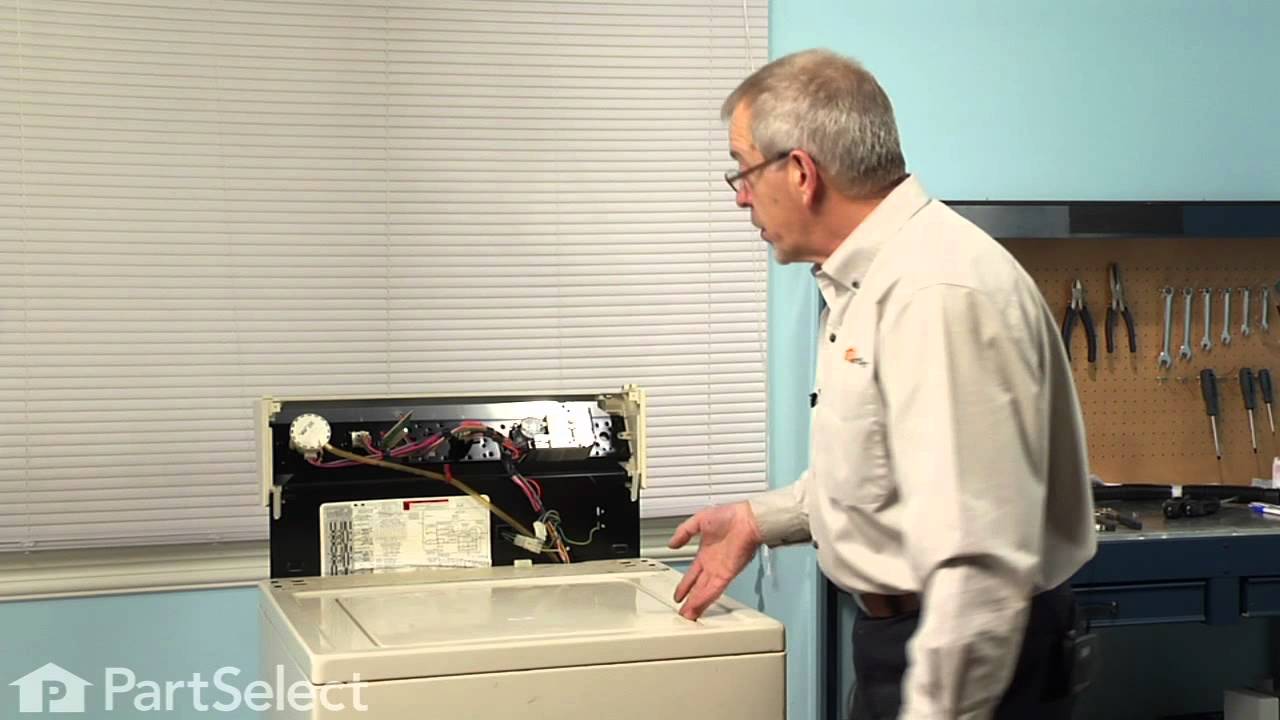
3. Flip control panel back to expose wiring.
4. Detach lid switch wiring harness from control panel.
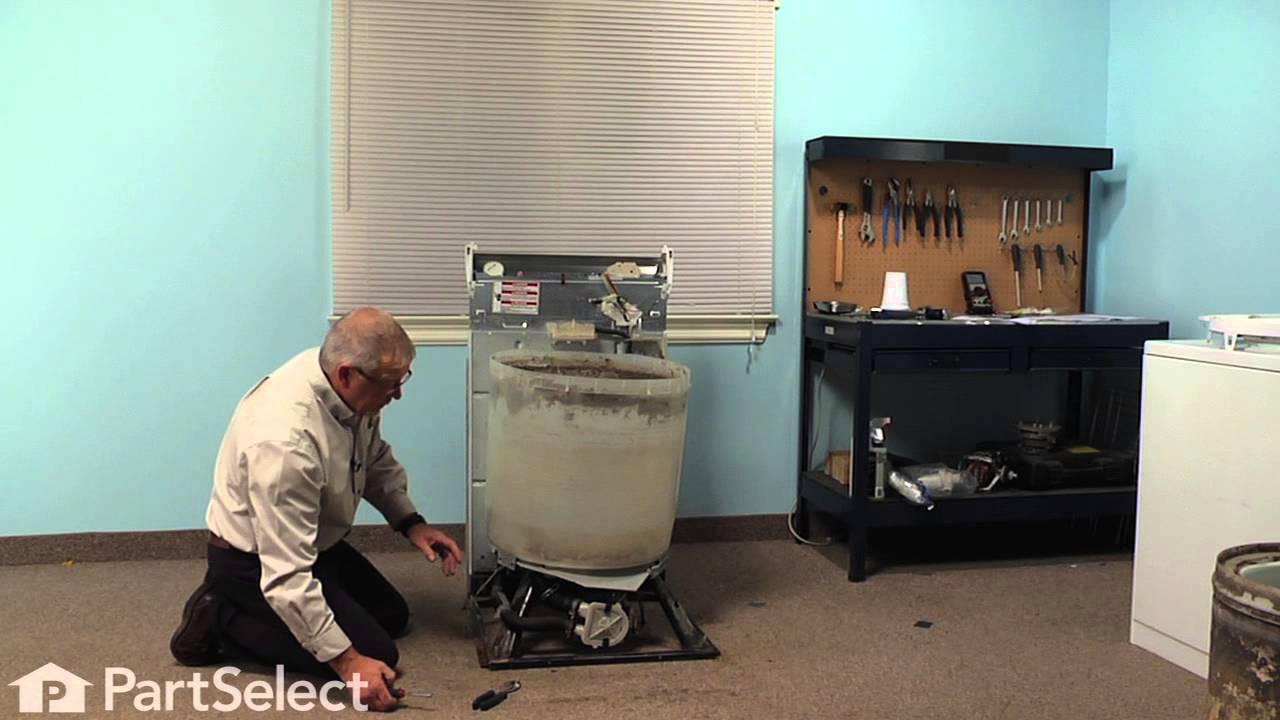
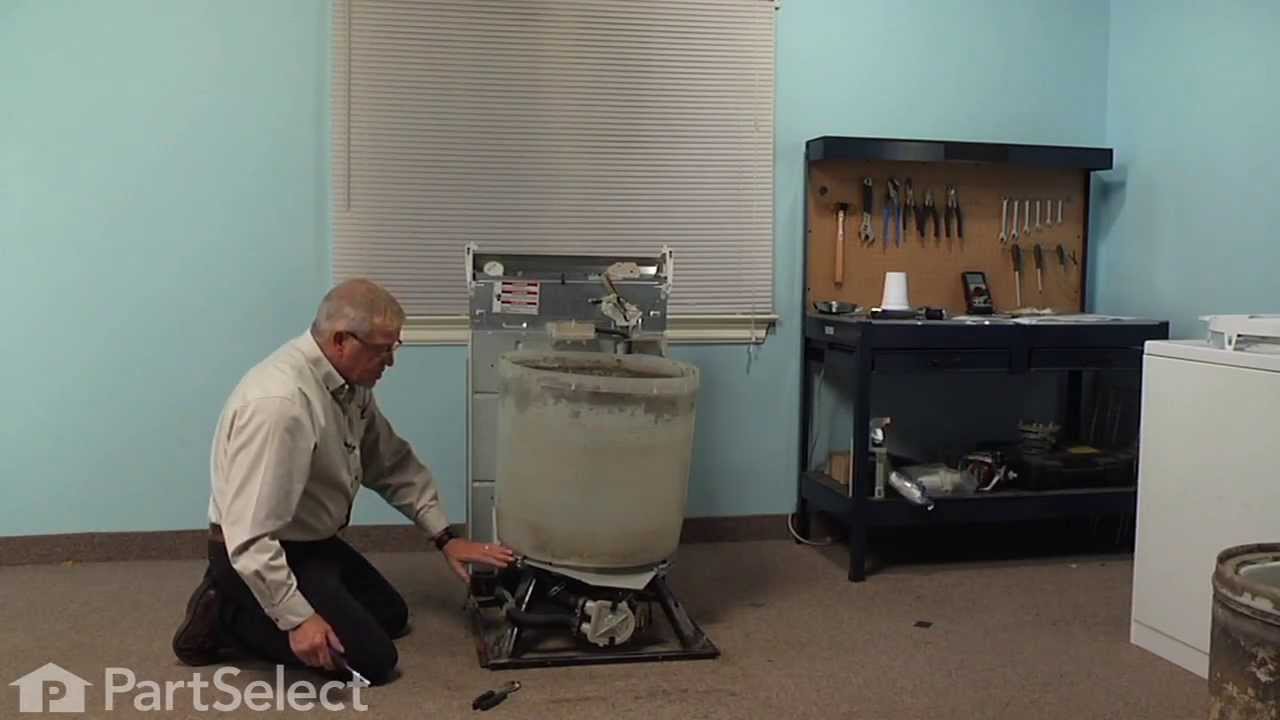
5. Use screwdriver to pry the 2 brass clips holding the back panel of the washer to the front and sides piece.
6. Tilt the front/sides piece over to expose lid switch.
7. Use nutdriver to detach ground wire.
8. Use screwdriver to remove 2 screws holding lid switch in place.
9. Install new lid switch. Make sure wiring harness piece is facing the right direction.
10. Put washer back together in same order it was disassembled. Make sure front/sides piece connects to the clips at the bottom.
2. Remove screws at control panel end caps.
3. Flip control panel back to expose wiring.
4. Detach lid switch wiring harness from control panel.
5. Use screwdriver to pry the 2 brass clips holding the back panel of the washer to the front and sides piece.
6. Tilt the front/sides piece over to expose lid switch.
7. Use nutdriver to detach ground wire.
8. Use screwdriver to remove 2 screws holding lid switch in place.
9. Install new lid switch. Make sure wiring harness piece is facing the right direction.
10. Put washer back together in same order it was disassembled. Make sure front/sides piece connects to the clips at the bottom.
Parts Used:
-
Travis from Pearland, TX
-
Difficulty Level:Easy
-
Total Repair Time:15 - 30 mins
-
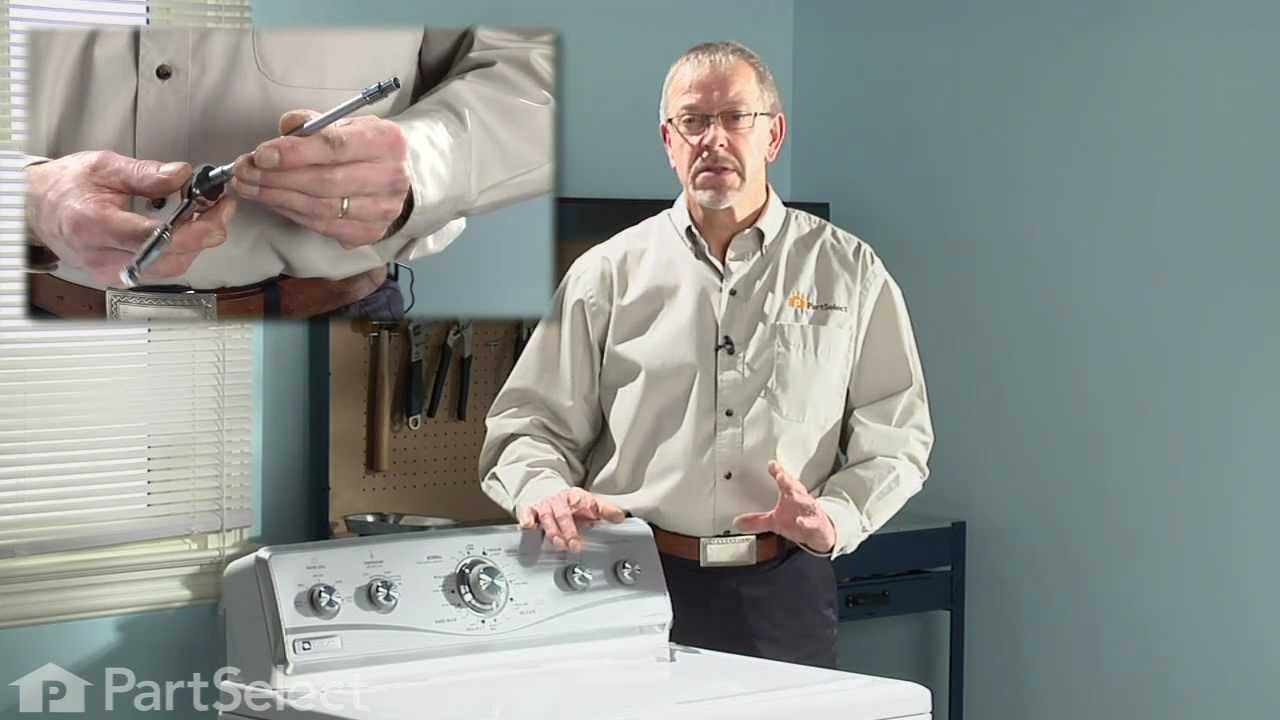
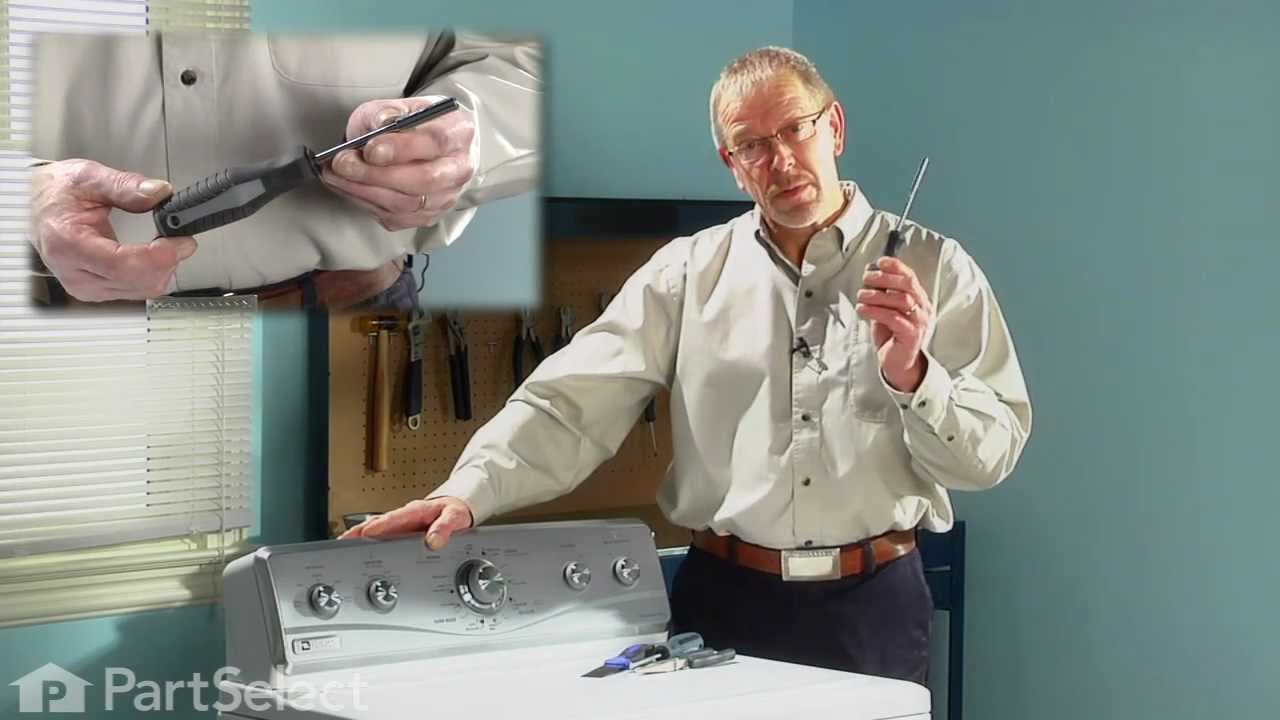
Tools:Nutdriver, Screw drivers
1025 of 1051 people
found this instruction helpful.
Was this instruction helpful to you?
Thank you for voting!
washer wouldn't agitate
First pry off the cap of the agitator. Then using a socket remove the bolt that holds the plastic cup in place. Remove this cup by prying it loose from the two tabs that hold it in place. Once this cup is removed you can get to the broken cogs.
Slip the new cogs into the underside of the cup, and slide the cup back down in the agitator housing using the slots on the side for a guide. (You may want to remove the entire agitator and assemble everything upside down, then flip it all back over to mount, so the cogs don't fall out).
Tighten the bolt, snap the cap back in place on top of the agitator and your'e done. Easy repair.
Slip the new cogs into the underside of the cup, and slide the cup back down in the agitator housing using the slots on the side for a guide. (You may want to remove the entire agitator and assemble everything upside down, then flip it all back over to mount, so the cogs don't fall out).
Tighten the bolt, snap the cap back in place on top of the agitator and your'e done. Easy repair.
Parts Used:
-
mike from Kent, WA
-
Difficulty Level:Easy
-
Total Repair Time:15 - 30 mins
-
Tools:Screw drivers, Socket set
955 of 1057 people
found this instruction helpful.
Was this instruction helpful to you?
Thank you for voting!
Washer not agitating
On top of the agitator is a flat cap that is held in place by the friction of an o-ring, there are no fasteners. I would imagine one could get under the lip with a small screwdriver or butter knife to pop it off but I chose simply using my fingernails so as to not disfigure the cap. Under the cap you will find the head of the only bolt that holds the assembly together it is a 7/16 head and because it is in a 4" deep well your will need a 6" extension for your ratchet. Once the bolt is out the top of the agitator, the assembly with the cogs removes by hand. Set the assembly upside down on the counter, slide the black plastic ring off, pull the cogs out with your fingertips, install the new cogs put a new black ring on and set the assembly back in the agitator. Reinstall bolt. As the bolt is down in a tube, you cannot set it in place with your fingers and it will fall out of the socket. To hold the bolt in the socket during positioning you can either put a gob of Vaseline on the bolt head to hold it in the socket or form a small piece of paper over the bolt head and set it into the socket, the friction of the paper will hold the bolt into the socket. Took me less then 10 minutes, good luck
Parts Used:

-
Craig from Polk City, FL
-
Difficulty Level:Really Easy
-
Total Repair Time:Less than 15 mins
-
Tools:Socket set
646 of 684 people
found this instruction helpful.
Was this instruction helpful to you?
Thank you for voting!