



Brake Spring WP21001910
Official part for Maytag, Norge, Admiral, Magic Chef
A Bit Difficult
1- 2 hours
About This Part
What it does. Why it matters. Everything you need to know for an easy fix.
You May Also Need
Because heroes deserve fewer surprise re-installs.
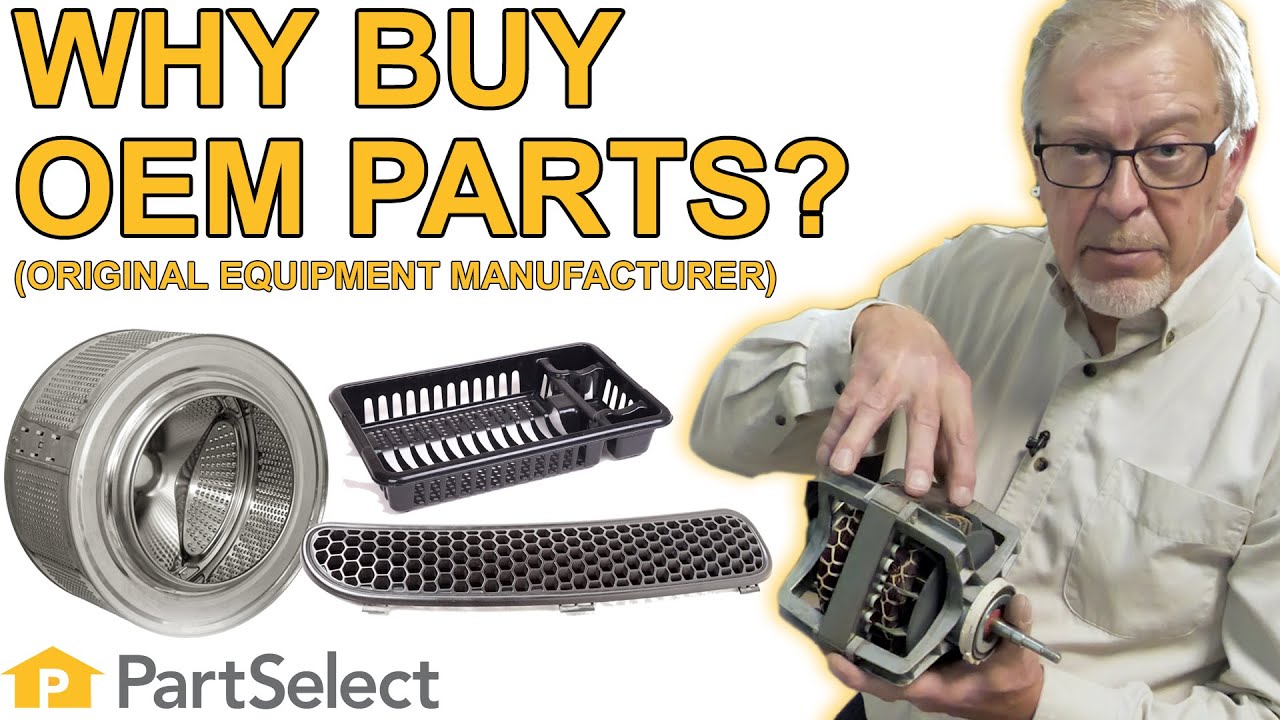
Genuine OEM: Original Parts. Lasting Repairs.
Because quality isn't optional.
OEM stands for Original Equipment Manufacturer. This means that the company who made your appliance is also supplying the replacement part.
| Features | OEM | Generic |
|---|---|---|
| Genuine brand name | ||
| Guaranteed to fit | ||
| Superior Quality | ||
| Long term value |
Part Videos
Watch our pros, then fix it yourself.
Replacing your Maytag Washer Brake Spring
About this fix
Common problems and models this part fixes.
A Bit Difficult
1- 2 hours
Rated by verified customers
- Washer
Repair Tips
See how others fixed this model. Time, tools, difficulty, and steps that lead to victory!
A Bit Difficult
1- 2 hours
Average repair rating from 3 real customers like you
- Prev
- 1
- Next
Search repair tips from other customers using simple keywords like "replace", "fit", "remove", "inspect". DIY doesn't mean you have to do it alone!
-
michael from mountain home, ID
-
A Bit Difficult
- 1- 2 hours
-
Nutdriver, Pliers, Screw drivers
Because the machine was old, I took the time to clean it while I was repairing the brake; thus the extra time, but it was well wo ... Read more rth it.
1) go to hard ware store and buy 6 2" #10-24 screws; they will be required to remove and install the brake spring
2) you have to gut the machine (which is very easy) - working from the top
* unplug, drain water, and move it to an open space where you can easily work on the floor around it, and where you have a wall to support the top panel of the machine
* tilt washer on the side and remove the drive belt and pulley from the main shaft in the center
* lower washer and then remove the front panel and raise the top panel to rest against the wall/backstop
* remove the auger
* remove the white top from the tub
* remove any hoses connected to the plastic tub
* now you can push the tub to each side so that you can remove the springs - it is easier if you have someone push the tub down from the top while you remove the springs with pliers.
* remove the tub
3) remove the brake - working from the top with the tub turned upside down
* remove every other screw from the break and replace with the 2" screws
* remove the remaining original screws and replace with the 2" screws
* now, release the screws so that the brake spring is release with equal pressure on each screw
* remove the brake guts and replace with new
4) now would be a good time to clean out any mold and mildew
5) re-assembly is opposite of removal*
* the springs are more difficult to attach, and I would recommend starting with the spring in the back, by the drain and working towards the front of the washer
My machine is now quieter than when we first bought it! The brake was the problem!
03-2011
-
Daniel from Sugar Land, TX
-
Difficult
- More than 2 hours
-
Pliers, Screw drivers, Socket set, Wrench (Adjustable)
-
paul from newbern, TN
-
A Bit Difficult
- 1- 2 hours
-
Nutdriver, Screw drivers, Socket set
- Prev
- 1
- Next
DIY Questions and Expert Answers
Be the first to ask our experts a question about this part!
This Part Also Fits These Models
Don't see your model? Use our Fit Checker to confirm!
Check Part FitIn Stock
Item is in stock and is estimated to be delivered in 2-3 business days via Standard Shipping.
On Order
Item is not in stock and usually ships 3-5 business days from the time you place your order.
Special Order
Item is not in stock and usually ships 10-15 business days from the time you place your order.
NLA - No Longer Available
This item is no longer being made by the manufacturer, and cannot be added to your shopping cart.