



Multi Rib Belt 131553800
Official part for Frigidaire
Easy
1- 2 hours
About This Part
What it does. Why it matters. Everything you need to know for an easy fix.
Multi Rib Belt Specifications
You May Also Need
Because heroes deserve fewer surprise re-installs.
Genuine OEM: Original Parts. Lasting Repairs.
Because quality isn't optional.
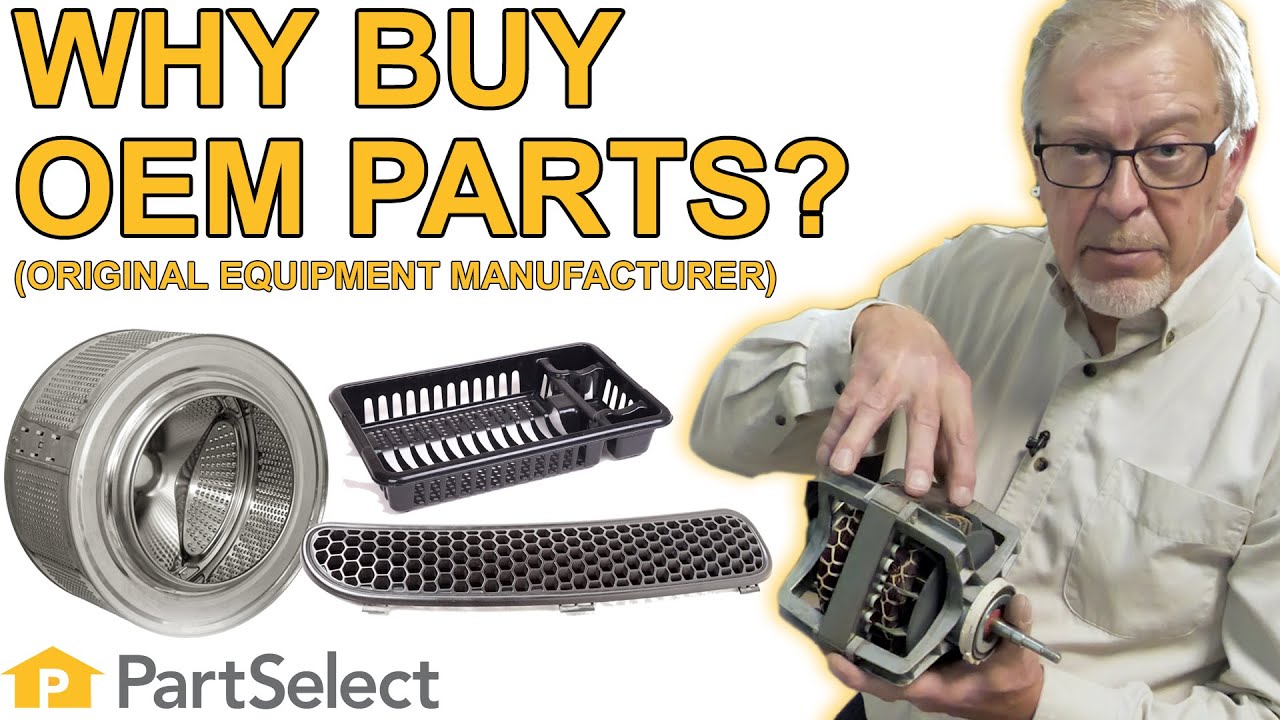
OEM stands for Original Equipment Manufacturer. This means that the company who made your appliance is also supplying the replacement part.
| Features | OEM | Generic |
|---|---|---|
| Genuine brand name | ||
| Guaranteed to fit | ||
| Superior Quality | ||
| Long term value |
About this fix
Common problems and models this part fixes.
Easy
1- 2 hours
Rated by verified customers
- Noisy
- Dryer
Repair Tips
See how others fixed this model. Time, tools, difficulty, and steps that lead to victory!
Easy
1- 2 hours
Average repair rating from 20 real customers like you
- Prev
- 1
- 2
- Next
Search repair tips from other customers using simple keywords like "replace", "fit", "remove", "inspect". DIY doesn't mean you have to do it alone!
-
Matthew from Portland, OR
-
Really Easy
- 1- 2 hours
-
Pliers, Screw drivers
What I would add to previous reviews is to pull the front off or the little acces grill in back and check to see what kind of belt you have. According to the model ... Read more #, It showed the wide flat belt when in fact I had the smaller ribbed belt. Glad I checked before ordering.
A few things that will make your life easier is once you have the old upper guide/seal removed, put down the glue then use several med sized plastic spring clamps to hold the seal in place while the glue sets up, (@ 20-30 min). Their cheap and you should have some around anyway. When replacing the seals I would go ahead and replace the belt too. It's cheap and if your machine is 5+ yrs old probably is worn. Total cost of repair was about $60 (inc shipping). Took about 1 hr 20 min total time. Most of that time was scrapping the old seal material/ glue off the dryer front. Actual disassembly and repair maybe 1/2 hour. Other little tip is the clips for the lid of dryer is to use a flat screwdriver and gently push straight in until it's compressed enough to release the lid, it will pop up when pushed in far enough. That one took me a while to figure out.
Thanks to Part Select for such a helpful site. My dryer is like new again.
-
Dan from Portland, OR
-
A Bit Difficult
- 1- 2 hours
-
Pliers, Screw drivers, Wrench set
Replacing the belt was a very good idea, though as mentioned, the drum support bearing is just a "nice to do" - not necessary, but it gives you the excuse to re-grease it (I used a thick Molly impregnated grease from my motorcycle).
The only other advice I can give is that I used a chisel to scrape off the old felt - it came off in very little time, and I didn't end up needing to really do much cleaning of the drum afterwards. Just use a sharp one you're not afraid to dull - it'll be metal-on-metal contact.
Using the spring-loaded clamps that you can get from the hardware store was also a huge help - it just needs to keep the upper glide stuck to the drum for the 30 minutes for the glue to cure - I used 6, but 3 would work. The bottom seal doesn't need them as the felt will tend to stick to the drum when the glue is applied.
You might not NEED to replace the lower seal, but I'd suggest it. It's cheap enough, and this job is "not fun" enough that it only adds a few minutes total - good insurance that you do a complete job.
You also might want to get some aluminum foil tape and re-tape your blower extension tube - mine was ripped off from moving from house to house over the years.
-
Randy from Anchorage, AK
-
Easy
- 1- 2 hours
-
Pliers, Screw drivers, Socket set
We have a Frigidaire Gallery dryer, gas, front loading stacked in top of the washer, which is about 7 or 8 years old.
Turns out the top felt seal was worn out, allowing clothes to get stuck between the drum and the do ... Read more or where they would get the rust colored stain. I think this is fairly common. It also "ate" zippers and buttons.
To open the dryer up, you first want to remove 2 screws at the bottom of the front panel, they are covered by little plastic plugs that pop out. Then, go in through the top- you have to pop the lid up from the front, and it swings up like a car hood. from the top, you have to reach in and undo a screw on each side that holds the front panel to the body of the dryer. it's a little tricky.
After those four screws are removed, the front panel is held on by pressure clips, which you can reach from the top and squeeze so they 'let go'. As those release, the front panel will fall outward with the bottom still attached- there are two small pieces of metal at the bottom that the panel sits in. So you lift the panel straight up to get them off those two guides/hooks, and it's clear.
Next you'll want to shop vac the heck out the whole dryer interior. Mine was caked with dust and lint.
Step two is felt replacement. you have to use some muscle to tear the felt off the top of the door opening, which will leave a bunch of ripped felt stuck to the high temp glue. That's where the wire brush and the Goof Off come in. That stuff worked like a charm to remove every last bit of felt and glue.
Once clean and dry, apply the glue that came with the felt guide, set the felt in place (with those plastic pieces facing up), and hold in place for a while. I used plastic clamps to hold the felt in place for about 30 minutes while the glue set.
For good measure, i also replaced the dryer belt and the plastic ball joint that the drum sits in, but i don't think that was necessary. The belt may be a good idea, and to do that you remove the belt by popping it off the little plastic wheel under the drum first, then it'll be loose and you can remove the belt and put a new one on. (This is also a little tricky, take it one step at a time.)
Then put it back together in reverse order and you'll be done with those rust marks.
(Mine is working great)
-
Timothy from Berkeley, CA
-
A Bit Difficult
- More than 2 hours
-
Screw drivers, Wrench (Adjustable)
Finally got sick of stained clothes when a new set of cotton sheets got stained. My wife was on the verge of ordering me to get a new dryer. After spending 15 minutes googling (why didn't I do this years before..!?!) I found the answer. Old, worn drum glide!
< ... Read more br />As with other reader stories, since I gotta take the thing apart to replace the drum glide, may as well replace the belt and lower glide.
Read the other stories for detailed repair instructions. It's not hard, but it does take an extra pair of hands and some patience.
Take the opportunity to clean the inside of the dryer (you have a lot of lint in there, I expect) to prevent fire. Also clean your duct vents. Better safe than sorry!
-
Bob from Moraga, CA
-
Easy
- More than 2 hours
-
Pliers, Screw drivers, Socket set, Wrench set
2nd, I checked the partselect web site for the parts that would be required to replace the motor, belt, and felt d ... Read more rum guides since I was also getting brown rust stains on the clothes.
3rd, after recognizing that all the parts were in stock and with helpful instructions, I proceeded to take the dryer apart.
4th, unplugged the dryer, removed the cover by removing the 2 back fasteners with a phillips head screwdriver and popped the front of the top off. Remember to slide the grounding wire from the top to the base, found in the back of the top.
5th, I removed the front panel and disconnected the wiring harness. Make sure to mark the connectors so you place it back together the right direction. I placed the front panel aside and also realized the felt strips were brown and the silicon guides were broken, meaning I needed to replace them.
6th, I removed the small back panel near the floor and removed the belt from the idler pulleys and the motor drive shaft.
7th, lifted the drum out of the dryer cabinet by lightly lifting up on the back of the drum to pop the bearing out of the casing on the back of the cabinet. I checked the belt and realized it was cracked and needed replacement. I also noted that the bearing was worn, dirty and needed replacement.
8th, I then popped the spring off the back of the motor bearing, removed the fan housing by removing the 2 screws fastened to the bottom of the cabinet and disconnected the wiring hariness from the motor and the fan. Again, mark the connectors so you know which is up or front when you replace it.
9th, I removed the nut from the fan, recognized the "remove arrow" and used a socket wrench to remove the fan from the motor shaft by turning counter clockwise. there is also a bushing between the fan housing and the motor, and once you get the housing out, you press in the snaps on the side and slide the piece out to release the motor.
10th, I then ordered the parts and cleaned the entire inside of the cabinet, the idler pully's, the exhaust vent, etc. so it was as good as new!
11th, I installed the motor in the fan housing and placed it back in its mount, connected the electric and the front panel and plugged in the cord and turned on the power to make sure the motor worked! Voila!
12th, unplugged the electrical and then proceeded to re-install the fan housing, the drum bearing, pulled off the felt guides, used acetone to remove the adhesive and then added the new, placed the belt on the drum and lifted it back into the cabinet, fed the belt through the pulleys via the back door, connected the power and watched it run!
13th, put the front panel and top back on, connected the vent to the outside and it was all done.
-
Kirby Grey from Beaufort, NC
-
A Bit Difficult
- More than 2 hours
-
Pliers, Screw drivers, Socket set
-
RICHARD from MERCHANTVILLE, NJ
-
Really Easy
- More than 2 hours
-
Nutdriver, Screw drivers, Socket set
Unscrew old plate and large ball from back of dryer by unscrewing 3 screws from inside drum. Replace with new part and screws. Put drum back in place and insert in bracket in back. Remove clamps from felt and guides. Put belt in place. Replace palstic guide on front frame one screw. Close front panel. From back access panel thread belt thru pullies. Close back panel. Close top. Allow glue to dry. 2 hours. Test. OK. Allow glue to set 24 hours. Dryer works great. OH yeah. Plug back in..
-
Dustin from Wonder Lake, IL
-
Easy
- 1- 2 hours
-
Screw drivers
I used the manuel that came with the felt guide to glue the new one on. If you do not replace the lower felt guide as well, make sure you mash the top felt down so that it's level with the lower felt. after I got my unit assembled the top guide pulled away because I didn't do this.
Installing the belt is timely, but easy. remove the drum then lay the belt around the visible line that the old one creates. Use this site's diagram to affix it to the pull and motor and that's that. Rotate the drum with your hand to even the belt out all around the drum to prevent it wobbling. I did this installation by myself, but it would have been much much easier if I had a set of hands on the other side of the unit.
Parts all fit together by either sheet screws or clips. Just keep track of which screw goes where. some are different sizes.
-
Greg from Nibley, UT
-
Easy
- 15 - 30 mins
-
Screw drivers
When installing the new bearing, make sure that you pack it with the supplied grease. Be liberal with it. I used what left over grease I had to grease the idler puller bearings too.
The dryer works perfectly now, with no squealing. My experience with Parts Select was flawless. The shipping was extremely fast, and the parts were as described. Finding the correct parts was a snap thanks to their easy to use web site.
-
Barbara from Rohnert Park, CA
-
A Bit Difficult
- More than 2 hours
-
Nutdriver, Screw drivers, Wrench (Adjustable)
- Prev
- 1
- 2
- Next
DIY Questions and Expert Answers
Be the first to ask our experts a question about this part!
This Part Also Fits These Models
Don't see your model? Use our Fit Checker to confirm!
Check Part FitIn Stock
Item is in stock and is estimated to be delivered in 2-3 business days via Standard Shipping.
On Order
Item is not in stock and usually ships 3-5 business days from the time you place your order.
Special Order
Item is not in stock and usually ships 10-15 business days from the time you place your order.
NLA - No Longer Available
This item is no longer being made by the manufacturer, and cannot be added to your shopping cart.