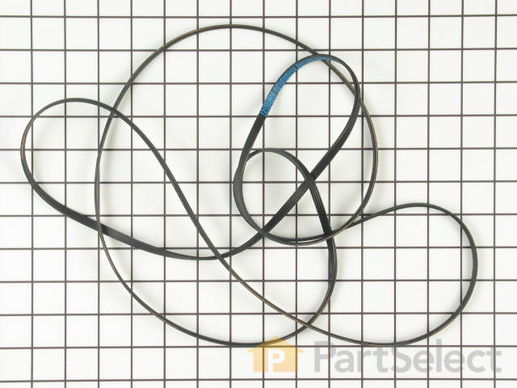
1st, I checked to see if there was anything stopping the drum from turning, that would cause the motor to seize and burn. When that was not the issue, it was evident that the motor was burned out and needed replacement.
2nd, I checked the partselect web site for the parts that would be required to replace the motor, belt, and felt drum guides since I was also getting brown rust stains on the clothes.
3rd, after recognizing that all the parts were in stock and with helpful instructions, I proceeded to take the dryer apart.
4th, unplugged the dryer, removed the cover by removing the 2 back fasteners with a phillips head screwdriver and popped the front of the top off. Remember to slide the grounding wire from the top to the base, found in the back of the top.
5th, I removed the front panel and disconnected the wiring harness. Make sure to mark the connectors so you place it back together the right direction. I placed the front panel aside and also realized the felt strips were brown and the silicon guides were broken, meaning I needed to replace them.
6th, I removed the small back panel near the floor and removed the belt from the idler pulleys and the motor drive shaft.
7th, lifted the drum out of the dryer cabinet by lightly lifting up on the back of the drum to pop the bearing out of the casing on the back of the cabinet. I checked the belt and realized it was cracked and needed replacement. I also noted that the bearing was worn, dirty and needed replacement.
8th, I then popped the spring off the back of the motor bearing, removed the fan housing by removing the 2 screws fastened to the bottom of the cabinet and disconnected the wiring hariness from the motor and the fan. Again, mark the connectors so you know which is up or front when you replace it.
9th, I removed the nut from the fan, recognized the "remove arrow" and used a socket wrench to remove the fan from the motor shaft by turning counter clockwise. there is also a bushing between the fan housing and the motor, and once you get the housing out, you press in the snaps on the side and slide the piece out to release the motor.
10th, I then ordered the parts and cleaned the entire inside of the cabinet, the idler pully's, the exhaust vent, etc. so it was as good as new!
11th, I installed the motor in the fan housing and placed it back in its mount, connected the electric and the front panel and plugged in the cord and turned on the power to make sure the motor worked! Voila!
12th, unplugged the electrical and then proceeded to re-install the fan housing, the drum bearing, pulled off the felt guides, used acetone to remove the adhesive and then added the new, placed the belt on the drum and lifted it back into the cabinet, fed the belt through the pulleys via the back door, connected the power and watched it run!
13th, put the front panel and top back on, connected the vent to the outside and it was all done.
Other Parts Used:


