


 My Orders


F32C747CT0 Frigidaire Dryer - Overview
Diagrams for F32C747CT0
See every part. Know exactly what you need.


Enter a part description. DIY Heroes keep it simple, eg. "belt" or "pump".
Search filter:
Clear Filter
Your search term must have 3 or more characters.

$56.24
In Stock
Rear Drum Bearing Kit
Part #5303281153
This kit includes one bearing, one ball shaft, one ball bearing, one ball bearing retainer, a small tube of high temperature lubricant, and installation screws.

$69.78
On Order
Upper Drum Glide
Part #5303937139
The upper drum felt glide kit helps to support the front drum as it rotates smoothly and quietly while operating. This kit includes three glides with the adhesive. If your dryer won’t tumble or is noisy, the glide could be worn down causing you to hear a metal on metal noise and will need to be replaced. The drum glide is a genuine OEM pa...Read morert and sold individually. Please remember to disconnect the power to the dryer before starting your repair.
Read less

$75.04
In Stock

$12.91
In Stock
Drum Support Bearing
Part #131825900
The rear drum support bearing helps support the dryer drum to rotate quietly and smoothly during operation. The bearing attaches on the inside of the rear panel of the dryer cabinet. If your dryer is making unusual noises or will not tumble, you may need to replace this part. It is white in color and made of plastic. This is a genuine OE...Read moreM part. Please remember to disconnect the power to your dryer before starting the repair.
Read less

$36.73
In Stock

$44.95
In Stock
M Series Ignition Coil Kit
Part #5303931775
This ignition coil kit contains two coils. One is a two wire secondary coil, while the other is a three wire booster coil. Both should be used together in your gas clothes dryer.

$28.95
In Stock
Dryer Drum Bearing Bracket
Part #131724301
This drum bearing bracket is for dryers. Drum bearing bracket holds and supports the drum bearing

$21.95
In Stock

$55.98
Special Order

$29.95
In Stock

$49.42
In Stock
Multi Rib Belt
Part #131553800
This multi ribbed belt is flat and but has four ridges. This belt is 87-3/8 inches in length and is 1/4 inch wide.

No Longer Available
Lint Screen and Frame
Part #131390300
This filter collects lint as it passes through the dryer vent.
Common Symptoms of the F32C747CT0
How this model fails, and the parts that fix it.
Noisy
Fixed by
these parts
these parts


Show All
Door won’t close
Fixed by
these parts
these parts


Show All
Marks left on clothes
Fixed by
these parts
these parts
Show All
Drum Not Spinning
Fixed by
these parts
these parts
Show All
Not Heating
Fixed by
these parts
these parts

Show All
Door Pops Open
Fixed by
these parts
these parts
Show All
Won’t Start
Fixed by
these parts
these parts
Show All
Will Not Start
Fixed by
these parts
these parts

Show All
Watch our pros, then fix it yourself.
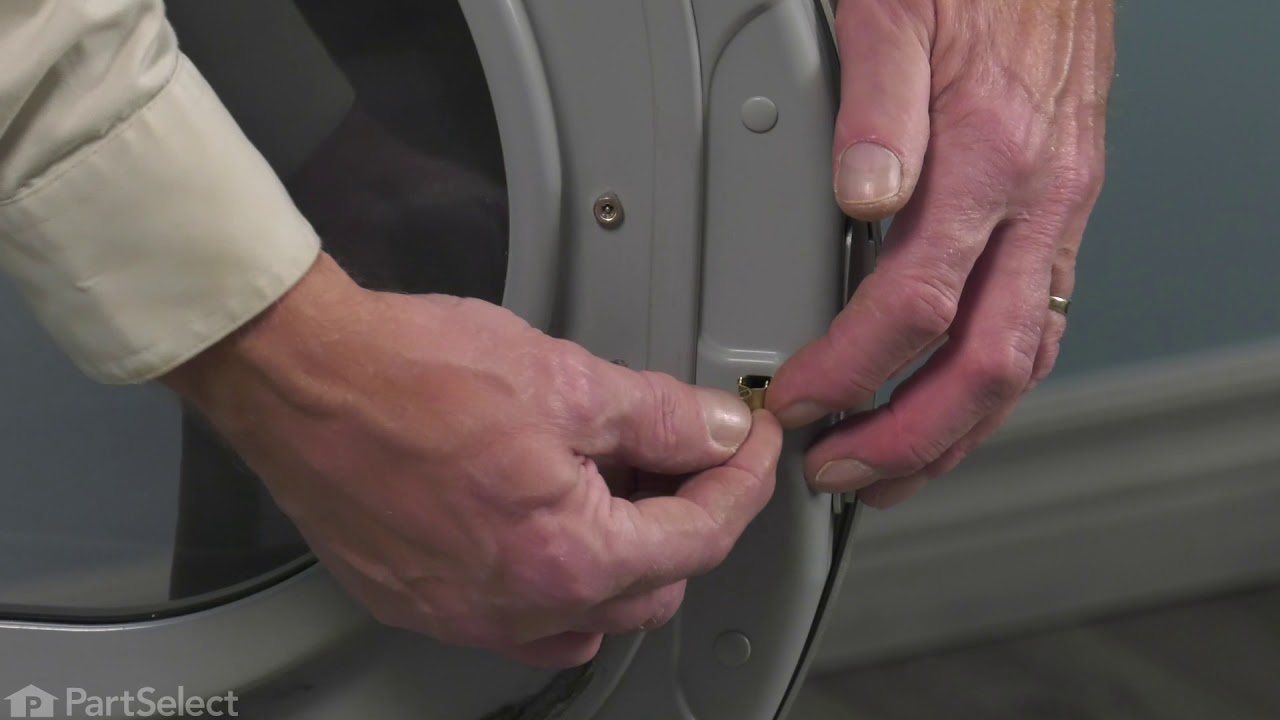
See how others fixed this model. Time, tools, difficulty, and steps that lead to victory!
View More
Search repair tips from other customers using simple keywords like "replace", "fit", "remove", "inspect". DIY doesn't mean you have to do it alone!
Search filter:
Clear Filter
Your search term must have 3 or more characters.
Clothes getting scorch marks, drum noise
561 of 570 people
found this instruction helpful.
First and foremost, I read the repair reviews here at parts source and found that a) Other people had the same symptoms, b)following their repair tips made it super easy.
What I would add to previous reviews is to pull the front off or the little acces grill in back and check to see what kind of belt you have. According to the model ... Read more #, It showed the wide flat belt when in fact I had the smaller ribbed belt. Glad I checked before ordering.
A few things that will make your life easier is once you have the old upper guide/seal removed, put down the glue then use several med sized plastic spring clamps to hold the seal in place while the glue sets up, (@ 20-30 min). Their cheap and you should have some around anyway. When replacing the seals I would go ahead and replace the belt too. It's cheap and if your machine is 5+ yrs old probably is worn. Total cost of repair was about $60 (inc shipping). Took about 1 hr 20 min total time. Most of that time was scrapping the old seal material/ glue off the dryer front. Actual disassembly and repair maybe 1/2 hour. Other little tip is the clips for the lid of dryer is to use a flat screwdriver and gently push straight in until it's compressed enough to release the lid, it will pop up when pushed in far enough. That one took me a while to figure out.
Thanks to Part Select for such a helpful site. My dryer is like new again.
What I would add to previous reviews is to pull the front off or the little acces grill in back and check to see what kind of belt you have. According to the model ... Read more #, It showed the wide flat belt when in fact I had the smaller ribbed belt. Glad I checked before ordering.
A few things that will make your life easier is once you have the old upper guide/seal removed, put down the glue then use several med sized plastic spring clamps to hold the seal in place while the glue sets up, (@ 20-30 min). Their cheap and you should have some around anyway. When replacing the seals I would go ahead and replace the belt too. It's cheap and if your machine is 5+ yrs old probably is worn. Total cost of repair was about $60 (inc shipping). Took about 1 hr 20 min total time. Most of that time was scrapping the old seal material/ glue off the dryer front. Actual disassembly and repair maybe 1/2 hour. Other little tip is the clips for the lid of dryer is to use a flat screwdriver and gently push straight in until it's compressed enough to release the lid, it will pop up when pushed in far enough. That one took me a while to figure out.
Thanks to Part Select for such a helpful site. My dryer is like new again.
Read less
Other Parts Used:


Was this helpful?
Thank you for voting!