




Retaining Ring WP23748
Official part for Amana, Speed Queen, Maytag, Whirlpool
Easy
1- 2 hours
About This Part
What it does. Why it matters. Everything you need to know for an easy fix.
Retaining Ring Specifications
You May Also Need
Because heroes deserve fewer surprise re-installs.
Genuine OEM: Original Parts. Lasting Repairs.
Because quality isn't optional.
OEM stands for Original Equipment Manufacturer. This means that the company who made your appliance is also supplying the replacement part.
| Features | OEM | Generic |
|---|---|---|
| Genuine brand name | ||
| Guaranteed to fit | ||
| Superior Quality | ||
| Long term value |
Part Videos
Watch our pros, then fix it yourself.
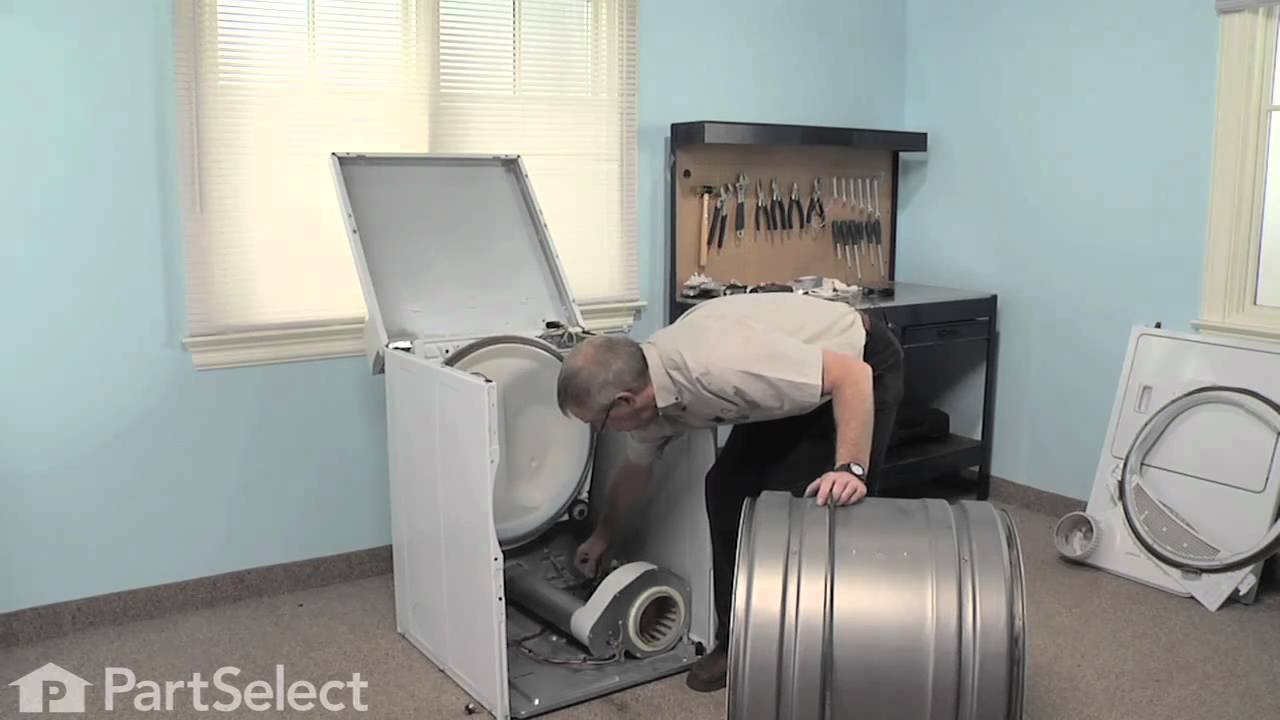
Replacing your Amana Dryer Retaining Ring
About this fix
Common problems and models this part fixes.
Easy
1- 2 hours
Rated by verified customers
- Noisy
- Will not agitate
- Burning smell
- Dryer
- Washer
- Washer Dryer Combo
Repair Tips
See how others fixed this model. Time, tools, difficulty, and steps that lead to victory!
Easy
1- 2 hours
Average repair rating from 35 real customers like you
- Prev
- 1
- 2
- 3
- Next
Search repair tips from other customers using simple keywords like "replace", "fit", "remove", "inspect". DIY doesn't mean you have to do it alone!
-
David from Underwood, IA
-
Really Easy
- 15 - 30 mins
-
Socket set
-
Bryan from Everett, WA
-
A Bit Difficult
- 30 - 60 mins
-
Nutdriver, Pliers, Screw drivers, Socket set, Wrench set
The illustratations on the web site made ordering the correct part easy and the part fit perfectly so this repair job could have been accomplshed by anyone with very basic mechanical understanding.
Thank you
-
JOHN from CORPUS CHRISTI, TX
-
A Bit Difficult
- 1- 2 hours
-
Nutdriver, Pliers, Screw drivers, Socket set, Wrench (Adjustable), Wrench set
-
Dan from Newfield, NY
-
A Bit Difficult
- 1- 2 hours
-
Nutdriver, Screw drivers, Socket set, Wrench set
Removed the screws holding the front to the sides. Noted the wiring (three wires go to the front door switch). Removed the wires from the switch (they are quick connects, so no t ... Read more ools necessary). Removed the front. Pull the drum out.
Disconnected the spring from the idler pulley lever. Removed the bolt and nut holding the idler pulley lever assembly to the bottom. (The old pulley had basically frozen in place which caused the belt to break). Put the new washers, wheel assembly and retaining ring on the new idler pulley lever. Bolted it back in place. Connected the spring. Put the new belt around the drum and slid the drum into place. Put the belt around the motor pulley and past the idler wheel (make sure it is on the correct side so this takes up the tension). Put the bottom screws back in. Connected the wires back up to the front. Put the front in place. (Make sure that the drum is properly seated in back so the front goes on and the drum will turn). Put the front screws back on.
-
James from North Kingstown, RI
-
Easy
- 1- 2 hours
-
Pliers, Socket set, Wrench set
-
David from Raytown, MO
-
Difficult
- More than 2 hours
-
Nutdriver, Pliers, Socket set
I then worked the belt off the aggitator pully and removed the hoses from the pump. I then used a 1/2 in soclet on long extension th remove the ... Read more four bolts that hold the motor and pump assembly. I then worked the assembly out of the cabinate and using a long #20 torx bit I removed the pumfrom the housing. I removed the belt, then I removed the housing off the motor and replaced the Idler bracket with the idler pully. I then re-assembled it in the reverse of taking it apart. Works great with the new idler and belt.
David Hilton
-
Jim from Frisco, TX
-
Easy
- 30 - 60 mins
-
Wrench set
-
Jim from Swanton, OH
-
Easy
- 1- 2 hours
-
Nutdriver, Pliers, Screw drivers, Socket set
... Read more r />To replace the Idler Pulley Wheel:
1. Take off the lower and upper front panels to access the motor assembly.
2. Remove motor by loosening four bolts.
3. Remove spring that applies tension to the idler pulley.
4. Remove the electrical connector by squeezing the plastic tab on top.
5. Remove hoses by gripping clamps with pliers (put down rags first to catch water)
6. Unhook belt from tub pulley
7. Remove 1 cabinet spring to make it easier to remove motor
8. Remove motor.
9. Remove allen screws holding the pump to the motor
10. Remove the pump and belt (take note of the location of the belt before removing).
11. Remove retaining ring to replace Idler Pulley Wheel (this was probably the trickiest part; I used a very tiny needle nose pliers and straight screwdriver).
12. Replace the washers on either side of the Idler Pulley Wheel as well as the retaining ring.
13. Replace belt.
14. Reassemble in reverse order.
15. Be thankful for the money you saved on a service call.
-
Remy from Santa Maria, CA
-
Really Easy
- 30 - 60 mins
-
Nutdriver, Pliers, Screw drivers, Socket set
2-removed lower panel-(2)-8mm screws
3-removed intake from fan-(3)-8mm screws
4-removed dryer's front panel-w/door assembly-(2)-8mm screws. (note there is a door switch you will need to disconnect the wires and remember which terminals they go to.
5-remove the front drum support-(4)-8mm screws
** ... Read more *** at this point the drum is exposed *****
6-reached under the drum pulled the tensioner to relieve tension on belt, then dismounted the belt from only the tensioner and motor shaft; leave the belt on the drum!
7-pull drum toward you and forward about 3-to-4 inches, this exposes the drum rollers.
8-use a screwdriver and pry-off the retaining clip on the end of the roller's shaft and remove the roller.
9-remove the roller support-(2)-8mm screws
10- reinstall new roller support
11- apply a light coat of disc-brake hi-temp wheel bearing grease to the roller support shaft, very light!
12-install a new wavy thrust washer, new roller(note they will say "front" on the side that should face you. Don't mount it backwards!
13-install the outer thrust washer and the new retaining clip; use a flashlight for this part!
14-repeat for the other drum roller.
**** while you have it apart use a vacuum to remove lint from every where you see it; it is a fire hazard!
**** if you think you need a drive belt now is the best time to change it *****
15- re-assemble the dryer in the reverse order, don't forget to re-install the drive belt and be careful not to pinch the door switch wires.
16-re-plug the drier and test
-
Berry from Mt Sidney, VA
-
A Bit Difficult
- 30 - 60 mins
-
Nutdriver, Screw drivers, Socket set
Works good and hopefully lasts a long time!
- Prev
- 1
- 2
- 3
- Next
DIY Questions and Expert Answers
Be the first to ask our experts a question about this part!
This Part Also Fits These Models
Don't see your model? Use our Fit Checker to confirm!
Check Part FitIn Stock
Item is in stock and is estimated to be delivered in 2-3 business days via Standard Shipping.
On Order
Item is not in stock and usually ships 3-5 business days from the time you place your order.
Special Order
Item is not in stock and usually ships 10-15 business days from the time you place your order.
NLA - No Longer Available
This item is no longer being made by the manufacturer, and cannot be added to your shopping cart.