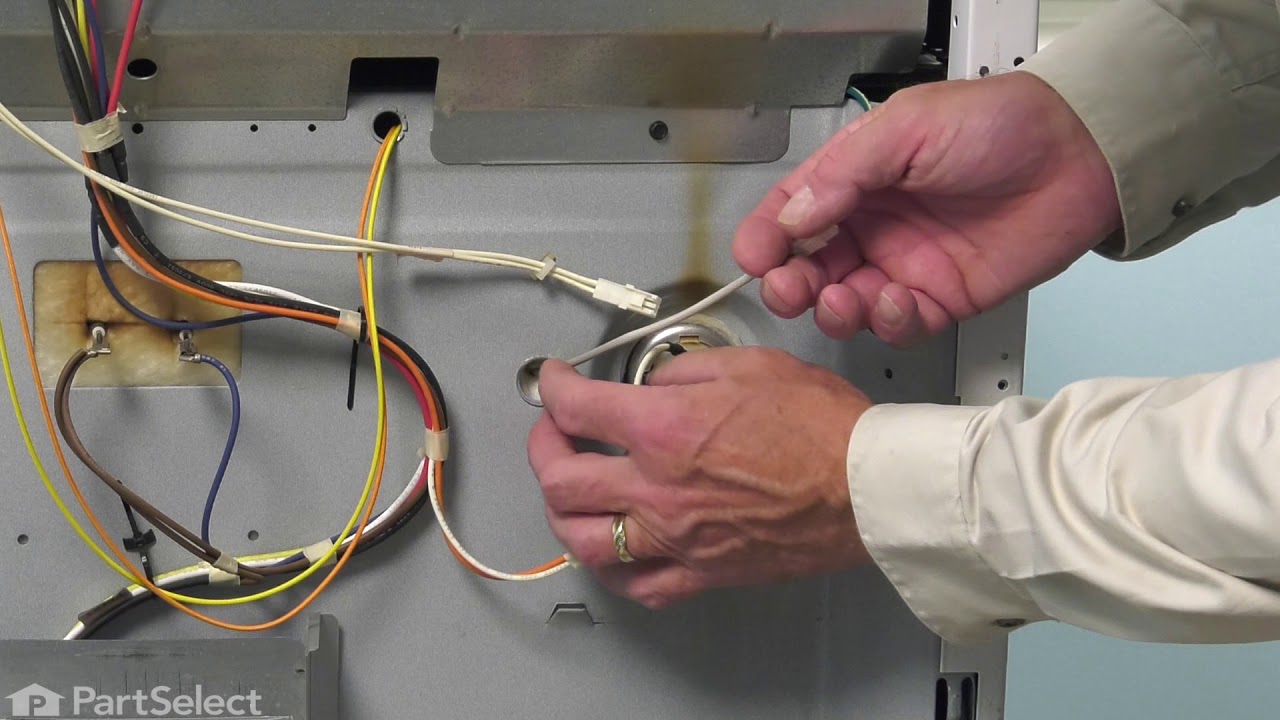
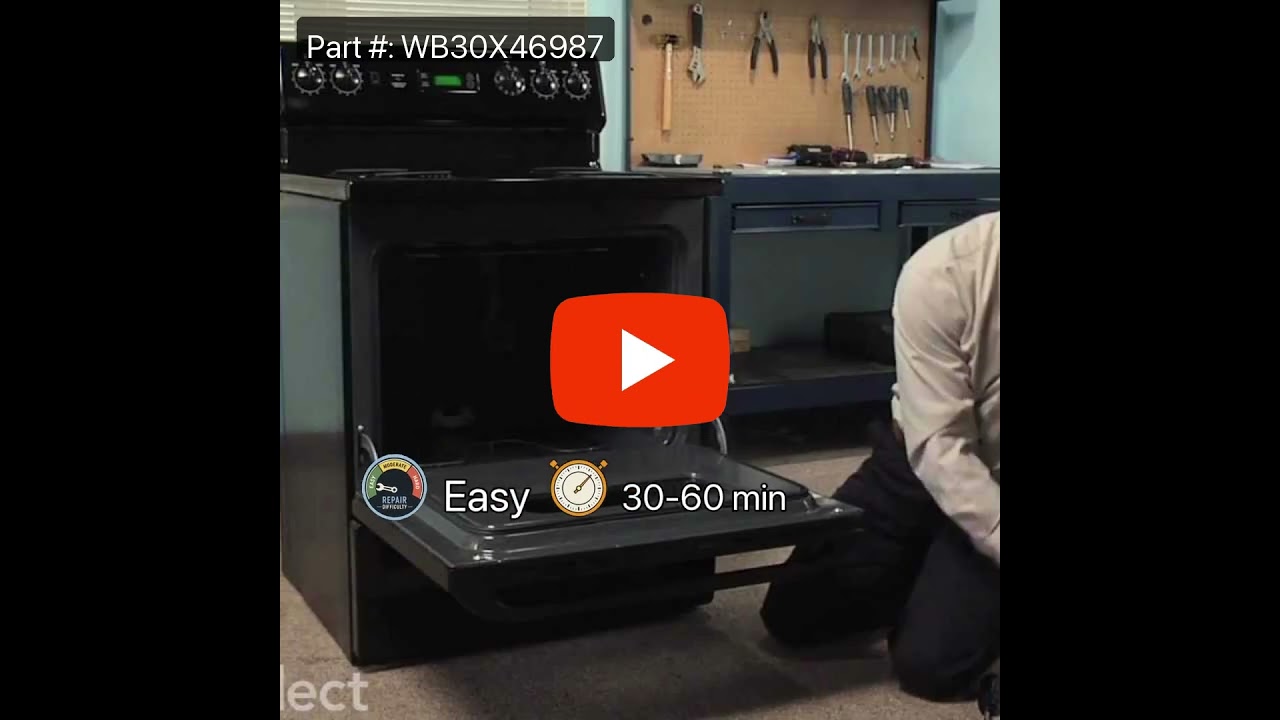
The bake element is located on the bottom of the oven. If your oven will not heat properly it may be due to a faulty or damaged baking element. If you can see that the element has been separated or blistered, you should replace the part immediately. If there is no visible damage, turn the oven on and check to see if the element heats even...Read morely. If the element is not heating evenly, or if it is not heating at all, it will need to be replaced. This element is 19 inches wide x 19 inches long, and has male spade push on terminals.
This surface burner head is for ranges.
Surface burner head distributes the gas through holes or slots to create an even flame across the cooking area.
Shut off the gas supply and unplug the range before installing this part. Wear work gloves to protect your hands.
This is a replacement burner cap for your gas range or cooktop. The burner cap is found on the burner head, and prevents debris from getting into the head when it is not in use. The cap is black in color and is sold individually. It is a little more than 4 inches in diameter. To replace the burner cap, simply remove the damaged cap, and r...Read moreeplace it with the new one. No tools are required for this repair. This is an OEM part from the manufacturer.
This burner cap is for your gas range, and acts as a cover for the burner head. It is black in color and just over 3 inches in diameter. If your old burner cap is damaged or missing, this is the part that will replace it. This is an OEM part sourced directly from the manufacturer and is sold individually.
This knob accepts a D-shaped shaft. Sold individually.
NOTE: The manufacturer has updated this knob. It may be smaller than the original but will function the same.
This is a replacement vision burner or surface burner head for your gas range. It is silver in color and approximately 4.5 inches in diameter. This burner is sold individually. The burner head distributes gas to create an even flame across the cooking area. If you notice that your food is not cooking evenly, or you are not getting an even...Read morely distributed flame, you may need to replace the burner. The burner is located beneath the burner cap, below the grate. To remove the burner, simply remove the grate and the burner cap, then lift the burner head out. Replace it with the new burner, and reinstall the cap and grate. This is an OEM part sourced directly from the manufacturer.
If your oven isn’t getting hot enough when you broil, this replacement broil element could be the fix. It’s the part that heats from the top of the oven to give food that crispy finish. Easy to install—just make sure it fits your model and turn off the power before starting.
This is a burner cap for your gas range. The cap is black in color and about 3 inches in diameter. The cap acts as a cover for the burner head. If your old burner cap is damaged or missing, this is the part that will replace it. This is a quality OEM part sourced directly from the manufacturer. This cap is sold individually.
The rubber bumper sits between the burner and the range itself to ensure the burners do not scrape the stove top. This OEM replacement bumper is sourced directly from the manufacturer, and is sold individually.
Ask our experts a question about this model and we'll get back to you as soon as possible!
We may have answered a similar question already! Search questions and answers left by others using simple keywords like "fit", "broken", "easy", or "quality" to find questions that match.
Search filter:
Clear Filter
Your search term must have 3 or more characters.
Sort by:
Prev
1
Next
Sorry, we couldn't find any existing answers that matched.Try using some different or simpler keywords, or submit your new question by using the "Ask a Question" button above!
Victoria - For model number C2S985SET5SS
April 27, 2023
The Lower oven that is located in the drawer, does not work, I turn the knob and hear a lil click , but the light does not go on and no heat, its like there is no power getting to it. Is there possibly a reset switch or a fuse?
Hi Victoria, thank you for reaching out. Based on the description that you have provided, we would recommend checking the control board, part number PS8754523, as it is the most likely cause of this issue. If it is faulty, you may need to replace it. We hope this solves your problem!
Burners on rangetop uneven and intermittent. Would like to replace with new burners but not sure where the problem is. It seems to be uneven gas distribution. They light but much of the flame goes to one side of burner or another and some make "popping" sound.
Unit is 13 years old and I suspect heat damage to burner assembly ?????
Hello Eric, thank you for contacting us. Uneven flame to one side is usually due to a warped or damaged burner cap. A surface burner cap needs to be seated flat on the burner base for the flame to be evenly distributed. If a burner cap is tilted, the flames will be higher on one side than the other. If the cap is damaged or warped, the flame can be higher on one side than the other. Lift the cap off, place it on a flat surface, and check if it rocks. If it rocks, it's confirmed warped and needs replacement. The popping sound is a symptom of partially clogged burner ports in the burner head. You need to clean the burner head slots with a toothbrush, a piece of wire, or a pin using a thin object to floss the debris out of those burner holes. Glad to be of assistance!
See how others fixed this model. Time, tools, difficulty, and steps that lead to victory!View More
Search repair tips from other customers using simple keywords like "replace", "fit", "remove", "inspect". DIY doesn't mean you have to do it alone!
Search filter:
Clear Filter
Your search term must have 3 or more characters.
Lower bake Element would not heat.
230 of 264 peoplefound this instruction helpful.
Ronald from Nassau, NY
Really Easy
Less than 15 mins
Nutdriver, Pliers
First I slid the stove out and unpluged it, then removed two screws,slid out element, disconected two wires, slid new element in to place, pluged two wires in ,put into place and installed two screws, pluged stove back in, and turned on to try. Works perfect.
Was this helpful?
Thank you for voting!
Broken heating element
75 of 93 peoplefound this instruction helpful.
Paul from anna, TX
Really Easy
15 - 30 mins
Nutdriver, Pliers
1)Turn off power to stove 2)remove 2 bolts holding heating element 3)pull element out of the back of the oven about 8" so that the wire connects is visable 4)pull wire clips off of heating element and remove element from the oven 5)put wire clips on the new heating element 6)push new heating element back into the
... Read moreholes in the back of the oven 7)screw botls back into the oven holding the heating element in place 8)Turn power back on



 My Orders