The motor bearings had stiffened up – classic planned obsolescence.
I could tell the motor was bad, because when I tried to spin the drum by hand, it wouldn't turn in any direction. (Normally it can turn fairly easily.)
(Helpful hint: As you remove screws / parts, place them in a plastic baggie, and write on the baggie from whence they came. This is especially helpful if you have to order parts and then wait a few days for them to arrive.)
You can replace the starter motor without removing the drum, but it is easier if you do remove the drum. Plus, I decided to also replace the drum belt, since it was 9 years old and is a wear part.
UNPLUG THE DRYER BEFORE YOU BEGIN.
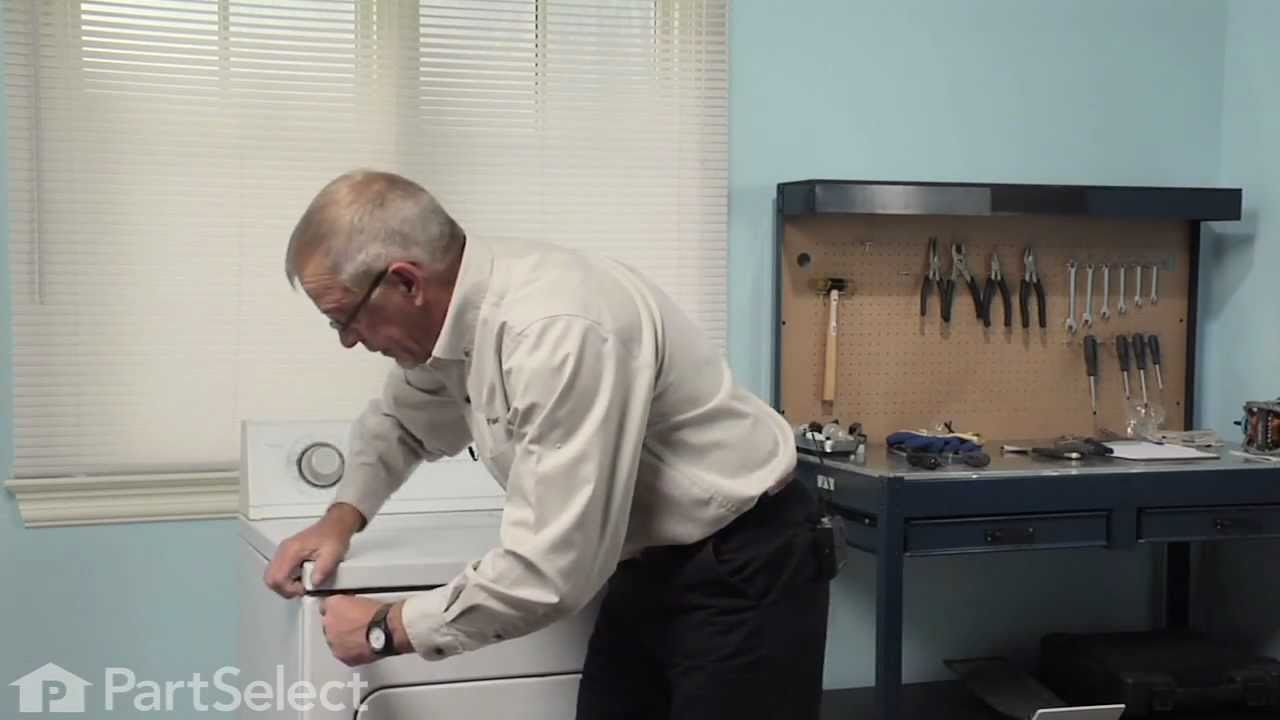
1. Pop off the top cover; it has two spring clips at the front, then it hinges up. Disconnect the green grounding wire at the back, then slip the cover off the hinges and set it aside.
2. Remove the front panel:
a. Looking down into the dryer, disconnect the electrical harnesses that go between the front controls and the body. You may have to cut a nylon cable tie to access one or more. (Note that they have shapes that won't allow you to mix them up later). Also, there are two wires that attach to connectors in the top middle of the dryer, which are difficult to get at; you may need a needle nose pliers to pull them. Remember their color-coding for reinstallation.
b. Remove the two phillips screws located about 8 inches from the top, on either side, inside the body, that hold the front panel in place.
c. The front panel is now held in place by spring clips. Pry it gently to pop it loose. It will hinge out, then you can pull it up. Notice how the front piece has felt pads that serve to hold the front of the drum; you'll line it up the same way when it goes back together. Set the front panel aside.
3. Remove the rear motor vent plate.
a. It is at the back, lower right of the dryer (which is lower left once you're behind it). 2 phillips screws hold it in place.
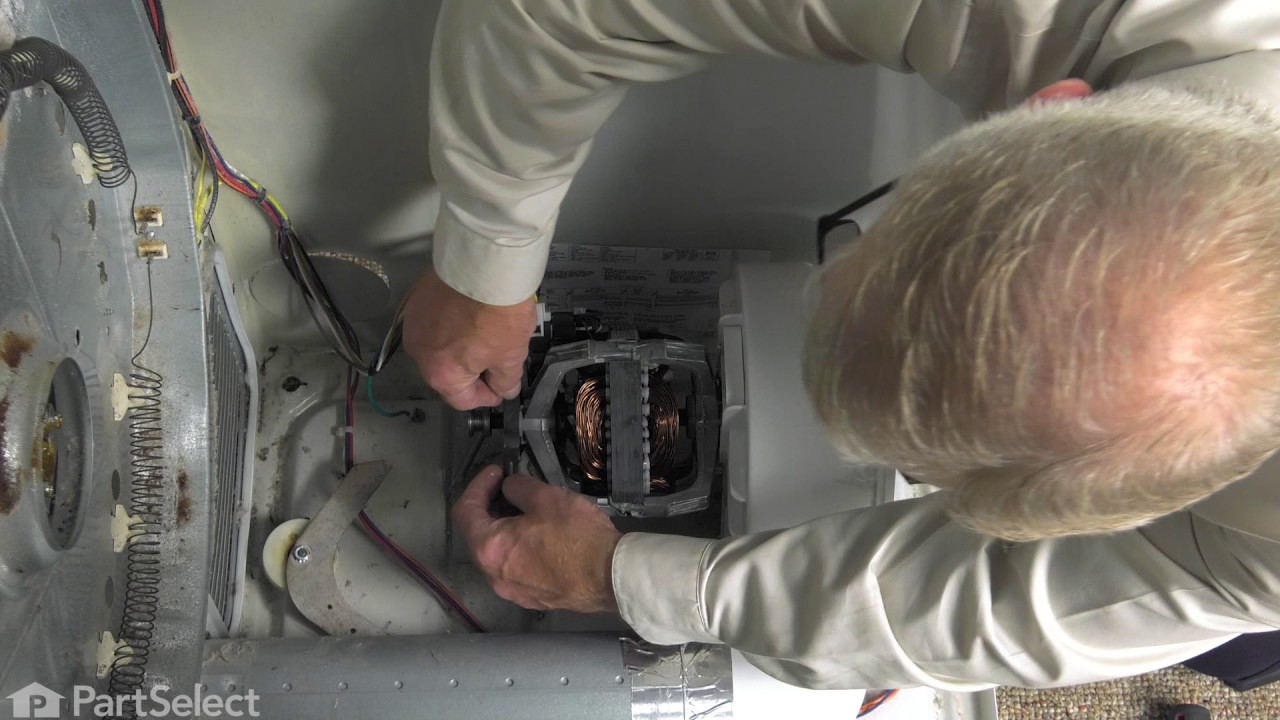
b. Now look inside to see the motor and belt. Memorize how the belt feeds around the motor pulley and the larger, white plastic tensioner pulley. Notice how the rear motor bearing sits in a half-round metal plate, held down by a spring clip. (Make a drawing if you like.)
c. Move the spring- loaded tensioner arm to take tension off the belt, then slip the belt off the motor pulley.
d. Notice that the tensioner pulley, arm and spring are all held in place by the spring. Note that the tensioner pulley can slip off its shaft. Note these things for when you put it all back together later.
e. Now undo the tensioner arm spring and remove the arm, pulley and spring. Set them aside.
4. Remove the drum:
a. There is a yellowish plastic block at the top front of the open dryer body that holds the drum. Take it out with a phillips screwdriver.
b. Slip the now un-tensioned belt off the drum, to the back, so it hangs over the heater element body. You can leave it there for now, so you don't forget to install it before you put everything back together. If you're going to replace the belt, now is a good time to do so. (Check the length of the new belt against the old one, to make sure they're the same.)
c. Now you can remove the drum. It uses a center ball in a socket joint at the back to hold it in place. Use a screwdriver to lever upward on the back of the drum. This will pop the ball up, and then you can pull the drum out from the front.
5. Clean it up.
Now is a very good time to vacuum out any lint in the fan area, inside the dryer body, etc. Also consider removing the lint trap assembly from the dryer front ( 2 phillips screws) and vacuuming it out as well.
6. Remove the motor.
a. First, remove the fan that's attached to the front of the motor. Use a socket (7/8", I think) to unscrew the fan from the front of the motor shaft. IMPORTANT: The fan has a plastic hex nut sh
Other Parts Used: