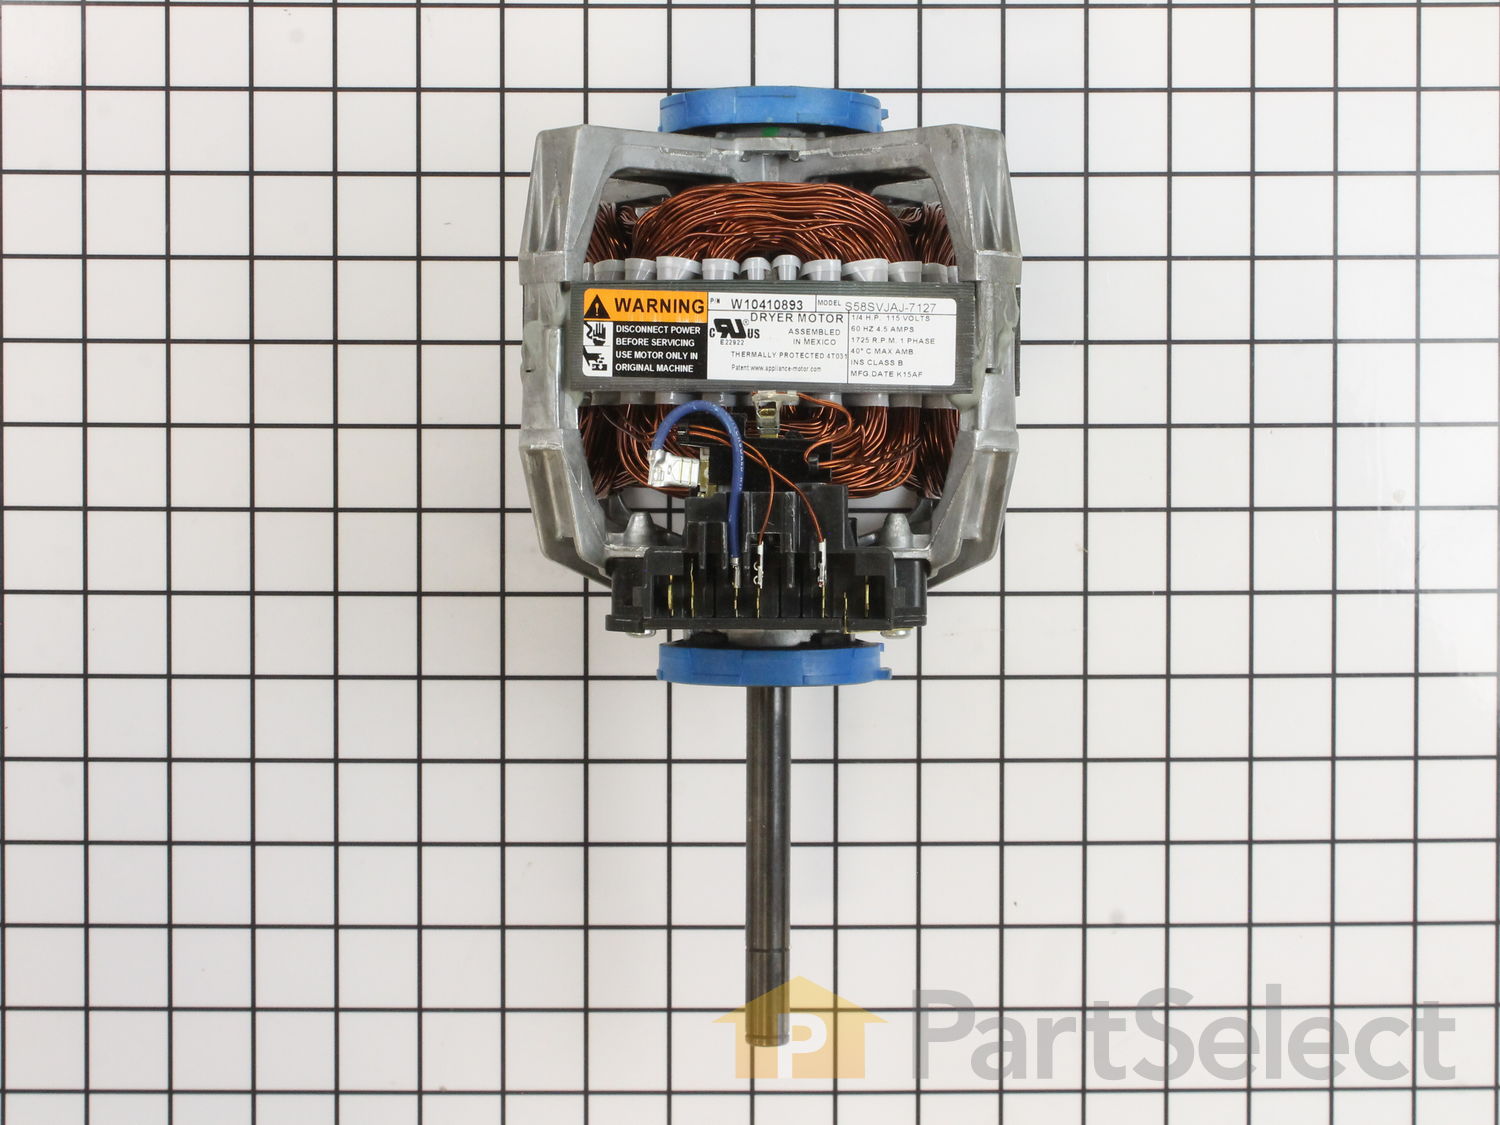
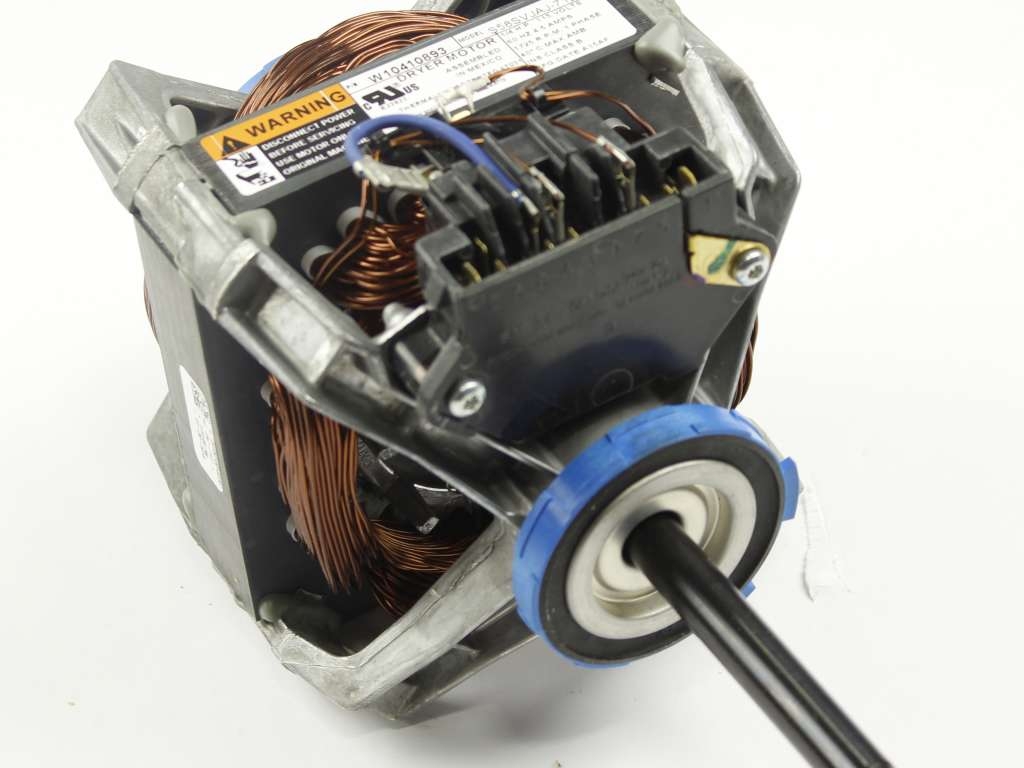
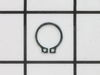
This drive motor rotates the drum by turning the belt.
How Buying OEM Parts Can Save You Time and Money
Troubleshooting
This part works with the following products:
Washer Dryer Combo.
This part works with the following products:
Maytag, Jenn-Air.
Part# W10411000 replaces these:
AP5272725, 2118677, W10411000, 3-6055, 306055
Customer Repair Stories
Average Repair Rating: 2.1 / 5.0, 4 reviews.
What's this?
< Prev
1
Next >
Sort by:
Search filter:
Clear Filter
Your search term must have 3 or more characters.
Keep searches simple. Use keywords, e.g. "leaking", "pump", "broken" or "fit".
Sorry, we couldn't find any existing installation instruction that matched.
Dryer had burning Smell - Start/Run windings problem
** Your best bet is to use a digital camera to take pictures of the various stages as you take apart the dryer - especially the wiring. And, use masking tape to label all the wires. ** I removed the Blower Housing which made the process much easier. ** Find a friend with or buy the snap ring pliers ** Big Secret not mentioned anywhere - the Motor Support (diag. #20) can be removed ! Hence - the entire Motor assembly can be taken out to remove those irascible Motor Clips. ** For the Green ground wire going from the dryer frame to the motor, you need to take the screw from the old motor and use it to screw into a hole marked with a black "slash" on the new motor. ** After 3 days of WD 40 and an allen wrench, I could not remove the Motor Pully from the old motor, so I would buy one if I were you. ** Hardest Parts - Removing the Motor Clips, reattaching the idler spring!, having another person hold the drum while I installed the Belt and reattached the front drum frame thingy, and deciphering my wiring schematic and reassembly diagrams ! That is why a digital camera is so helpful. ** The process is really very easy if you use the suggestions above and read the others. ** Find the "Model Diagram" on the PartSelect website - an excellent resource !! ** A twenty+ year old Maytag - up and running again !! Many thanks to others who shared their story.
Motor needed replacing (even though it was only 8 years old!)
In addition to the other helpful suggestions:
The key to replacing the motor is to remove the motor while it is still clipped in to the bracket (after removing the blower assembly, of course.) Don't remove the tumbler and belt thinking it will give you clear access to the rear clip, because it won't.
Removing the bracket is not complicated. There are two screws that are fairly easy to access and keep the bracket in place (refer to parts diagram for location); when the screws are removed, out comes the motor assembly (after disconnecting the wires, of course.) This is the only way to get access to the two clips that hold the motor to the bracket.
As for those pesky clips, I was able to use a flat screwdriver in one hand and vice grips in the other to pry off the clips. After a few tries, working on one end of the clip, I was able to apply quite a lot of downward pressure without braking the end of the clip. If anyone has another suggestion....
Putting the clips back on was much easier. First, remount the motor to the bracket, making sure to rotate the motor to the 2 o'clock position so you can re-attach the ground wire (or else you'll have to unclip the motor again, like I did!) Then re-attach the clip on one side. With the clip aligned properly, bear down with a flat screw driver on the other end of the clip. A swift knock with a hammer on the top of the screwdriver will easily re-attach the clip. Repeat with the second clip.
If you proceed carefully and patiently, this job can be accomplished without specialized tools or expertise.
Other Parts Used:
ian from new york, NY
Difficulty Level:
A Bit Difficult
Total Repair Time:
More than 2 hours
Tools:
Pliers, Screw drivers, Socket set
8 of 10 peoplefound this instruction helpful.
Was this instruction helpful to you?
Thank you for voting!
Tub would not turn Dryer would heat up but did not spin.
First I shut off the power at the breaker. I removed the two screws on top holding the front panel in place I removed the wires carfully marking so they would go back in the correct places. I removed the tub and then removed the old motor and switching the wires to the new one. Mounted the new motor, replaced the tub with the belt, attached the belt to the motor. connected the marked wires and put the front cover back in place with the two screws on top of machine. Turned the power back on and started it up it works perfect The motor only cost $119.00 and a little of my time much better than getting a new machine as it is a stack washer dryer.
Other Parts Used:
Charles from Raymond, NH
Difficulty Level:
Easy
Total Repair Time:
30 - 60 mins
Tools:
Nutdriver, Pliers, Screw drivers
6 of 6 peoplefound this instruction helpful.
Was this instruction helpful to you?
Thank you for voting!
Motor died on my 16 year old dryer
I watched a few youtube videos before going into this, and had done quite a bit of troubleshooting on my dryer already, so I was pretty comfortable opening it up. But there were two difficult parts of this install that i wasn't prepared for. 1) Installing the new spade connectors. My wiring needed 3 new connectors to be replaced, and I didn't know how to install the spade connectors. Also I didn't have a crimping tool so it made crimping the connectors very difficult. I would highly suggest getting a ratcheted crimping tool. 2) Installing the motor clips is really difficult. Primarily the rear motor clip was really, really, really hard because I didn't have access to the back of the dryer. Ultimately I was able to get it on but it was the hardest part of the job.
Once I got the new motor in everything worked perfectly though!
Other Parts Used:
Par from BROOKLYN, NY
Difficulty Level:
Difficult
Total Repair Time:
More than 2 hours
Tools:
Nutdriver, Pliers, Screw drivers
2 of 2 peoplefound this instruction helpful.
Was this instruction helpful to you?
Thank you for voting!
< Prev
1
Next >
Questions and Answers
Ask our experts a question about this part and we'll get back to you as soon as possible!
2 questions answered by our experts.
< Prev
1
Next >
Sort by:
Search filter:
Clear Filter
Your search term must have 3 or more characters.
Keep searches simple. Use keywords, e.g. "leaking", "pump", "broken" or "fit".
Sorry, we couldn't find any existing answers that matched.Try using some different or simpler keywords, or submit your new question by using the "Ask a Question" button above!
Ralph
December 5, 2017
The replacement motor for the failed Maytag 3 6055 dryer motor is a Whirlpool w104108903. The wire connection terminals are different from the old Maytag motor. How can I find out how to connect the color coded Maytag wires to the numbered Whirlpool terminals?
For model number LS7800
Hi Ralph, Thank you for the great question. Here is the numbers that match to the color wire, Black = 2, Yellow = 6, Red = 5, Grey = 4 and Blue = 1. Hope this helps!
15 people found this helpful.
Was this helpful?
Thank you for voting!
Dave
November 27, 2019
On this new motor w10411000 how does the new wires go its num.. 1-7 on the new motor thank you dave p.s for the dryer
For model number maytag stacked
Hello Dave,
Thank you for your question. Here is the numbers that match to the color wire, Black = 2, Yellow = 6, Red = 5, Grey = 4 and Blue = 1. Hope this helps!
3 people found this helpful.
Was this helpful?
Thank you for voting!
< Prev
1
Next >
✖
Ask a Question
Ask our experts a question on this part and we'll respond as soon as we can.
The tumbler and motor belt in your dryer allows the drum to spin during the drying cycle. At 100 inches in length, this dryer drum belt is 3/8 of an inch wide and has five ridges. The belt is black in color and it is mad...
Model Cross Reference
This part works with the following models:
PartSelect Number: PS3500894
Manufacturer Part Number: W10411000