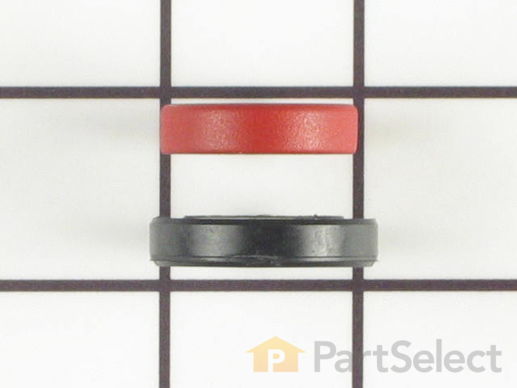
To replace gearcase seals, first disconnect the power cord. Turn off water supply and remove water inlet hoses at washer (safety first). You may want to have a bucket available to catch water that will drain out of the hot/cold and drain hoses. Next, remove top agitator cap, seal and (7/16”) bolt (see diagrams on PartSelect). This will allow the top agitator and cogs to be removed. Grab the bottom agitator and rock it back and forth until it can be removed.
Suggestion: now is a good time to remove and clean the old soap and junk from drain holes in the top agitator and any junk that may be under the lower agitator.
Lay the washer on its right side. You will now have access to the motor, pump, hoses clutch and gearcase. Place a couple of 2X4X(5?) blocks under the tub to support it. Remove the electrical connector from the motor (this is clipped into place) and the two wires that go to the capacitor on the motor.(TIP: don’t put your finger across these terminals, SHOCK HAZARD) Remove the hose clamps and hoses, the two screws (5/16”) on each strap that holds the motor in place, you may have to use a screw driver to pop the straps off the motor. Remove the motor and pump by pushing the tub to the left and move the motor and pump to the right to clear the coupling. If you have not replaced the drive coupling, now would be a good time to order and replace. With the motor out of the way, remove the three (½”) bolts holding the gearcase to the chassis and pull to remove gearcase and shaft. If you are only replacing the drive shaft seal, you do not need to open the gearcase case. Stand the gearcase so the input shaft is facing up, or what fluid is left in the gearcase will come out. One question I see a lot is how do you remove the seal. One, buy a real expensive tool that you will only use once, or take a screwdriver with about a ¼” blade, stick it between the shaft and the seal, gently leverage the seal out while going around the shaft. After the seal is removed, oil can be added thru the seal hole. Understand that different oils are designed for different applications. That said, I used 90 weight gear oil from the local auto parts store, you can add it thru the seal hole. To install the seal, lightly tape it into the seal cavity, then use a socket that is close to the diameter of the seal and gently drive it in.
If you have to replace the top case seal, it will require you to take the gearcase apart. The advantage of this is, if you have an older washer, you can clean out the contaminated oil and sludge and check for wear on the parts, and replace as needed from PartSelect. Here’s a suggestion: if you have a digital camera, take pictures, this will really help when you put things back together.
Now look at the diagram that is provide by PartSelect, remove the clutch, remove the bolts on the top cover, try to keep it level or you may have a mess on your hands. Lift the cover up over the shaft. I found the top case seal very stubborn to remove. Using a small screwdriver, get between the case and the seal and gently pry it out. Replace the seal, again, by using a socket and gently taping into place. There is also a seal at the top of the drive gear that you may want to replace to keep the oil from going up into the clutch. Now its time to clean all of the years of gunk out of the case and gears. When you are ready, fill the bottom half of the gearcase with oil, about half a quart. To seal the case, I used a ultra blue silicone gasket sealer in a tube from my local auto parts store or sealant can be purchased from PartSelect. I used it on the top half of the gearcase case. Slide the top case over the shaft and evenly tighten the bolts. Reinstall the clutch to the gearcase shaft and install into the washer. I found that the motor bearings needed to be lubed, so I used white lithium grease in an aerosol can. Reinstall motor and don’t forget to put the electrical plug back into the motor and the wires that go to the capacitor and pump h
Other Parts Used:


