




Motor Pivot Spring WP22004376

Official part for Maytag, Admiral, Magic Chef, Crosley

Part Location Diagram of WP22004376 Whirlpool Motor Pivot Spring
See part 1 in the diagram
Replacing your Maytag Washer Motor Pivot Spring
( Grid squares measure 1x1 inch )
Proudly Canadian
$20.66
In Stock
Order within the next 1 mins and your part ships today!

Part Fit Check - Make Sure it's a Match.

About This Part

What it does. Why it matters. Everything you need to know for an easy fix.

Motor Pivot Spring Specifications

This part is the replacement motor pivot spring for your washer. It is made of metal and is approximately 3 inches long and 2 inches wide. The motor pivot spring helps hold the drive motor in the correct position on the motor plate. If your drive motor shakes during use, if the pumps will not operate, or if your washer is excessively loud during operation, you may need to replace the motor pivot spring. Be sure to disconnect the washer from the power source before you begin this repair. This part is sold individually and is an OEM part sourced directly from the manufacturer.
Part #WP22004376
Manufactured by Whirlpool for Maytag, Admiral, Magic Chef, Crosley

You May Also Need

Genuine OEM: Original Parts. Lasting Repairs.

Because quality isn't optional.

OEM stands for Original Equipment Manufacturer. This means that the company who made your appliance is also supplying the replacement part.

How Buying OEM Parts Can Save You Time and Money
Features OEM Generic
Genuine brand name
Guaranteed to fit
Superior Quality
Long term value

Part Videos

Watch our pros, then fix it yourself.

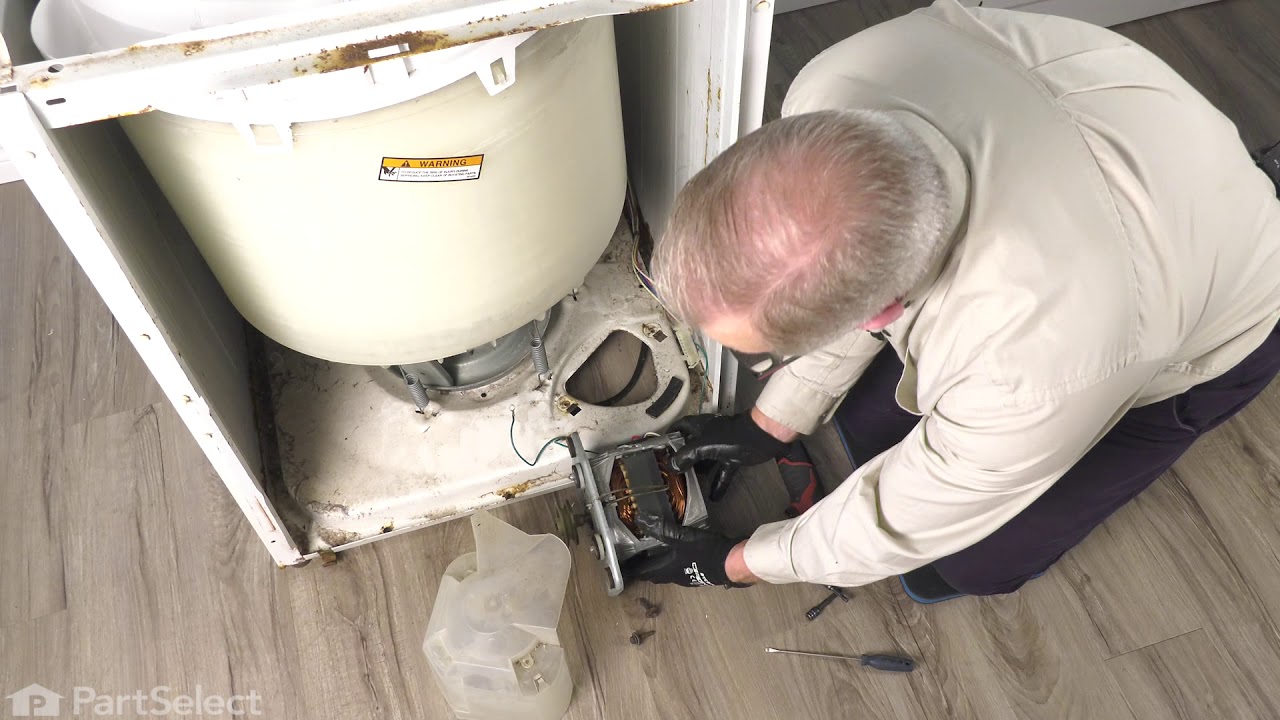
Replacing your Maytag Washer Motor Pivot Spring

Replacing your Maytag Washer Motor Pivot Spring

About this fix

Common problems and models this part fixes.

Easy 

30 - 60 mins 

What this part fixes:
  • Burning smell
  • Spins slowly
  • Will not agitate
  • Will not drain
Works with the following products:
  • Washer
Part# WP22004376 replaces these:
AP6006450, 21001110, 22004221, 22004376

Customer Reviews

Real ratings from other people who bought this part.

Average Rating:

★★★★★
★★★★★
1 Review
5.0

Out of 5

  • 5 Stars
    1
  • 4 Stars
    0
  • 3 Stars
    0
  • 2 Stars
    0
  • 1 Star
    0
Sort by:
  • 1
Sorry, we couldn't find any existing reviews that matched. Try using some different or simpler keywords.
  • 1

Repair Tips

See how others fixed this model. Time, tools, difficulty, and steps that lead to victory!

Easy 

30 - 60 mins 

Average repair rating from 5 real customers like you

Sort by:
  • 1
Sorry, we couldn't find any existing installation instruction that matched.
Machine was very noisy, tub spun slowly when loaded & lid switch actuator was broken. Drive belt had very little tension on it.
33 of 51 people found this instruction helpful.
  • Larry from Smithville, MO
  • Really Easy
  • Less than 15 mins
  • Screw drivers, Socket set
Remove the access panel at the back of the machine. Locate the Motor Pivot Spring. It is about the same diameter as a coat hanger and is attached to the motor and the motor base. I was able to remove the old spring and install the new spring with my fingers. When removing the old spring, remove the motor end first, then the motor base end. When installing the new spring, attach the motor base end first, then the motor end.
Was this helpful?
Thank you for voting!
washer was jumping out of the house
16 of 53 people found this instruction helpful.
  • Clarence from Camp Hill, AL
  • Easy
  • 30 - 60 mins
  • Nutdriver, Screw drivers, Socket set
looked at the digram on partselect and did the repair
Was this helpful?
Thank you for voting!
The timer would quit in mid cycle. Spin did not drain the water in Permanent Press or Delicate cycles.
14 of 18 people found this instruction helpful.
  • Dale from Benton, LA
  • A Bit Difficult
  • 1- 2 hours
  • Nutdriver, Pliers, Screw drivers, Socket set
I opened the front of the machine. The clips had rusted. One broke and the others were very difficult to work with. I pried the panel open with a large screwdriver. I took the back panel off to access the water pump. I removed the back panel on the electricals to access the timer. To replace the timer I pried off the decorative cover. To get the knob off you have to squeeze in on the timer split shaft while pulling out on the know. This was the second hardest part. (The front panel access was the most difficult). After that the timer clip is easy to loosen and it slides a littel then pops out. Electrical connection was obvious. The motor sping was the next most difficlt part. The spring fits on the rear part of the motor which is most easily accessed through the rear panel used for replacing the water pump. The water pump has three screws holding it and two hose clamps that come off easily with a pair of pliers. Before removing the water pump, I had to tip up the machine and take the belt off. This was also pretty easy. Put it back together and works great again on all cycles.
Was this helpful?
Thank you for voting!
water pump quit working
7 of 13 people found this instruction helpful.
  • Gary from Deming, NM
  • Easy
  • 30 - 60 mins
  • Pliers, Socket set
unpluged the machine , turned off the water .
removed as much water i could by hand ,with pan & towels .
Removed the front panel , tip machine on back feet & prop up .
removed belt from under the machine , take the drain hose off pump , remove pump .
installed new pump , rehook hoses , install new belt & motor pivot spring .
put front back on lower machine turn water back o
n , and plug back in .
Was this helpful?
Thank you for voting!
'Machine' wobbled & 'walked away from the wall'. Had to stop it and re-arrange the load, almost everytime!
2 of 2 people found this instruction helpful.
  • jim from warne, NC
  • Easy
  • 30 - 60 mins
  • Nutdriver, Pliers, Socket set
I pretty much followed the video,and read some of the other comments on how to do it. I only had one problem, the back panel had an opening of about 14"x14" to access the 2 rear balance springs. I finally laid the machine on it's face,so I didn't have to kneel down.The only problem with that,is the tub falls forward, making the springs farther away from the upper hole to attach/stretch, the springs to remove/install. I cured that problem by cutting a wedge out of a piece of 2x4, and stuck it between the top edge of the tub & upper frame. Worked great,held the tub in position, closer to the springs & locating holes. Taking them off is no problem,installing them, was made easier by using the wedge. The parts were a perfect fit, no more 'walking away from the wall' now! Thanks PartSelect
Was this helpful?
Thank you for voting!
  • 1

DIY Questions and Expert Answers

Be the first to ask our experts a question about this part!

This Part Also Fits These Models

Don't see your model? Use our Fit Checker to confirm!

Check Part Fit
Part #WP22004376
Brand
Model Number
Description
Norge
6741A
Washer - WASHER
Norge
6741A71
Washer - WASHER
Norge
6742A
Washer - WASHER
Norge
6742B
Washer - WASHER
Norge
6743
Washer - MAYTAG WASHER
Norge
6743A71
Washer - MAYTAG WASHER
Norge
6744A
Washer - WASHER
Norge
6744B
Washer - WASHER
Norge
6745
Washer - MAYTAG WASHER
Norge
6745A71
Washer - MAYTAG WASHER
Norge
6745A77
Washer - MAYTAG WASHER
Norge
6746A
Washer - WASHER
Norge
6746B
Washer - WASHER
Norge
6747A71
Washer - MAYTAG AUTOMATIC WASHER
Norge
6747A77
Washer - MAYTAG AUTOMATIC WASHER
Norge
6748A
Washer - WASHER
Norge
6749
Washer - MAYTAG WASHER
Norge
6750A71
Washer - WASHER
Norge
6750A87
Washer - WASHER
Norge
6751
Washer - MAYTAG WASHER
Norge
6757A71
Washer - MAYTAG WASHER
Norge
6757A77
Washer - MAYTAG WASHER
Admiral
AAV1000AWW
Washer - Residential
Admiral
AAV1100AWW
Washer - Residential
Admiral
AAV1200AGW
Washer - Residential
Admiral
AAV1200AJW
Washer - Residential
Admiral
AAV1200AKW
Washer - Residential
Admiral
AAV1200ARW
Washer - Residential
Admiral
AAV1200AWW
Washer - Top Loading
Admiral
AAV2000AWW
Washer